1.Quality Control
Move your cursor to the “Finance” icon on the side menu and choose “Quality Control”.
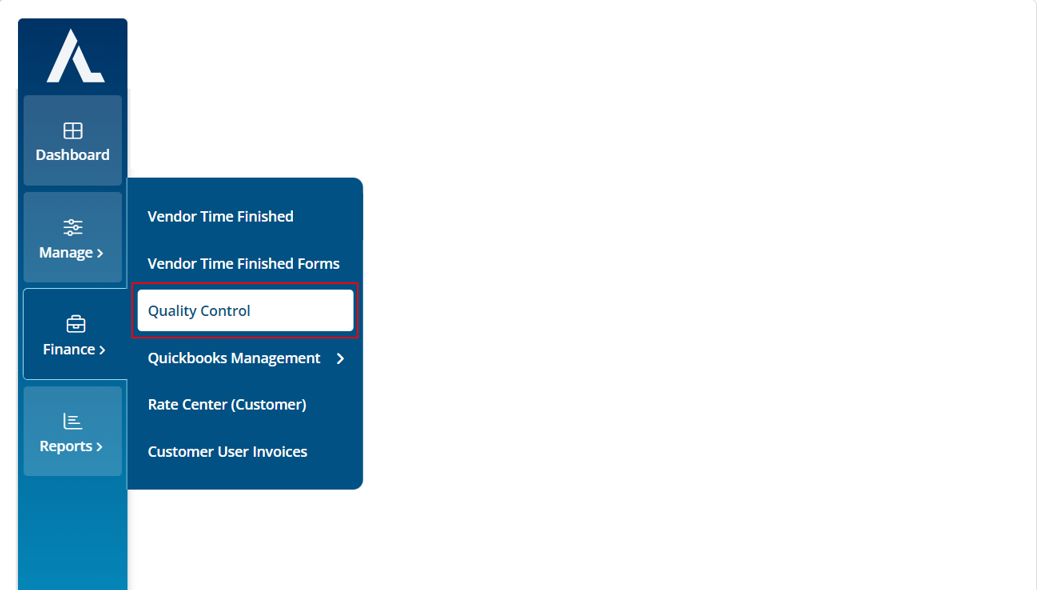
Move your cursor to the “Finance” icon on the side menu and choose “Quality Control”.
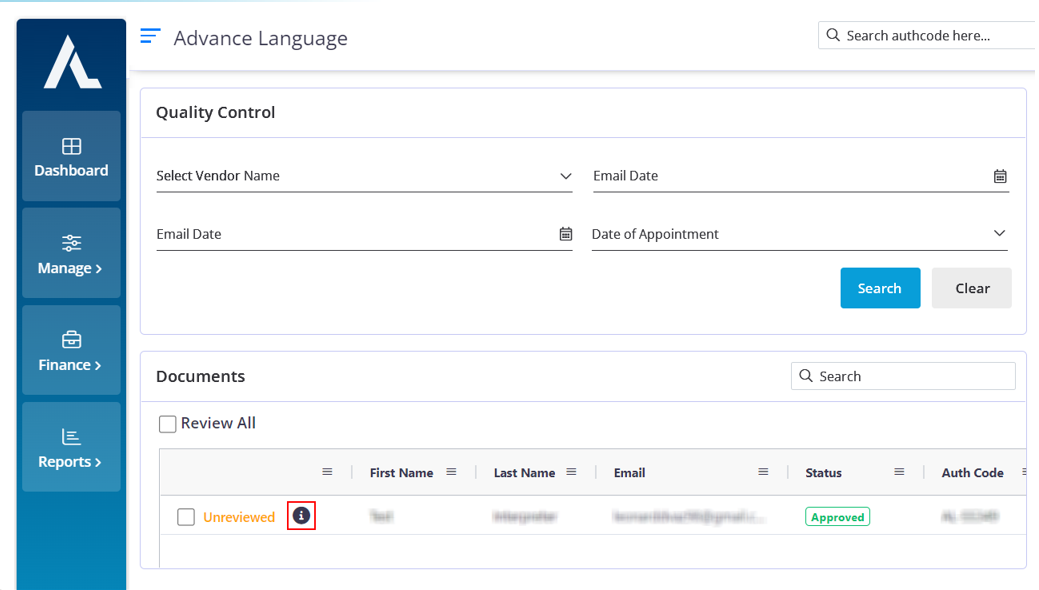
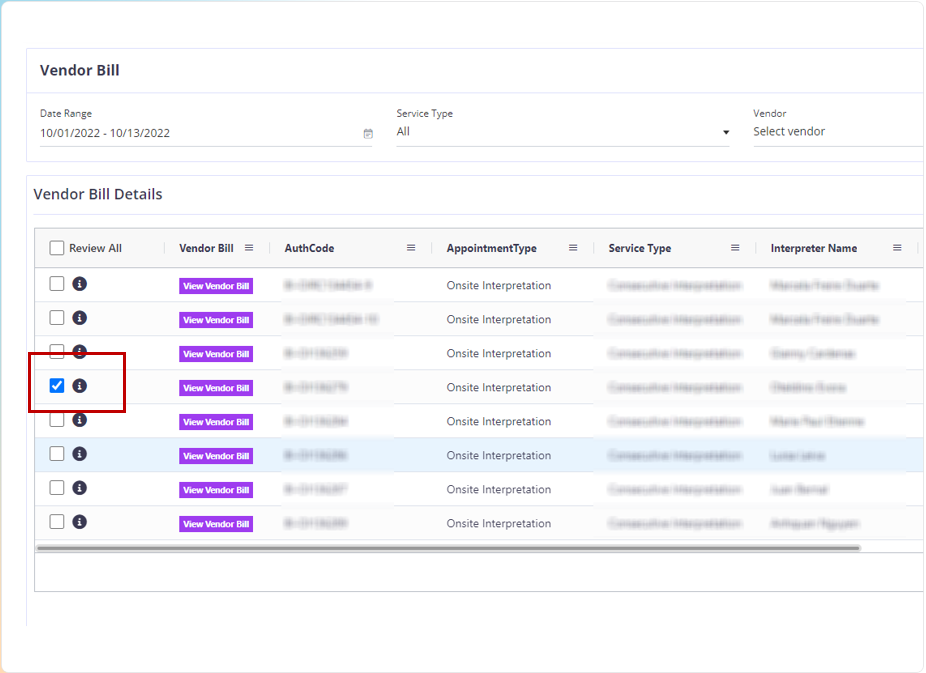
The forms that have been approved will appear in the data table. If you are looking out for a specific interpreter’s forms or you need the forms from a particular date rage, you can you the dedicated filters to find the appointment that you are looking for. Click on the “i” icon.
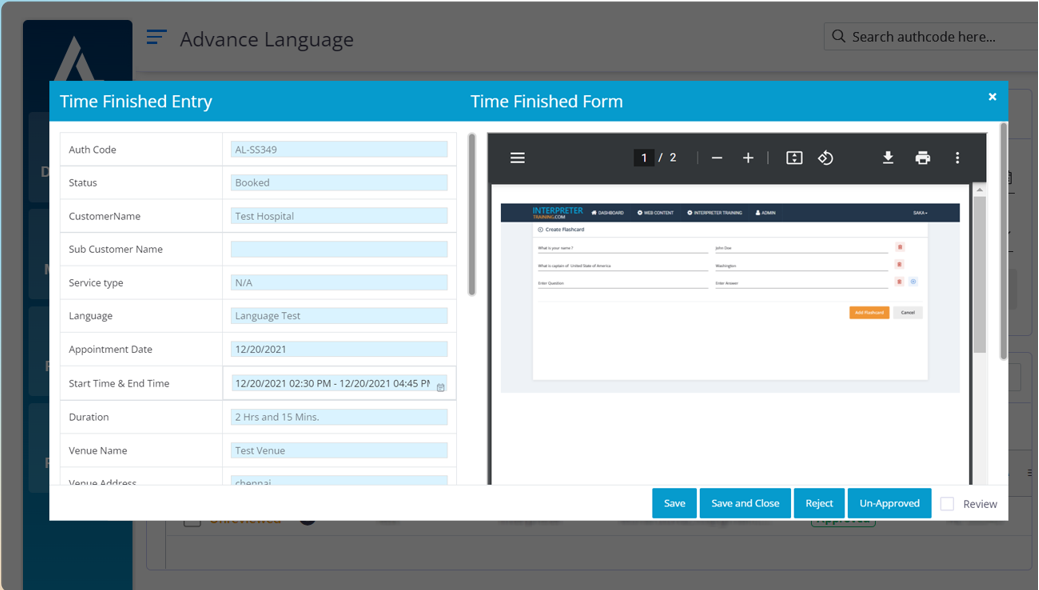
Here you can double check if the approved document is correct or not and you can choose to “Reject” it or send it to the QuickBooks page.
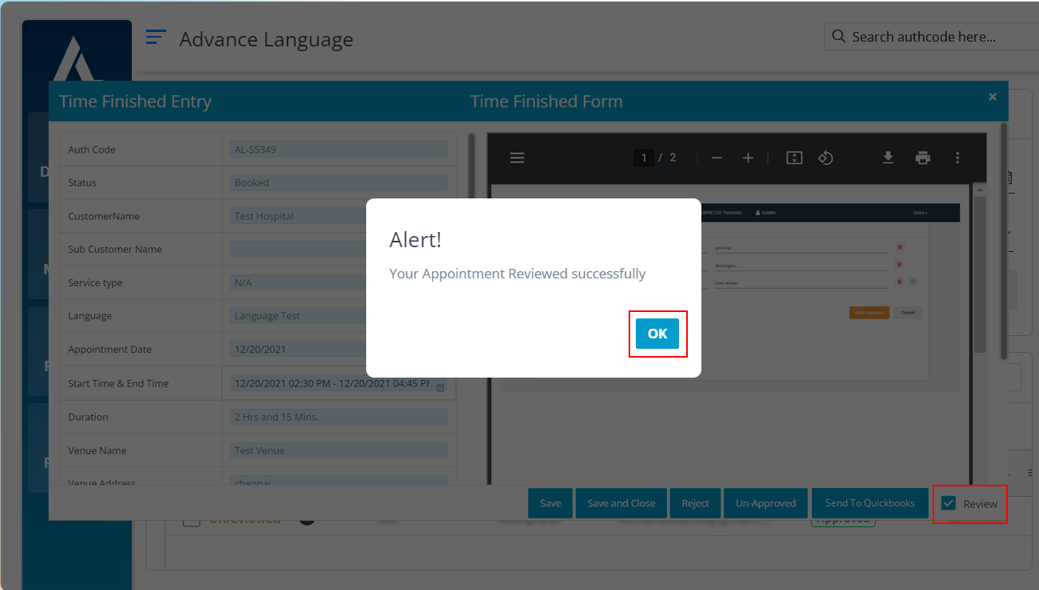
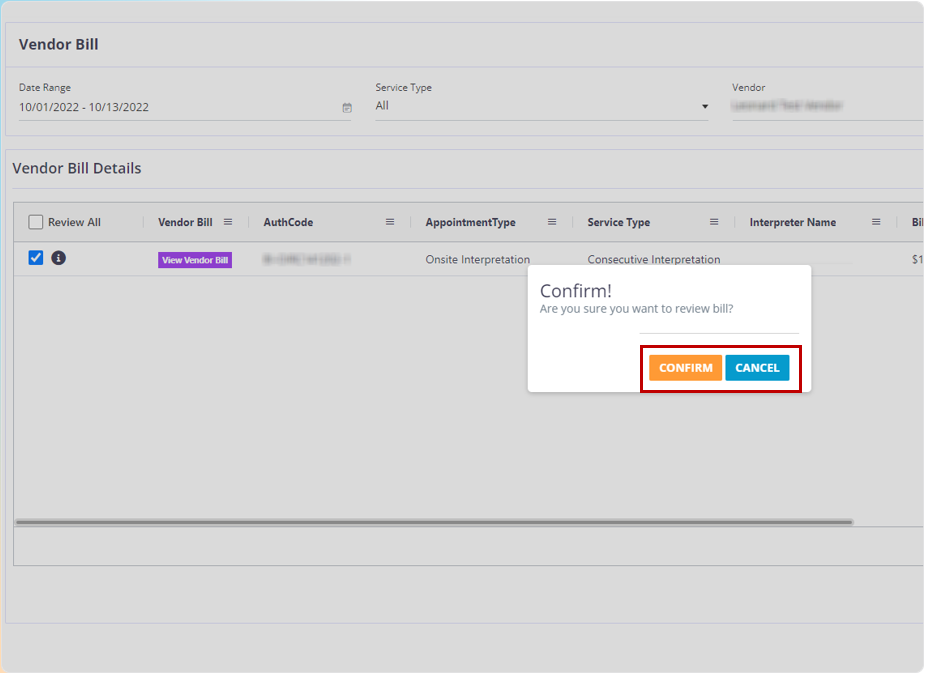
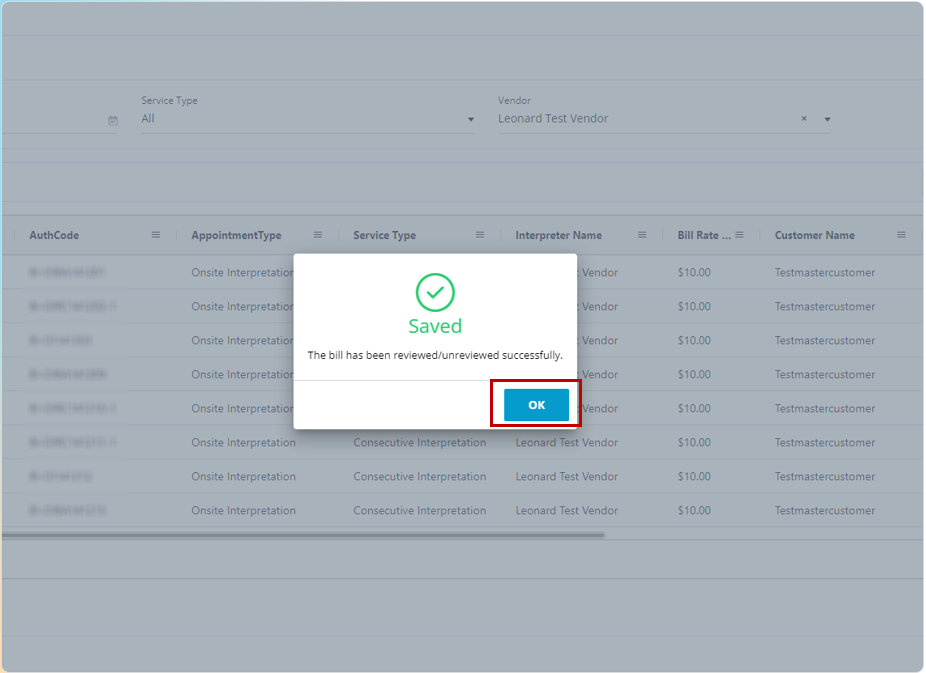
When you are ready to send this form to the QuickBooks page click on the “Review” button you will get this pop up click on the “OK” button.
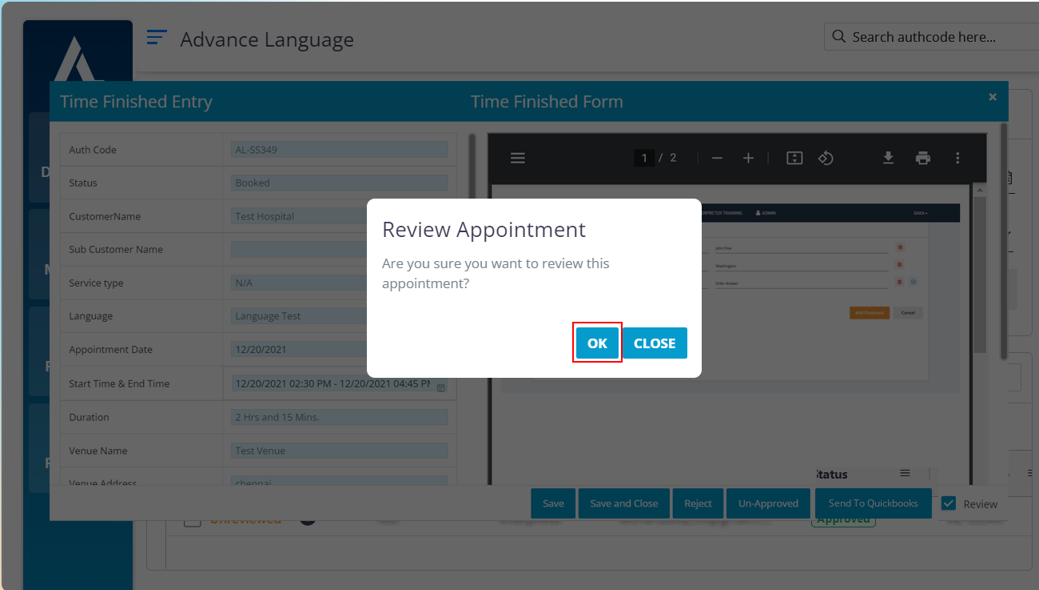
Are you sure you want to review this appointment Click on the “OK” button.
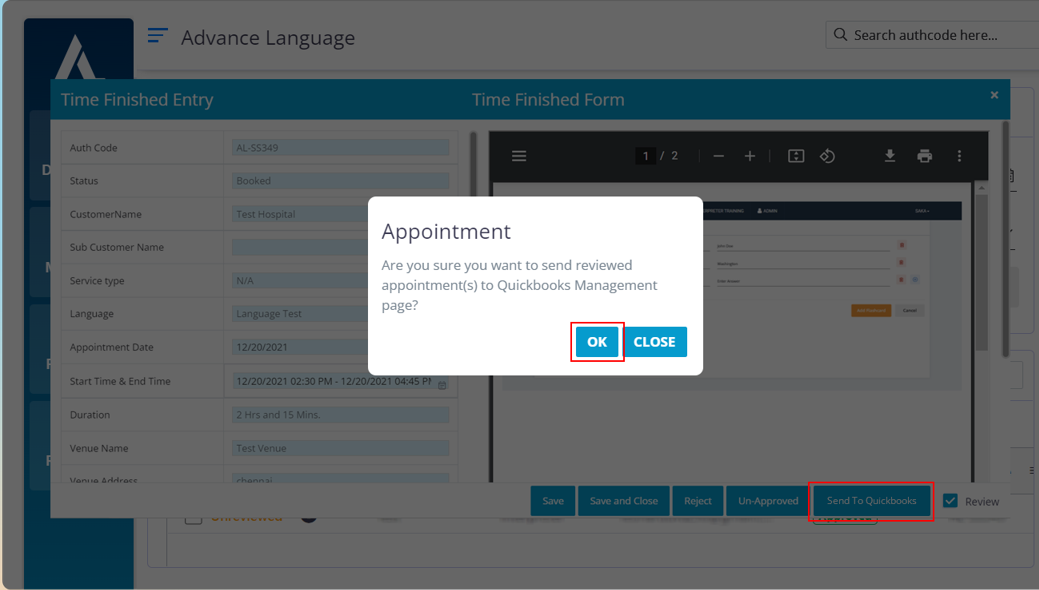
Now you will find a new button that says “Send to QuickBooks”, click on it and you will get this pop up and now click on the “OK” button.
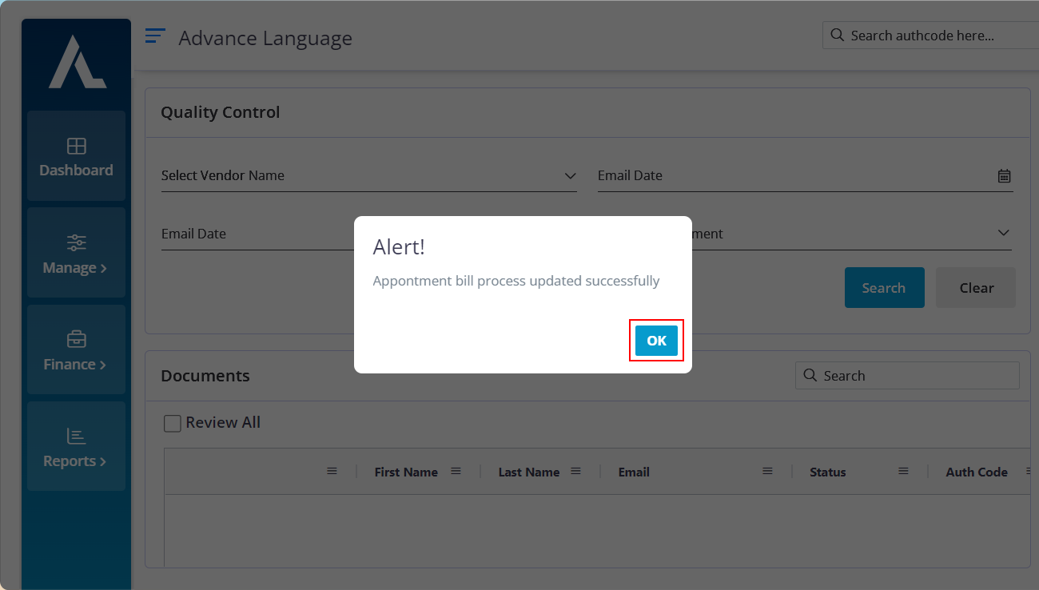
Appointment bill process updated Successfully
Click on the “OK” button.
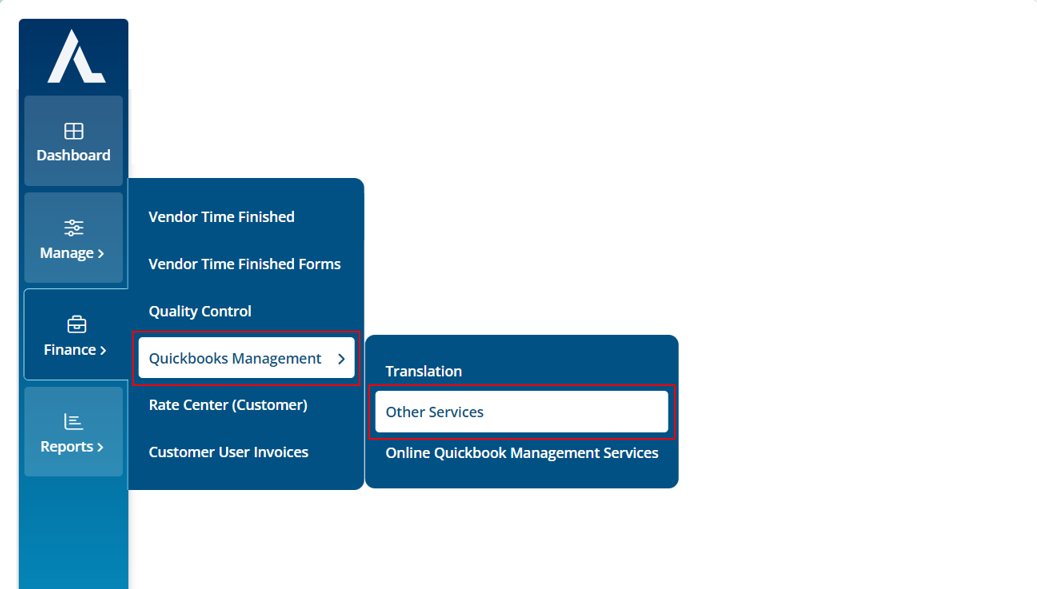
Move your cursor to the “Finance” icon on the side menu and choose “QuickBooks Management > Other Services”.
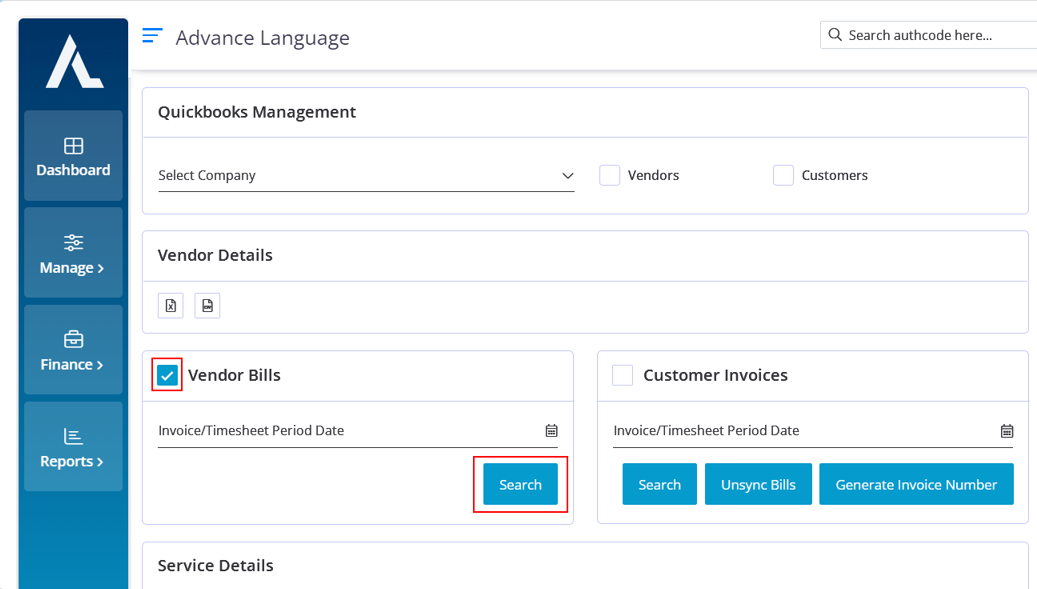
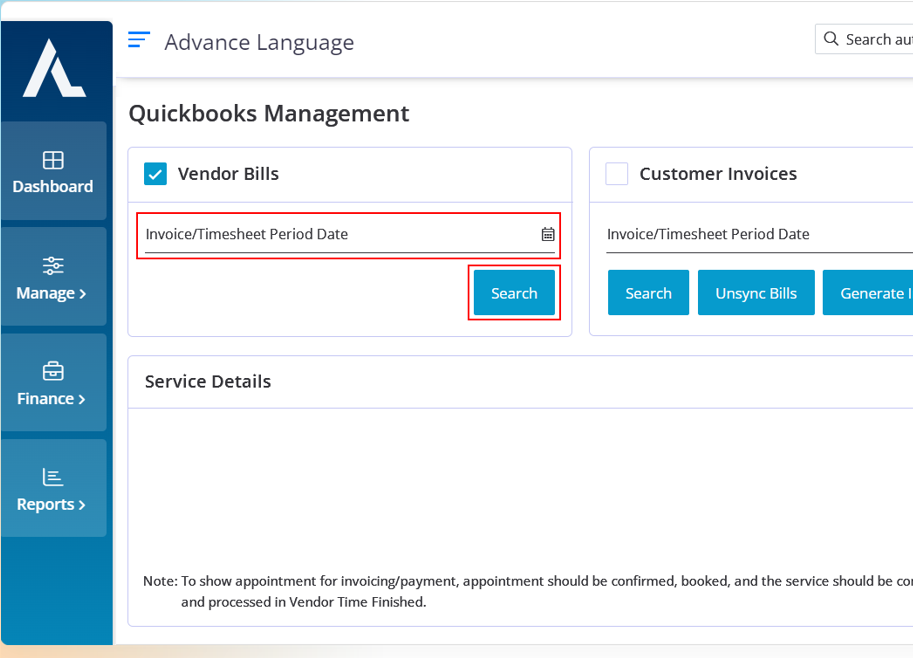
Click on the “Vendor Bills” check box.
Choose the appropriate date from the “Invoice/Timesheet Period Date” for the appointment that you are looking for.
Click on the “Search” button.
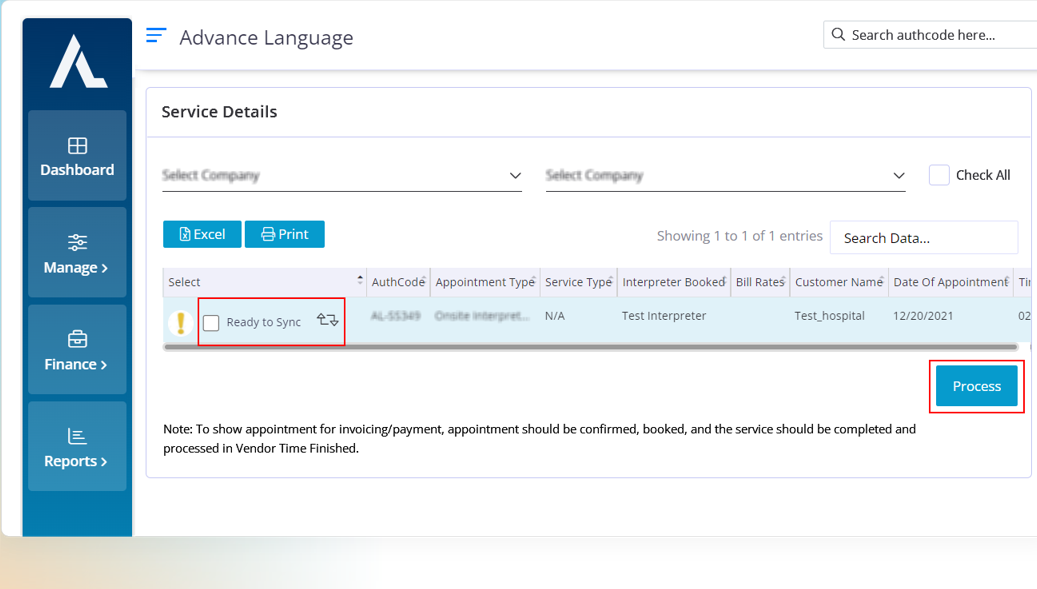
The appointments within the selected date range will appear in the grid.
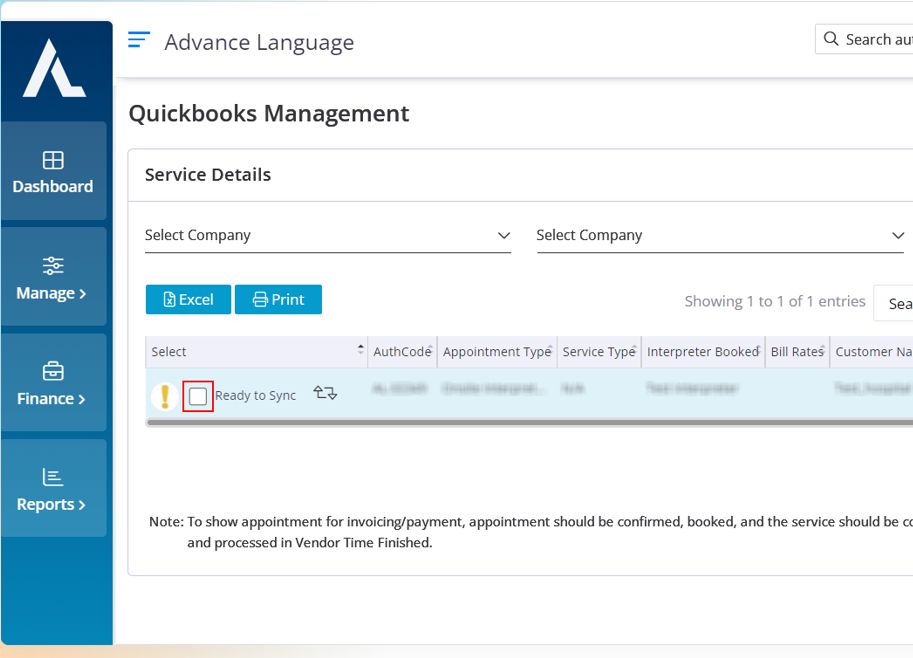
You will find the appointments that are ready to be synced into QuickBooks.
Click on the check box of the appointments that you need to be synced into QuickBooks.
After you choose the appointments click on the process button.
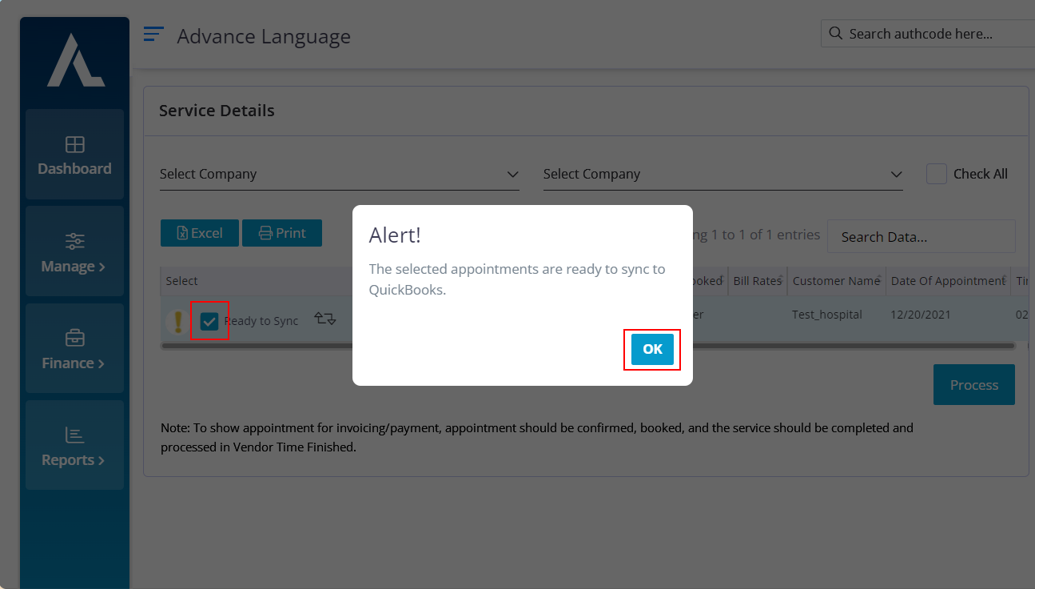
Click on the check box next to “Ready to Sync” to select the appointments. Click on the “OK” button.
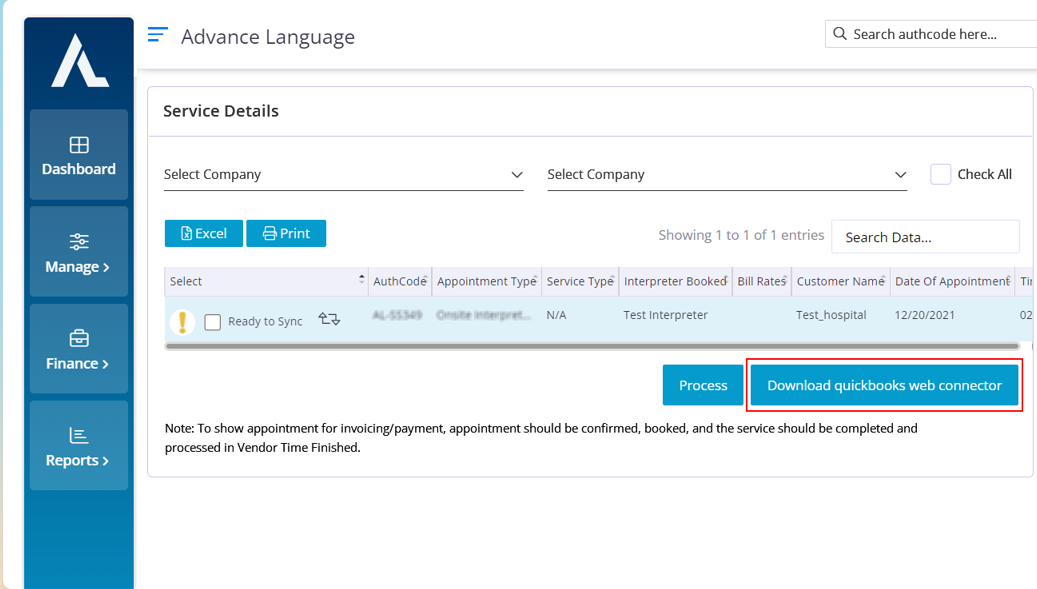
After you click on the “Process” button the “Download QuickBooks web connector” button will appear.
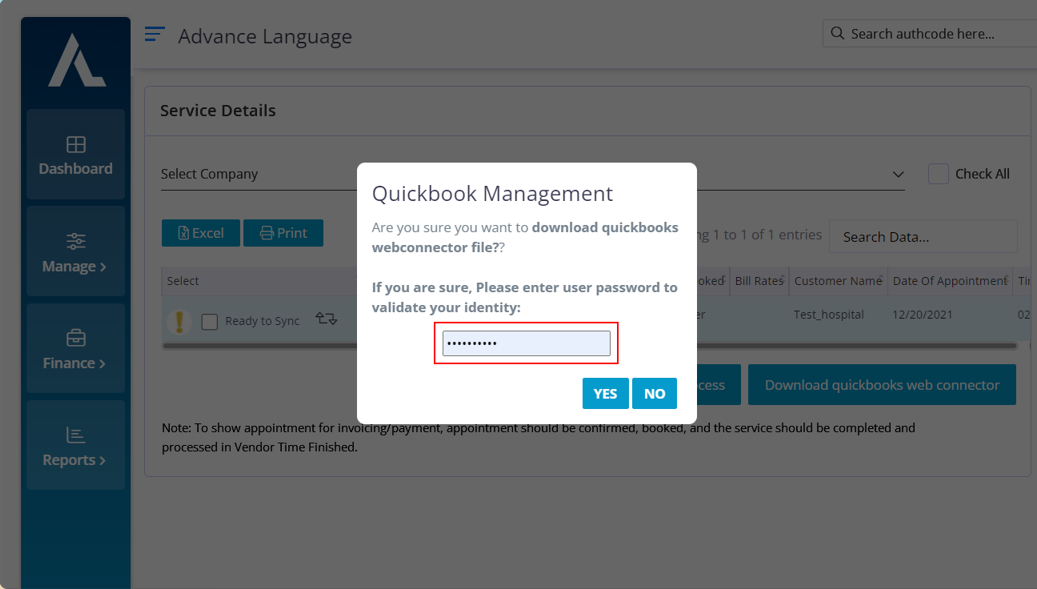
You will get this pop up that wants to validate your identity before you download the connector.
Enter the password that you used to login into total language and click on yes If you want to proceed.
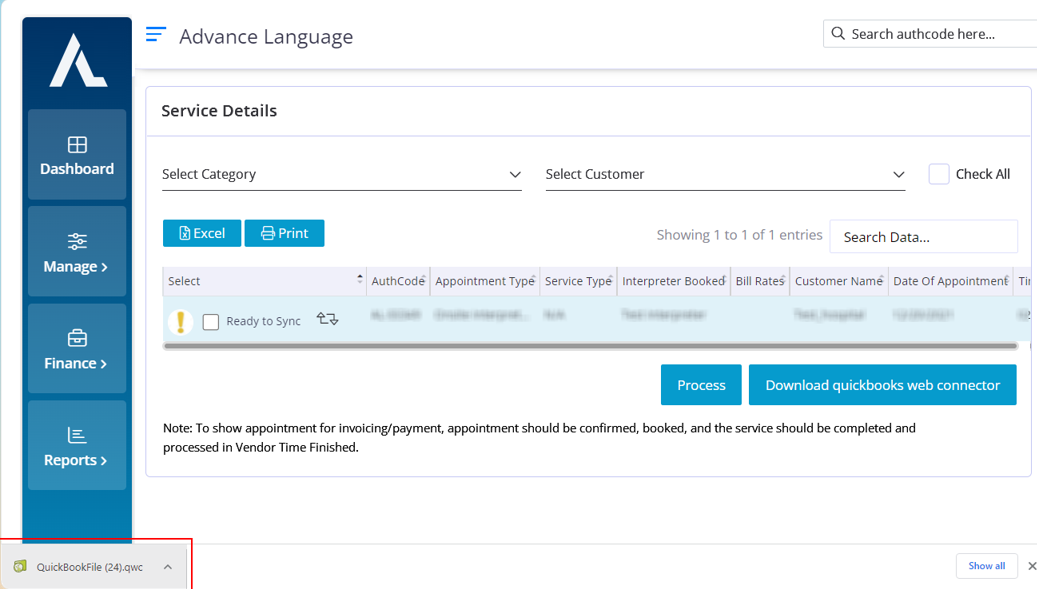
After you enter the valid password the connector will be downloaded successfully.
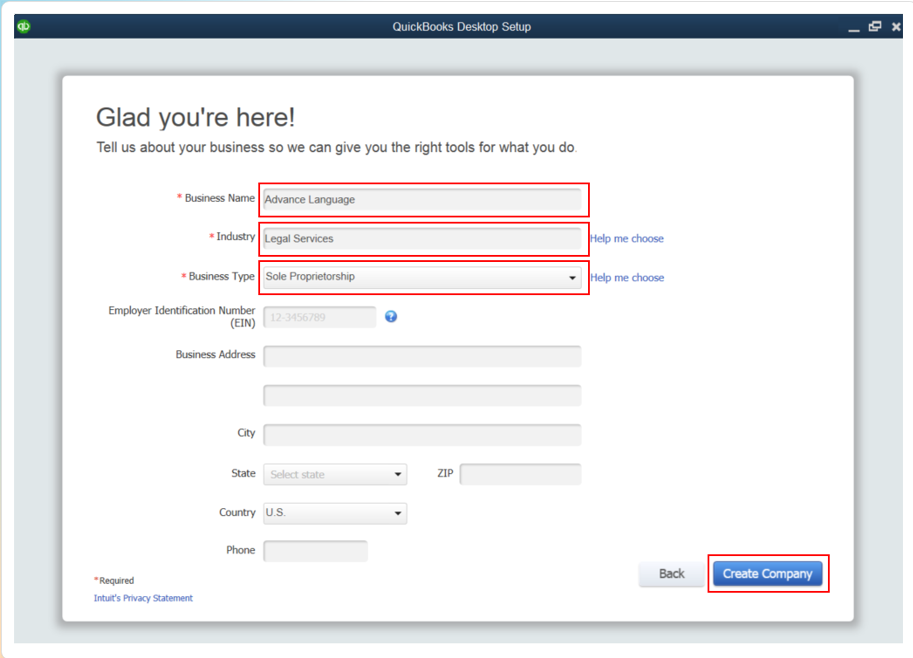
Here you need to create your company.
Fill in the Mandatory fields based on your business and it's type. The other fields are optional.
Click on Create Company
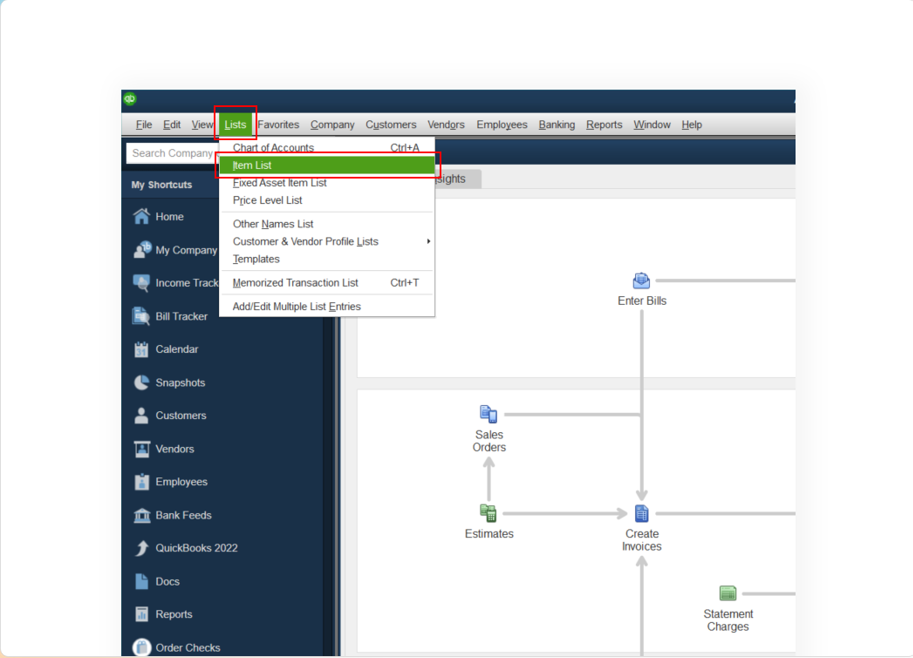
Click on "Lists" and choose the item list option.
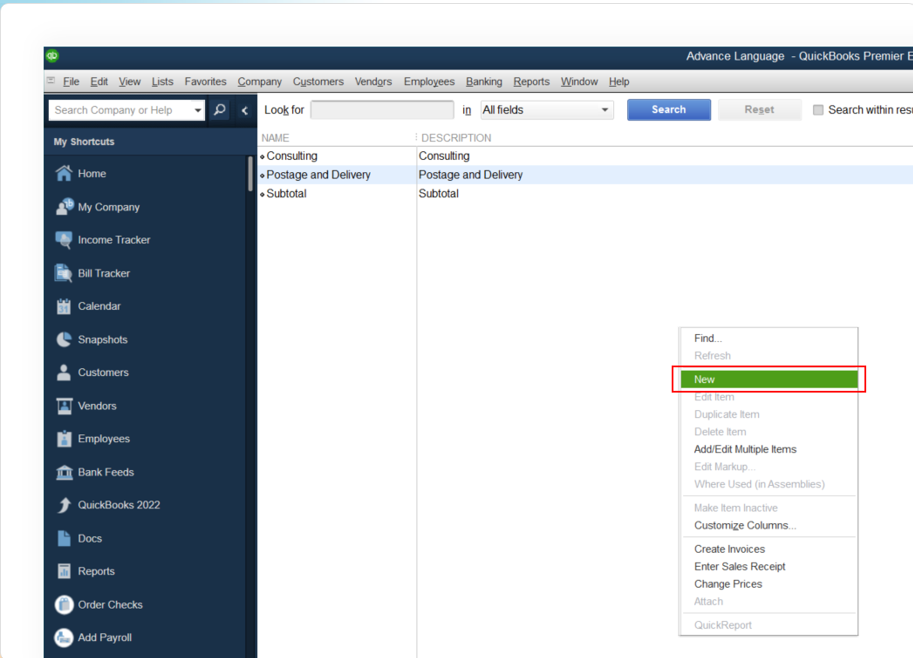
Right click on the page and choose the "New" option.
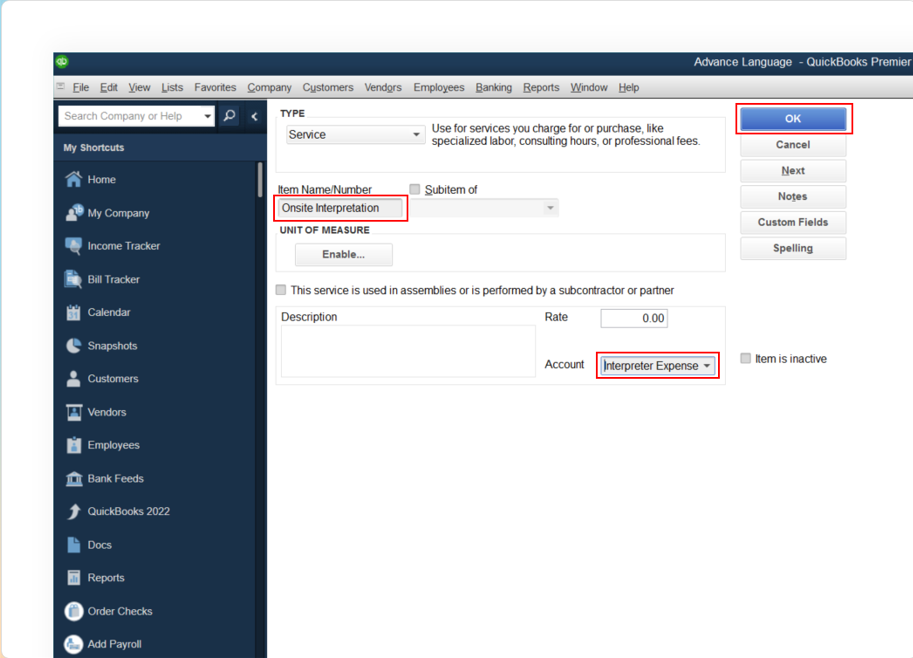
Based on your requirements choose the required item name or number from the drop down field.
Based on your requirements you can either choose an option from the "Account" drop down or add a new type in it. Click on the "OK" button.
Move your cursor to Finance and choose QuickBooks > Other Translations.
Click on the “Vendor Bills” check box and choose the required date range and click on “Search” to pull up the appointments.
Click on the ready to sync check box and click on the process button.
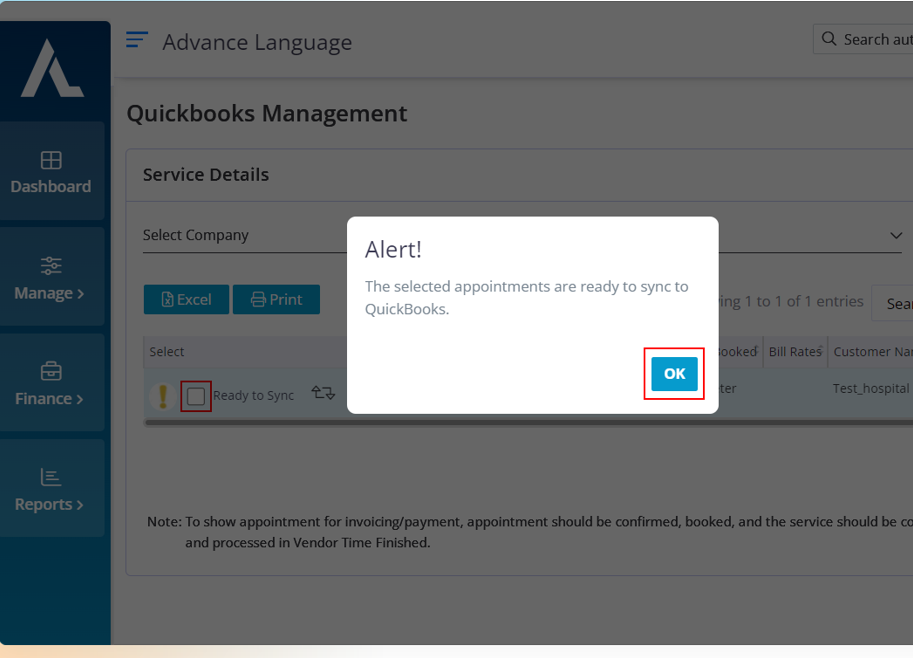
After you click on the process button you will get a pop up that says “The selected appointments are ready to be synced in QuickBooks”. Click on "OK" button.
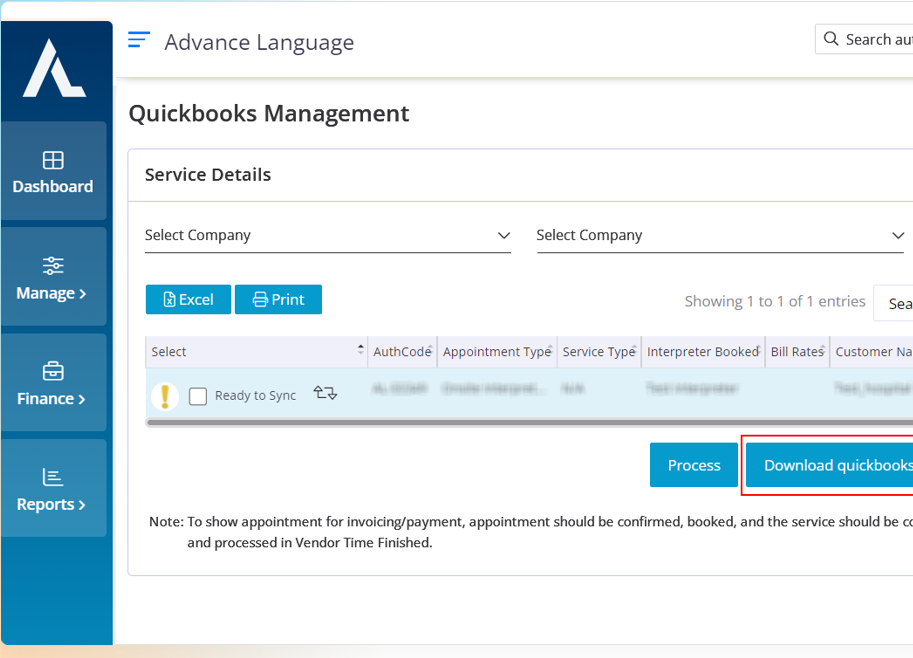
Click on the “Download QuickBooks web connector” button.
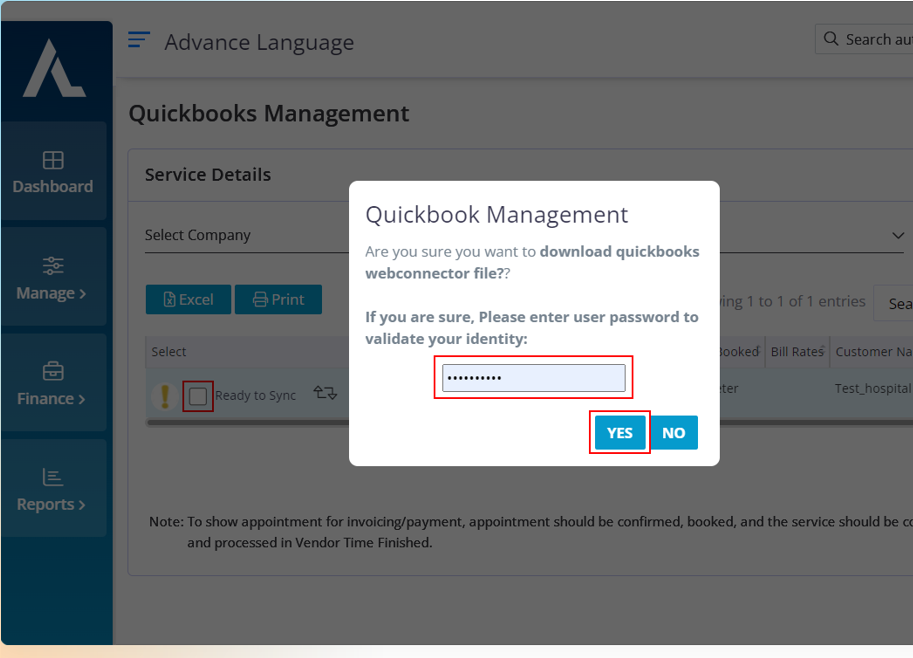
You will get a pop up that wants you to validate your identity before you download the QuickBooks web connector.
Enter your account password in the pop up and click on the "Yes" button.
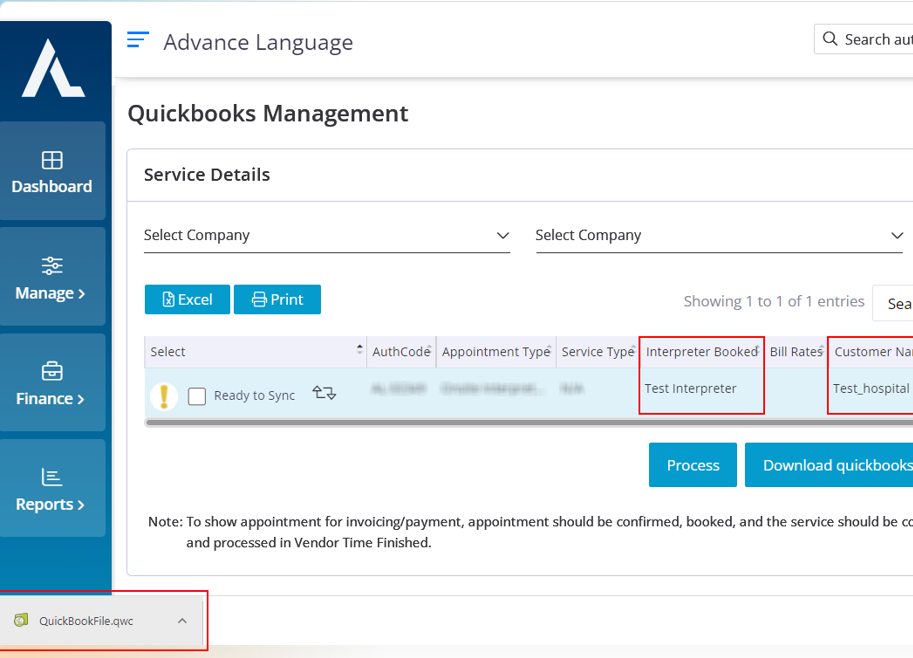
After you validate your identity the web connector will automatically be downloaded. Click on the downloaded file.
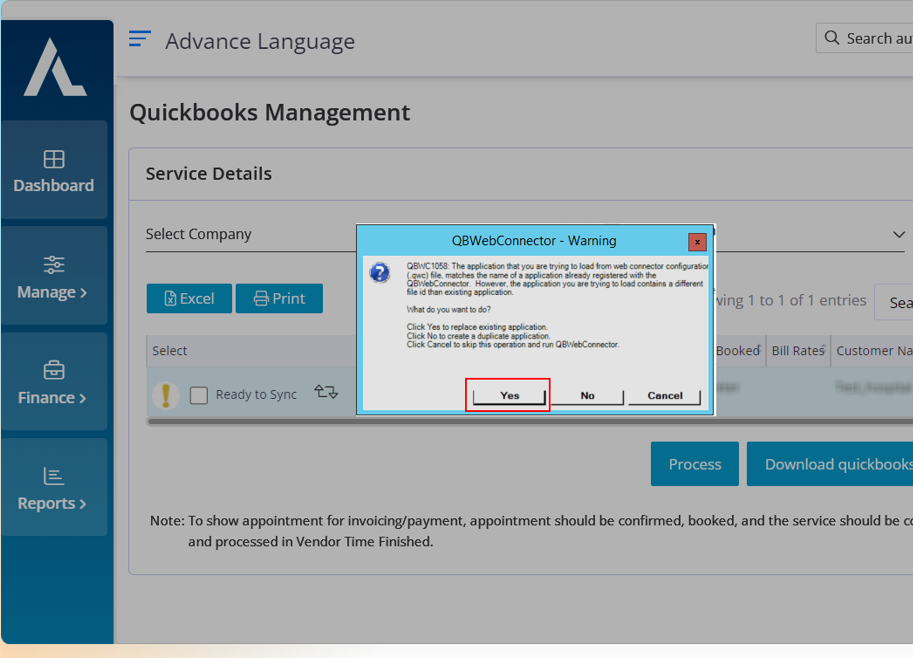
After you click on the downloaded file you will get a pop up that says "QBWebConnector - Warning". Click on the "Yes" button.
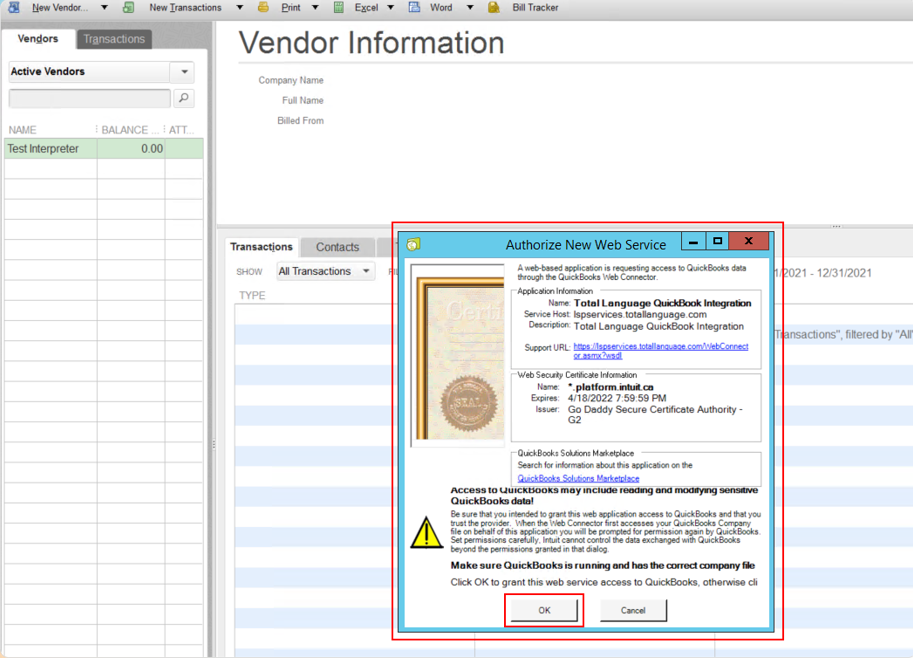
You will get the "Authorize New Web Service" pop up
Click on the "OK" button.
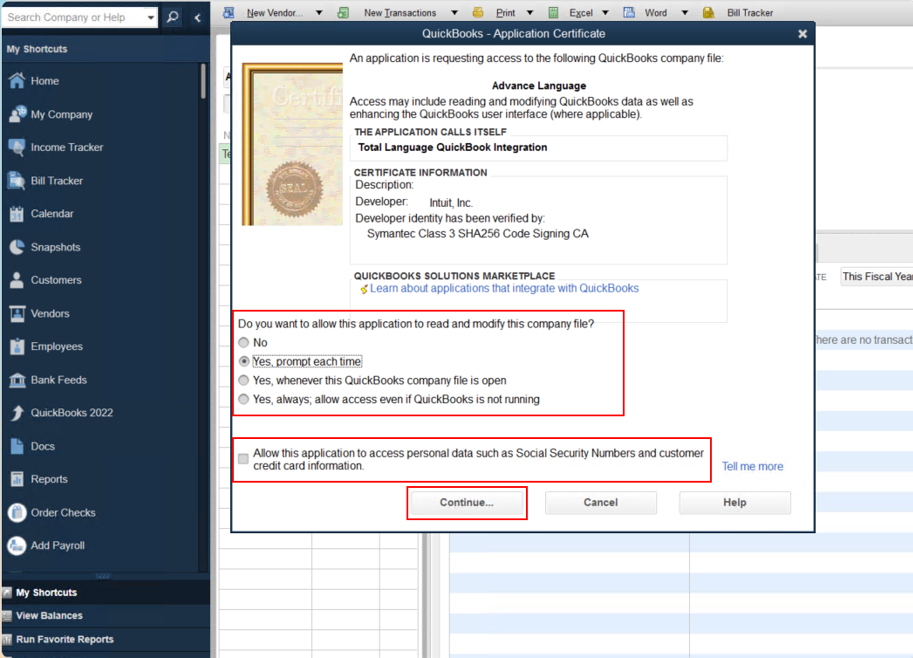
In this pop up page choose the options as per your requirements.
Click on the "Continue" button.
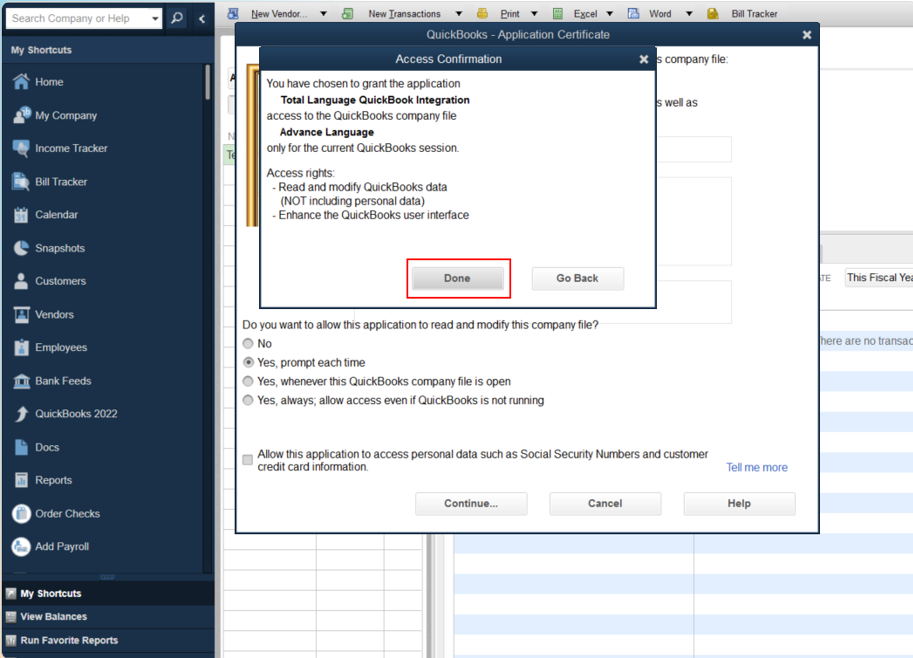
This is the confirmation pop up that gives you the summary of the options that you have chosen. Click on the "Done" button to move forward.
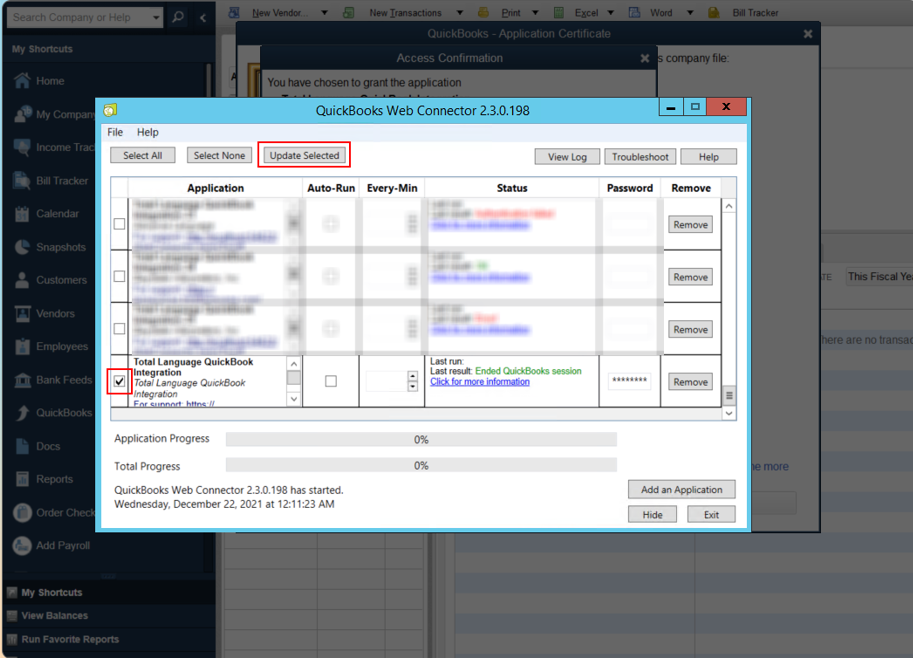
In the QuickBooks Web Connector popup, click on the check box for the appointments that you want to sync and click on the "Update Selected" button.
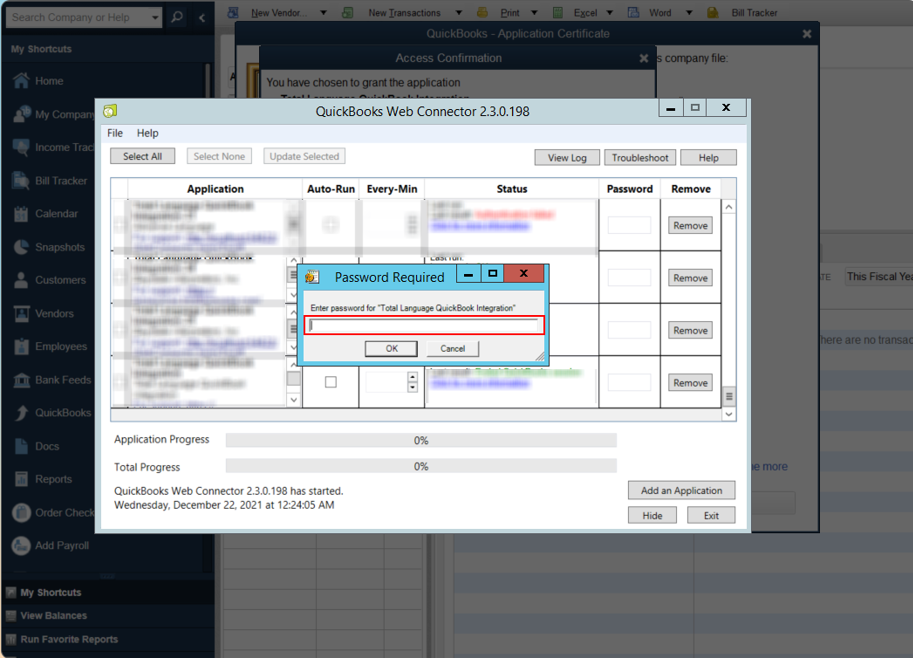
Enter your total user login password.
Click on the “Ok” button.
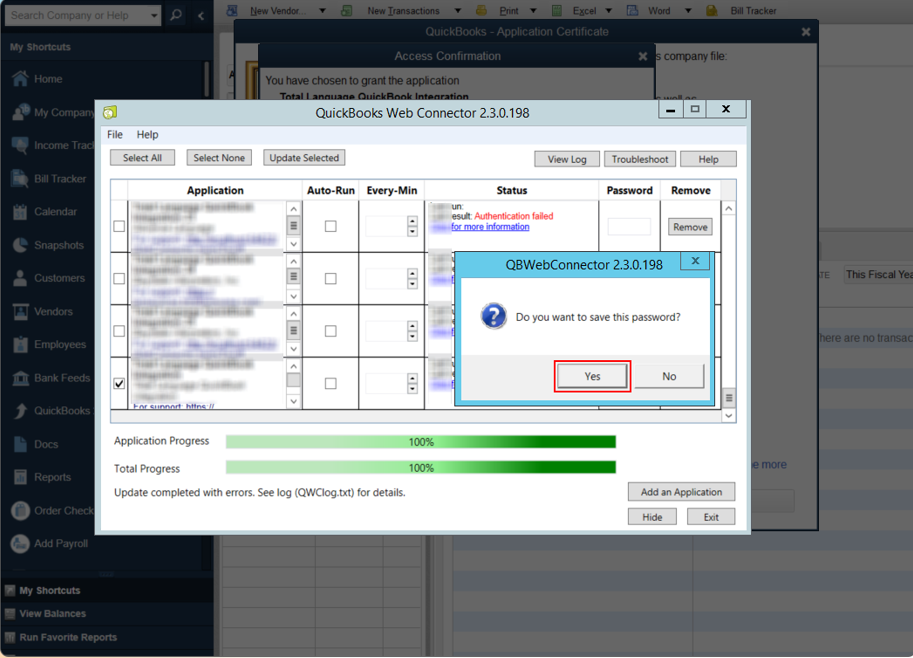
As per your requirement you can either choose to save the password or not.
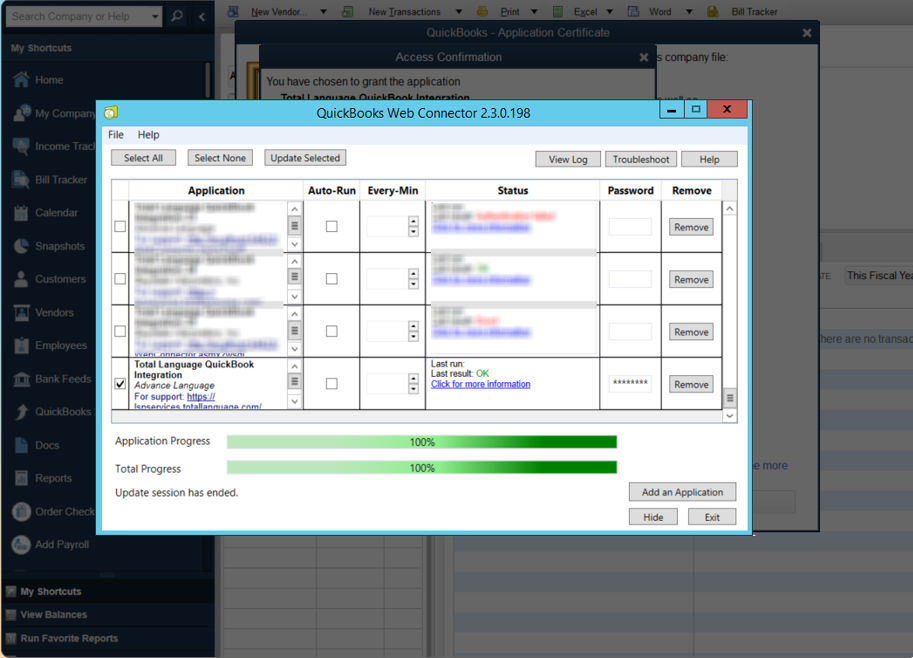
After the appointment has been successfully synced "Application Progress and Total Progress“ will turn green with 100% in the center.
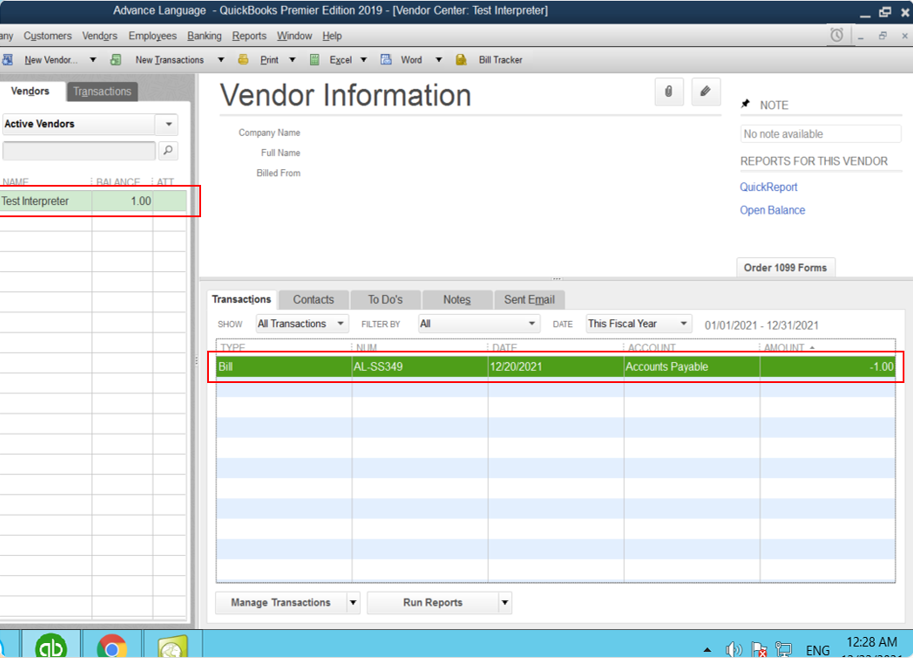
After the appointment has been successfully synced you can find the information under the "Transaction" grid and The vendor's name and amount under "Vendors > Active Vendors" page.

In the "Bill" Page you will find the appointment information that is set up in a bill format which is ready to be paid
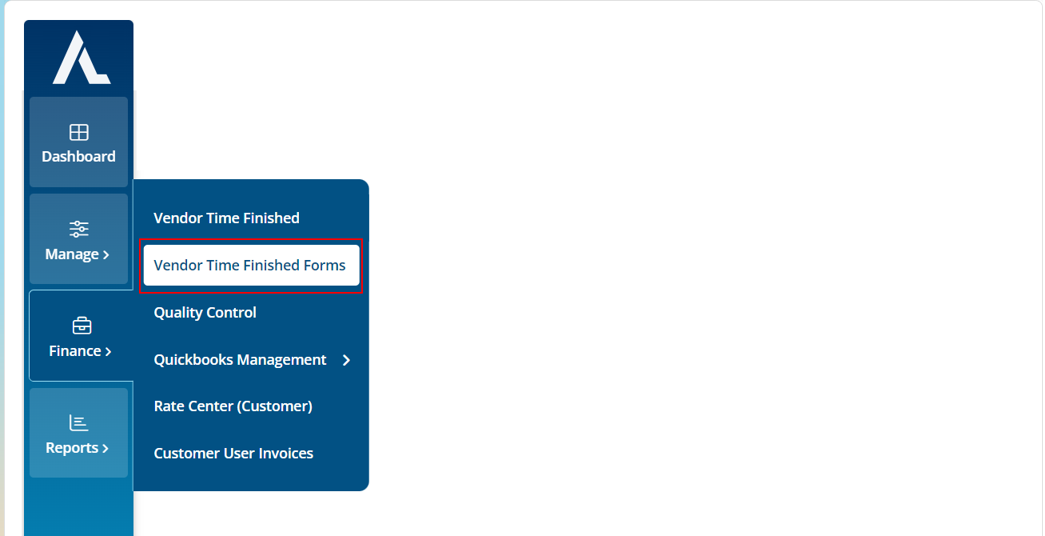
Move the cursor to the Finance icon on the side menu and click on the Vendor Time Finished form.
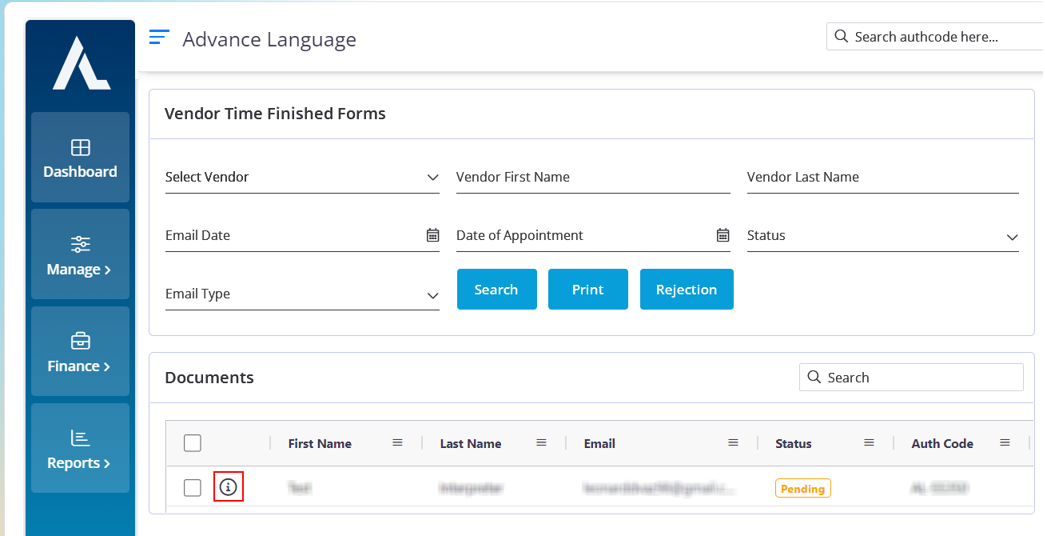
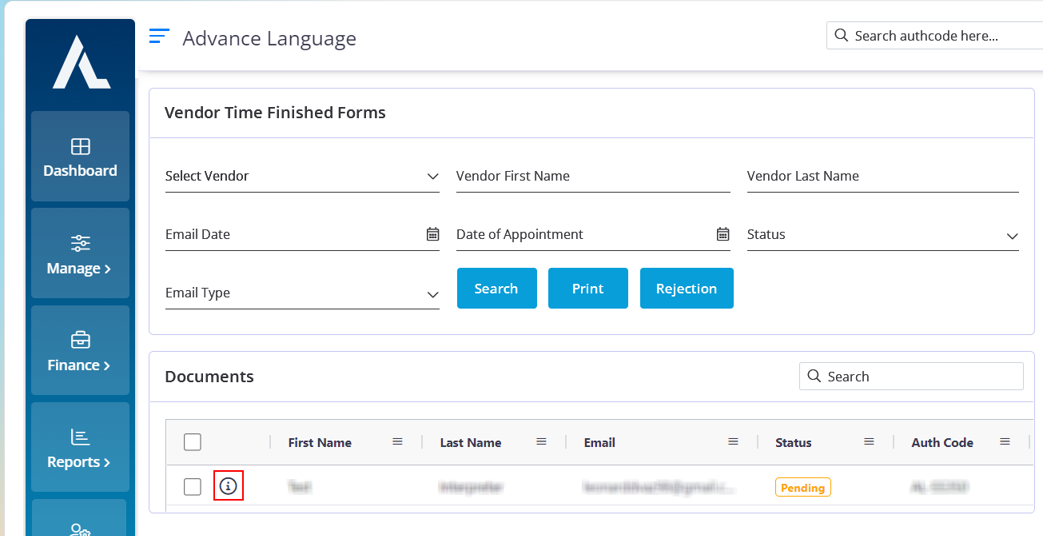
In the Time Finished Page you can search for the required appointment using the Date Range filter.
After you set the appropriate date and click on search button the available appointments will populate in the below data table.
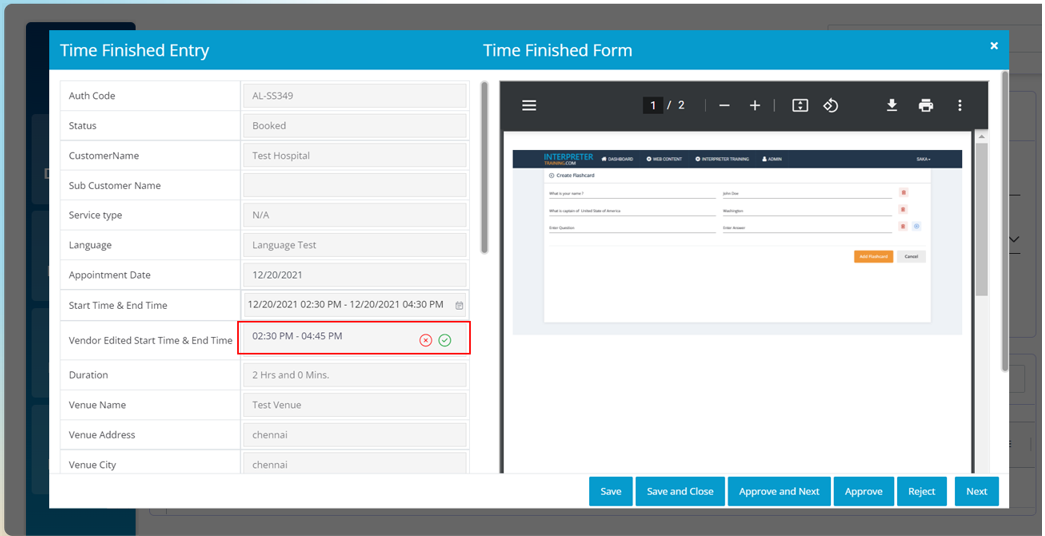
Choose the required appointment. Click on the “i” symbol the appointment details will appear in a pop up.
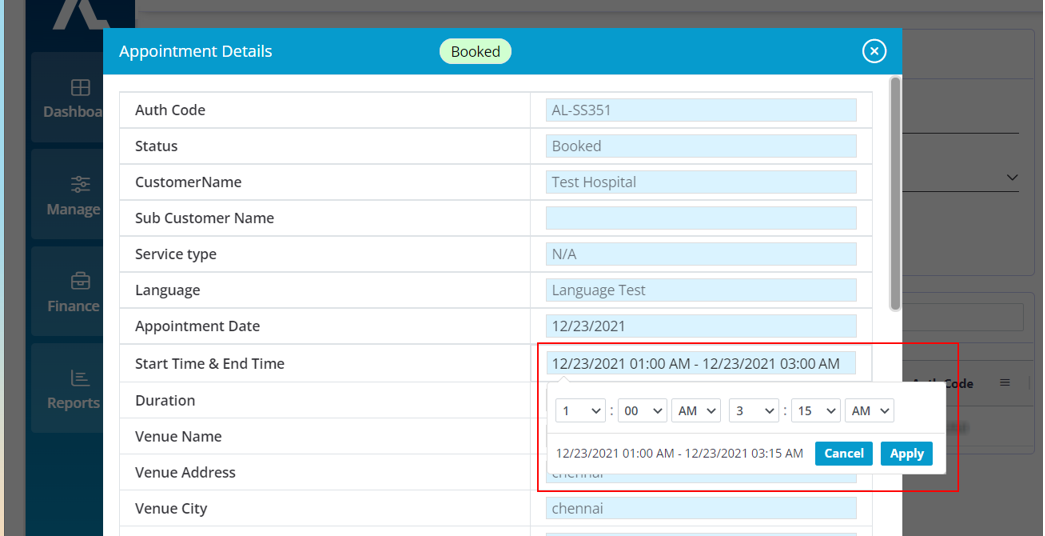
If the appointment exceeds the time limit, the interpreter can click on the start date and time field and change the time.
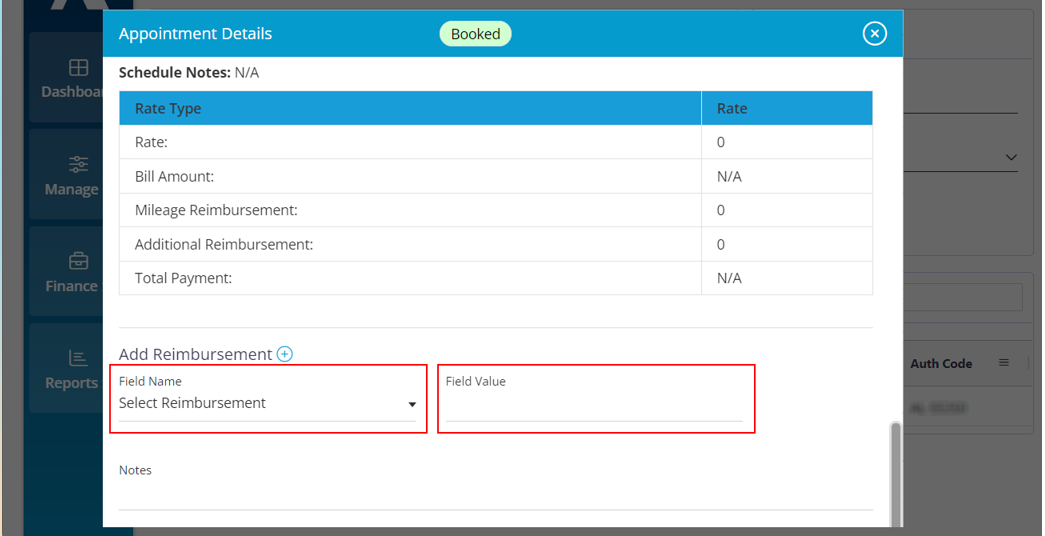
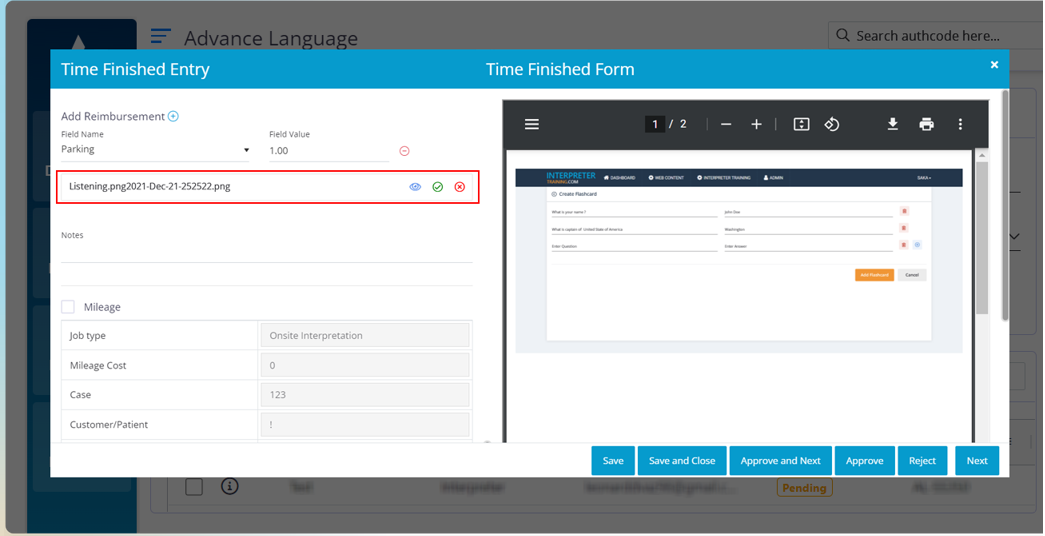
If the interpreter has any additional reimbursements, choose the type from the "Field Name" drop down and input the amount in the "Field Value”.
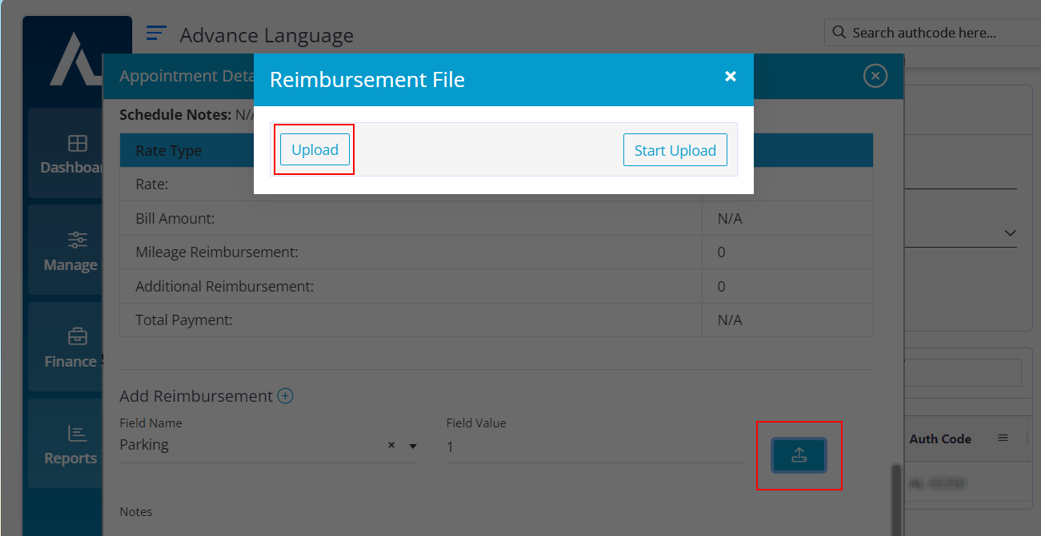
An upload icon will appear they can use it to upload a photo as proof for the reimbursement that they have claimed.
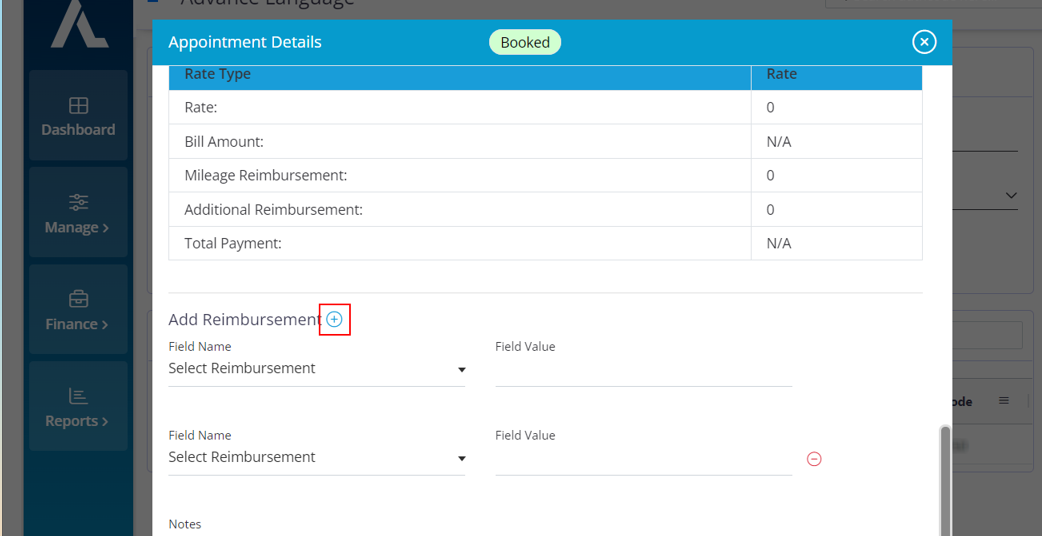
If the interpreter has multiple reimbursements to claim, they can click on the "+" icon to access more fields to add their reimbursements.
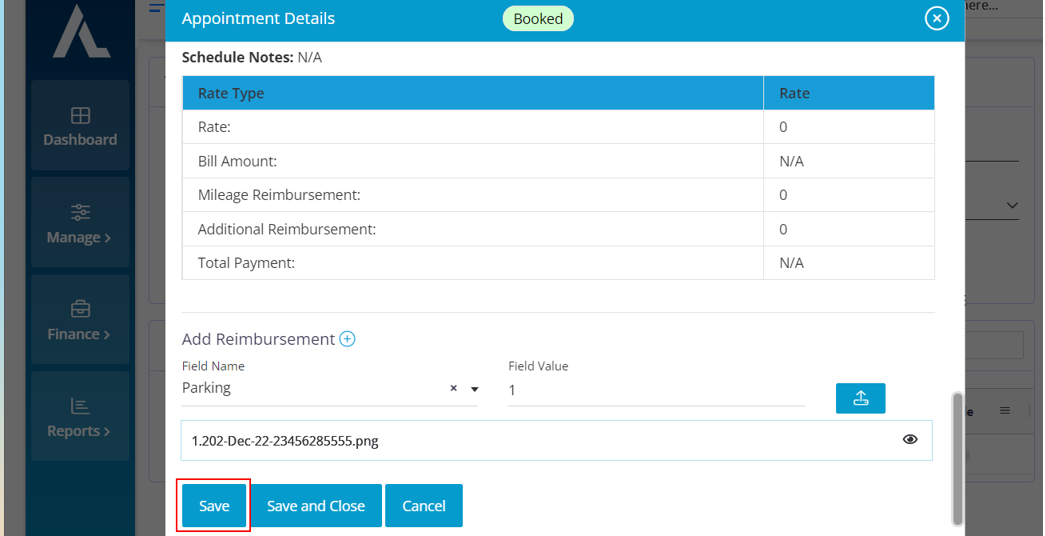
After the photo for the reimbursement has been uploaded click on the Save button.
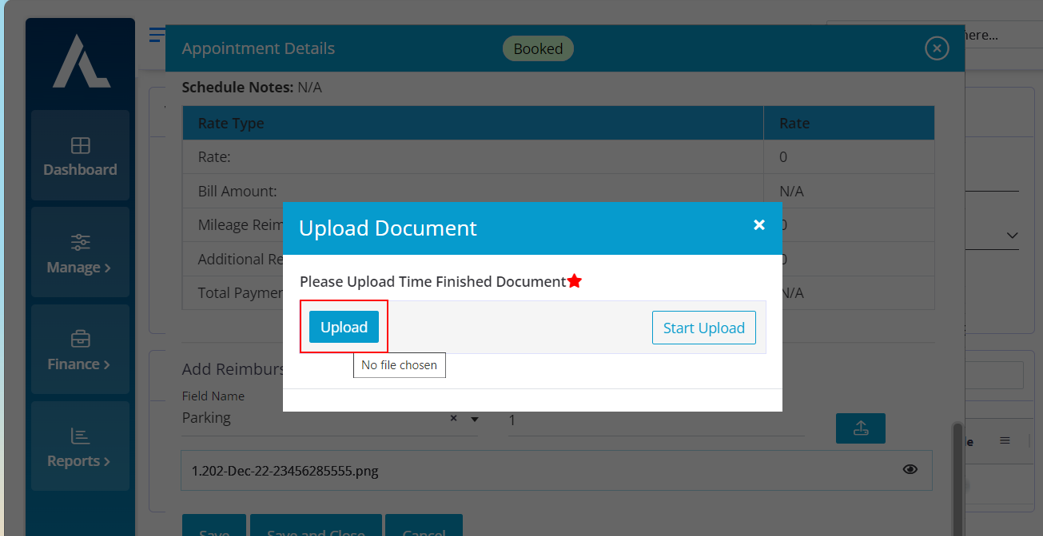
After you click on the "Save“ button a pop up will appear at the top which will ask you to upload the “Service Verification Form”.
The Interpreter can drag and drop the service form or they can click on the upload button and choose a file.
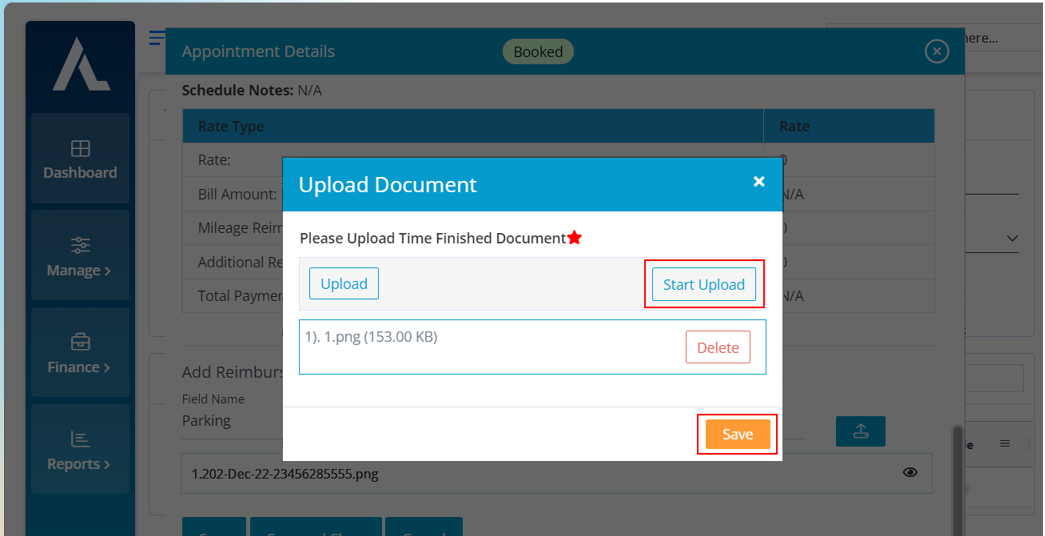
After choosing the file click on the "Start Upload" button.
After the file gets uploaded a "Save" button will appear, click on it.
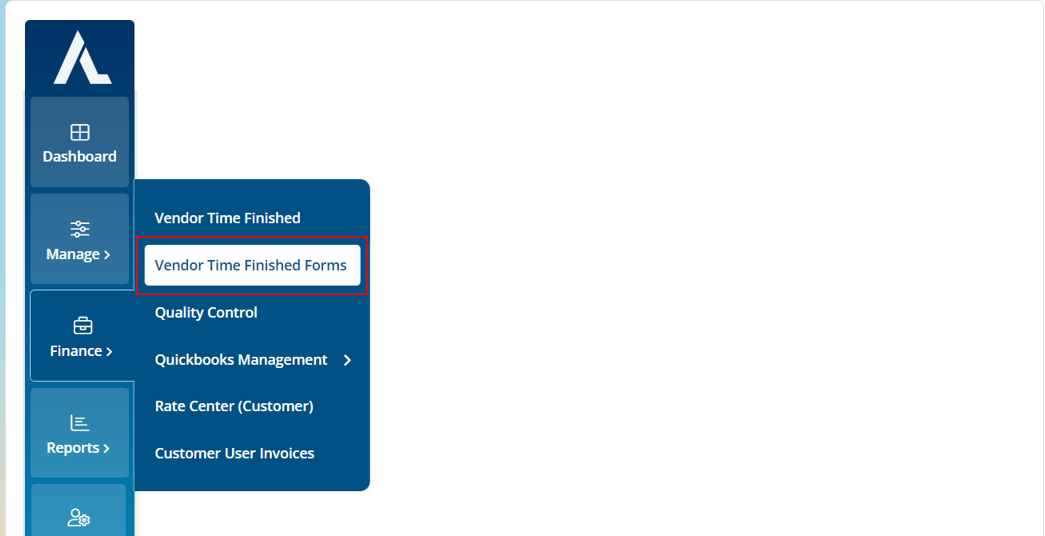
Move the cursor to the Finance icon on the side menu and click on the Vendor Time Finished form
In the Time Finished Page you can search for the required appointment using the Date Range filter.
After you set the appropriate date and click on search button the available appointments will populate in the below data table.
Choose the required appointment. Click on the “i” symbol the appointment details will appear in a pop up.
The company staff can check and approve or decline the time that was updated by the Interpreter.
The company staff has the ability to view the proof image of the reimbursement that was uploaded by the interpreter and they can choose to accept or decline it.
They can choose to approve or decline the entire Time Finished document that was submitted by the interpreter.
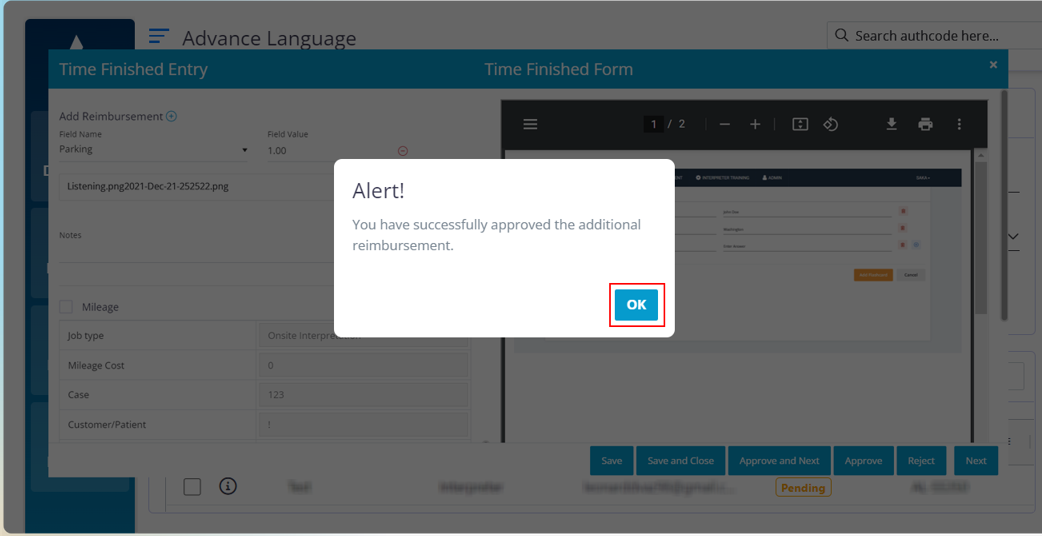
The company staff will receive this pop up after they approve the interpreter’s reimbursements. Click on the “OK” button.

Documents Approved. Click on the “OK” button.
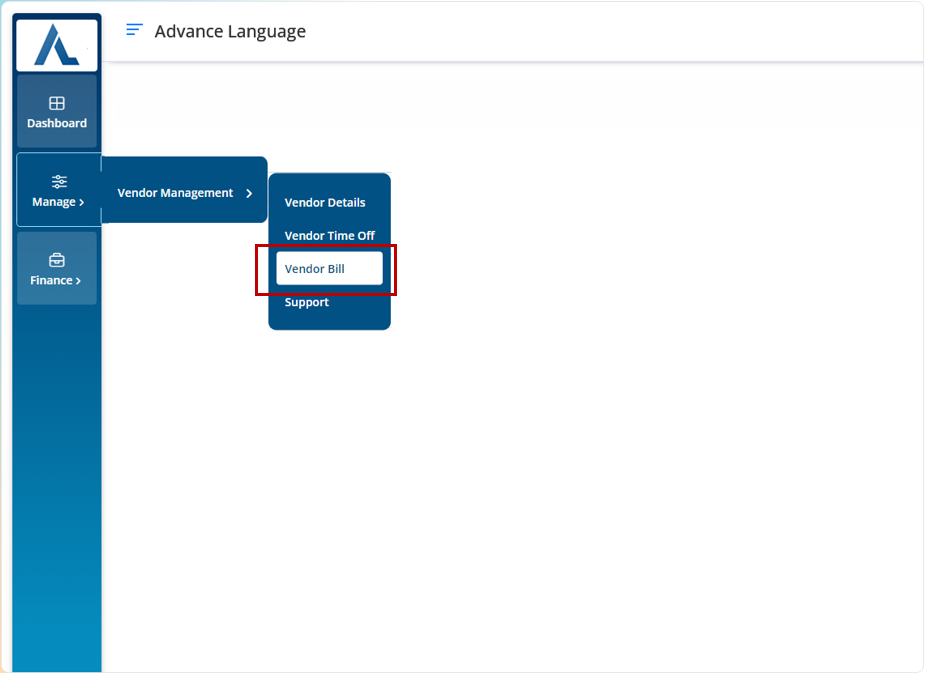
To access the vendor bill page, follow the below path Manage > Vendor Management > Vendor Bill.
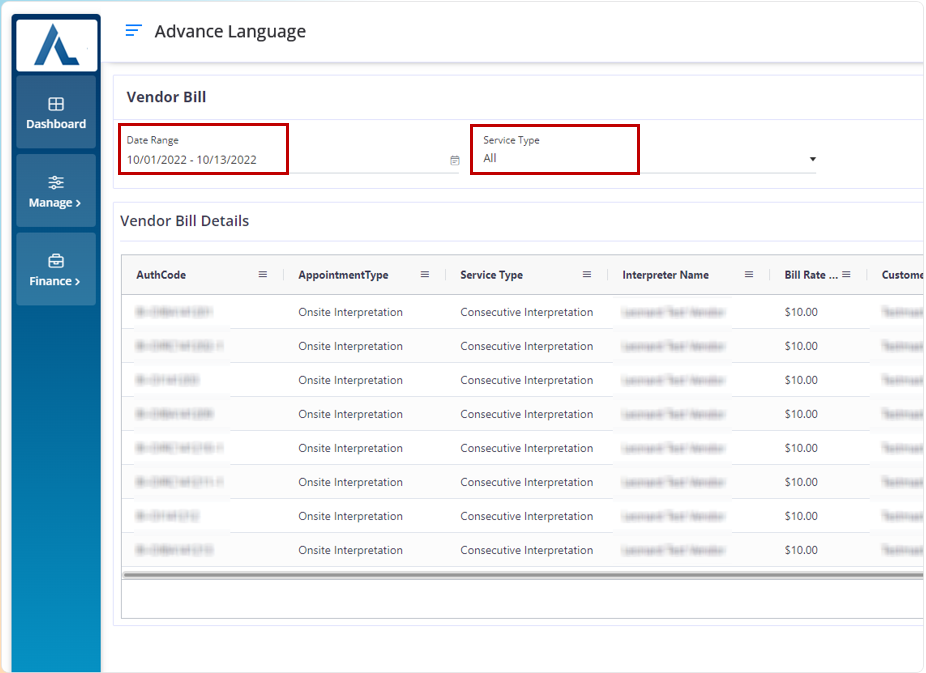
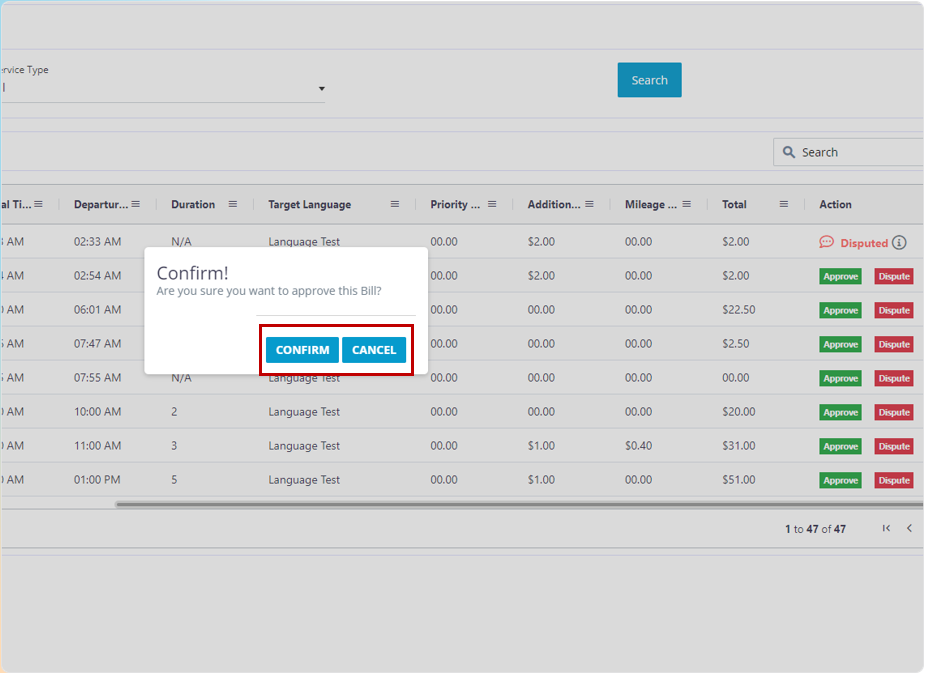
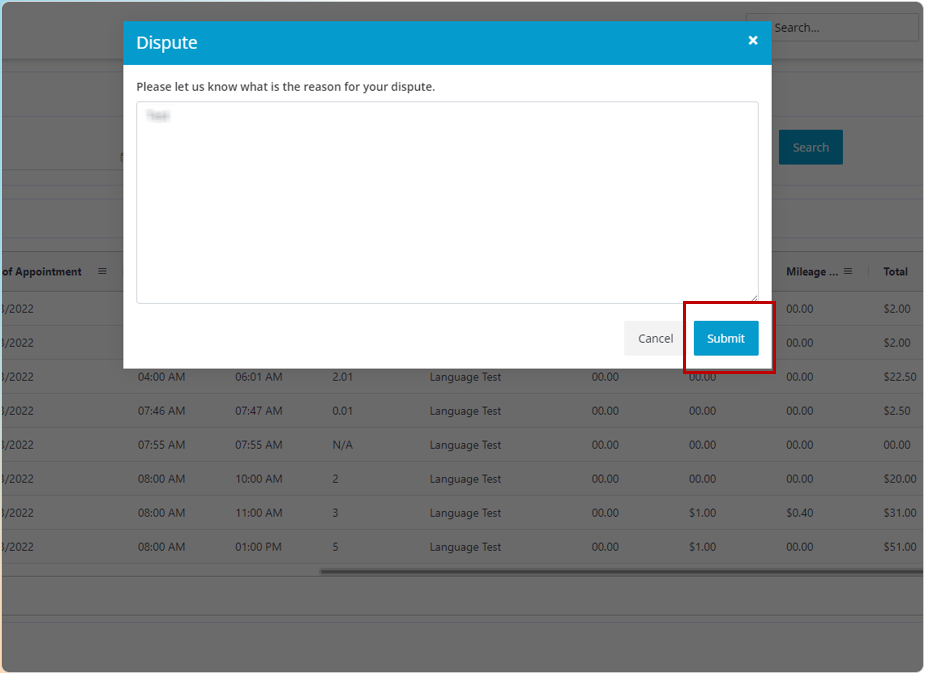
Scroll to the right in the data table and you will find the options to approve or dispute the bill. If the payment details are correct, you can approve the bill by clicking on the Approve button. This will allow the company staff to process your payment. If there are any calculation errors in the bill, you can dispute it but clicking on the Dispute button. This will notify the company staff that you have a concern in the bill and they will look into it.
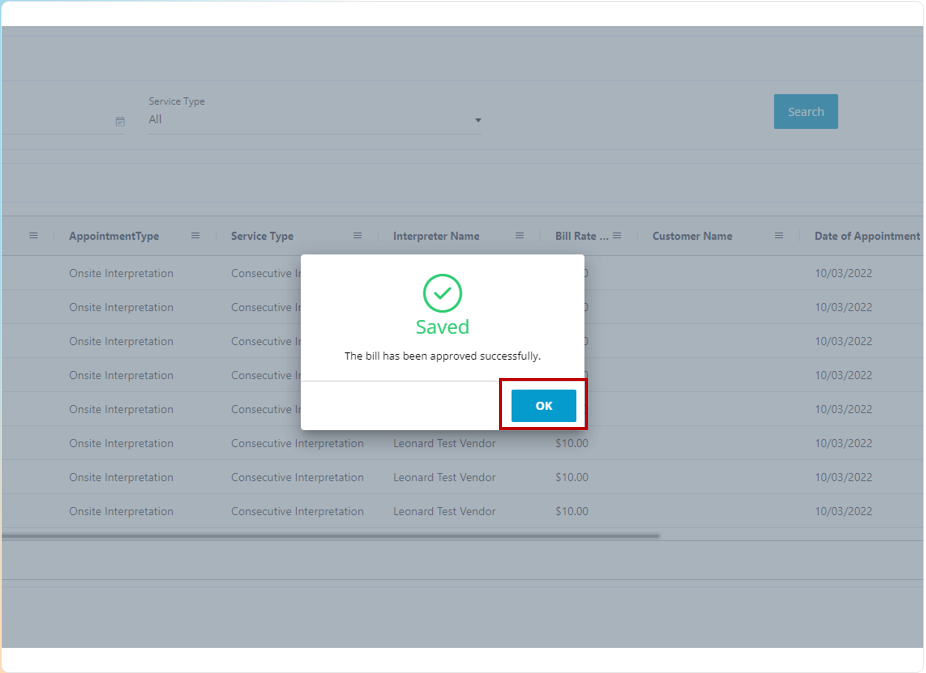
Click on the OK button.
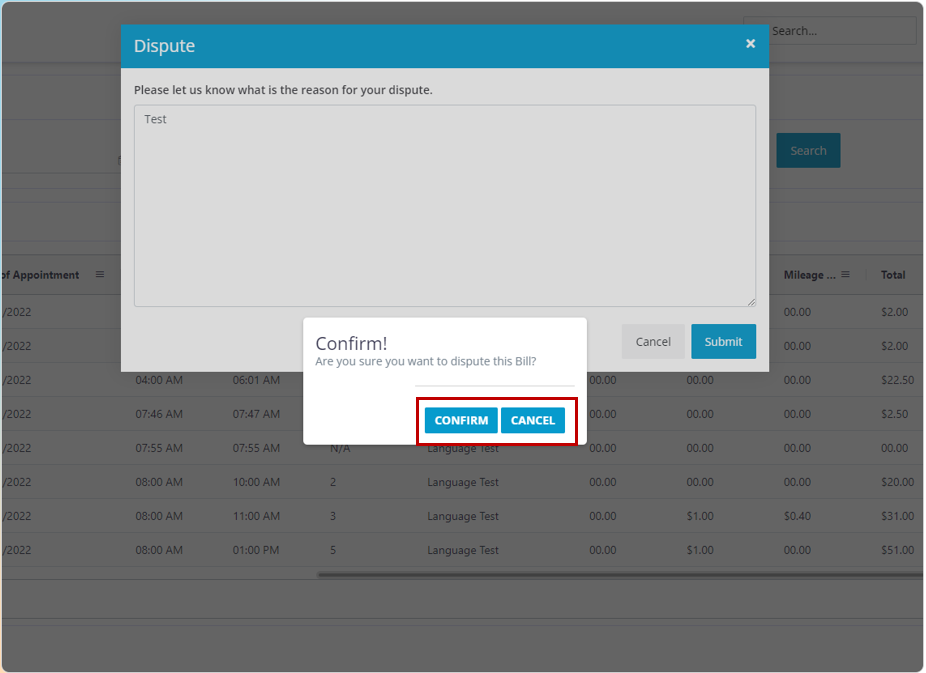
Click on the Confirm button.
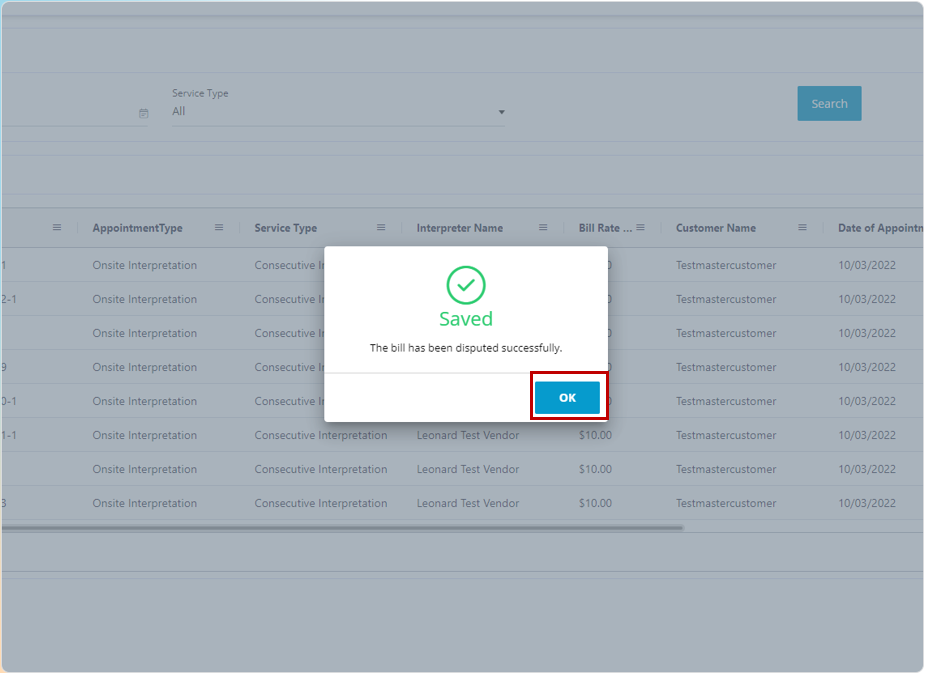
Click on the OK button.
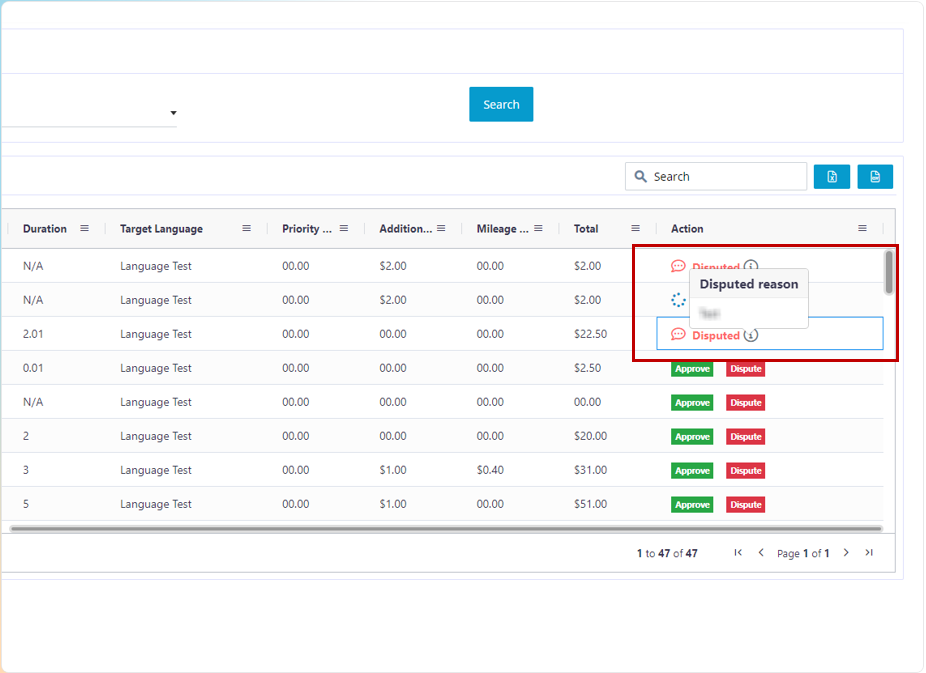
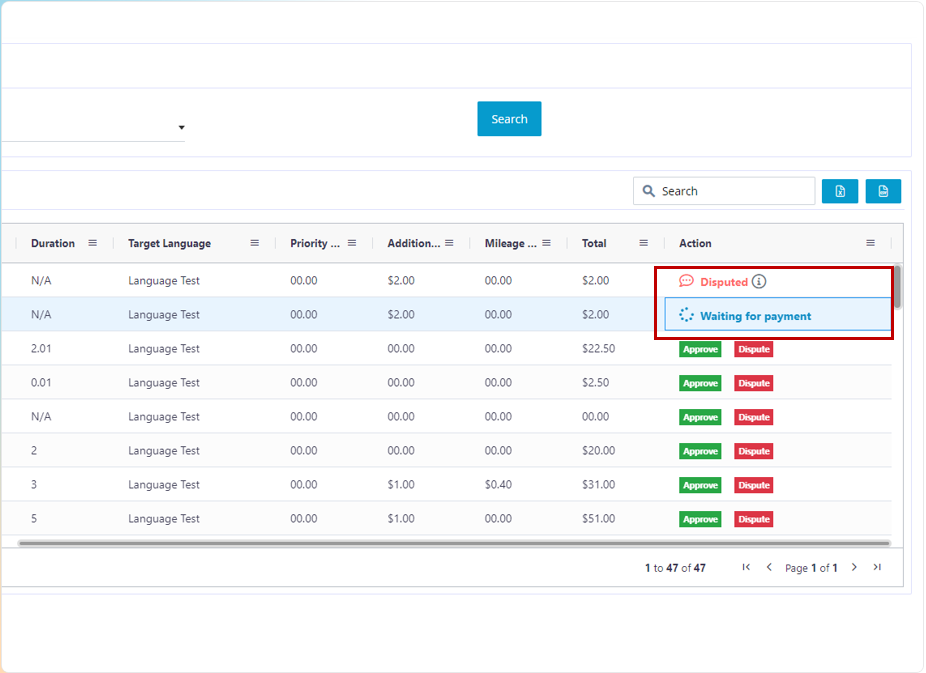
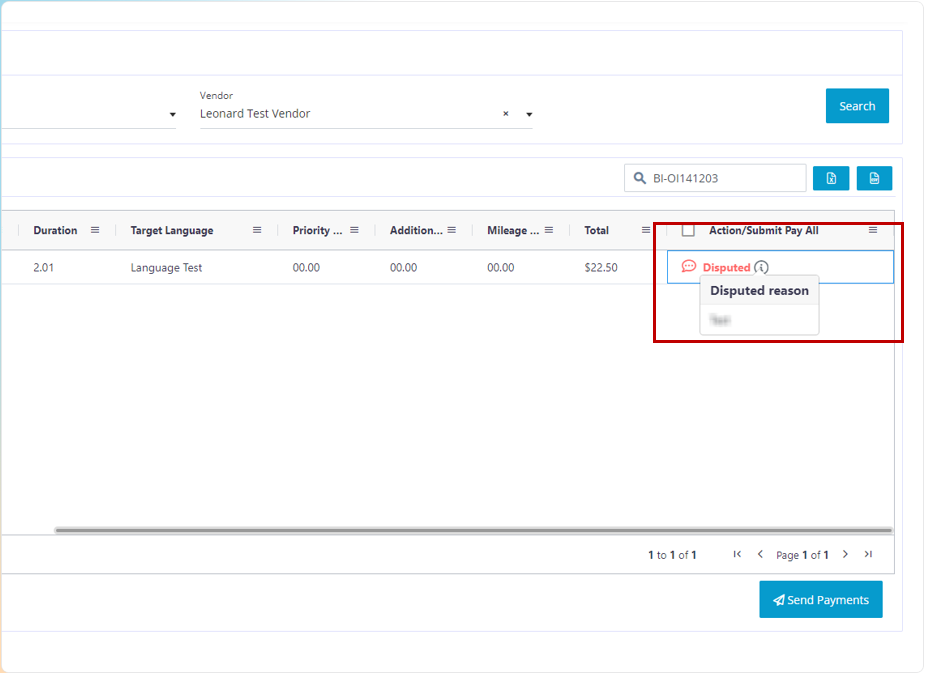
Click on the i icon to view the disputed reason entered
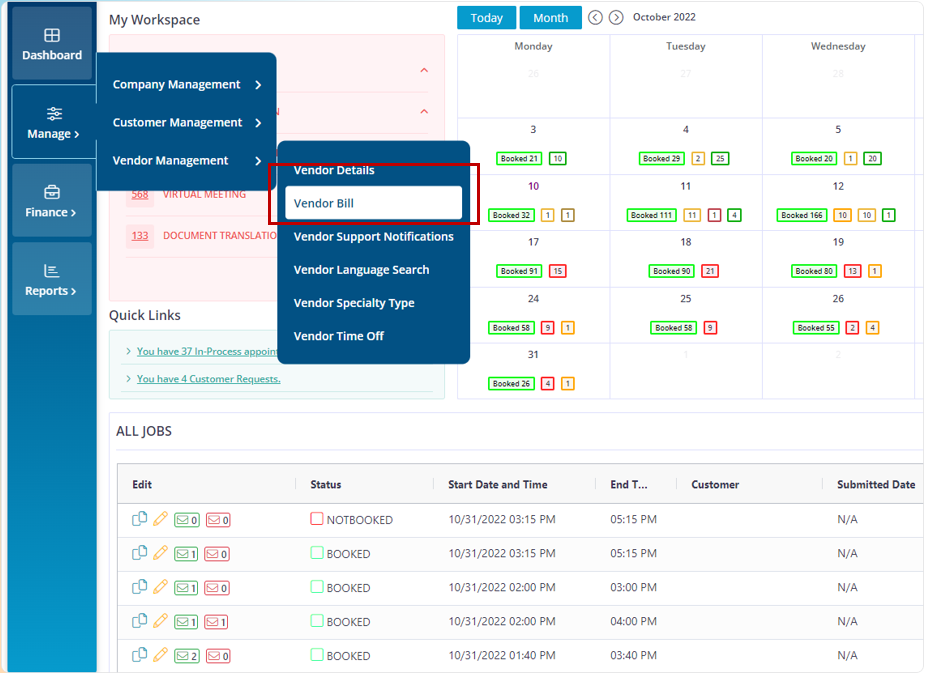
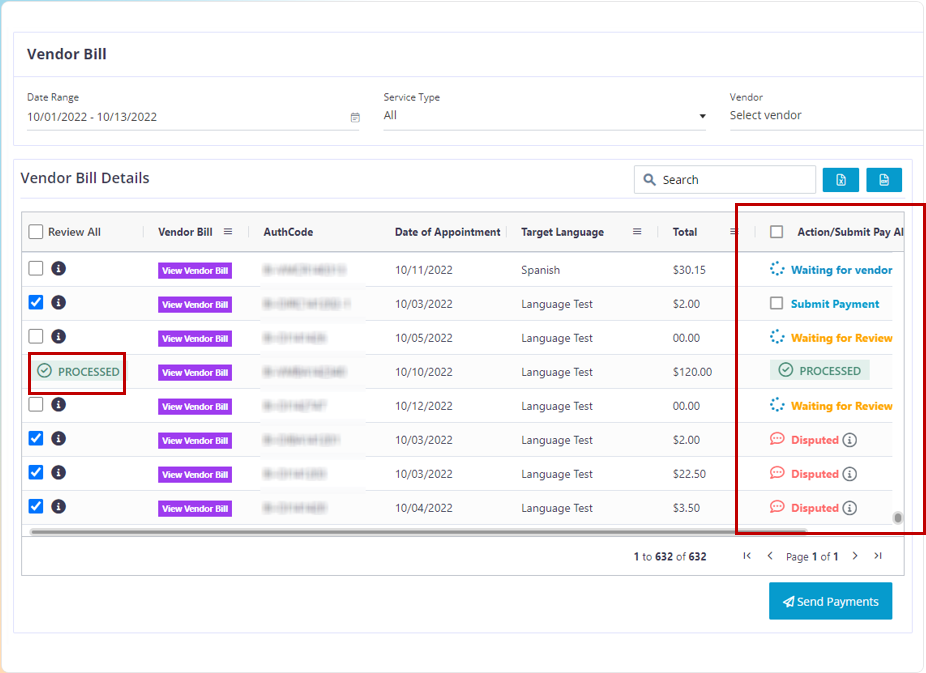
To access the vendor bill page, follow the below path, Manage > Vendor management > Vendor Bill
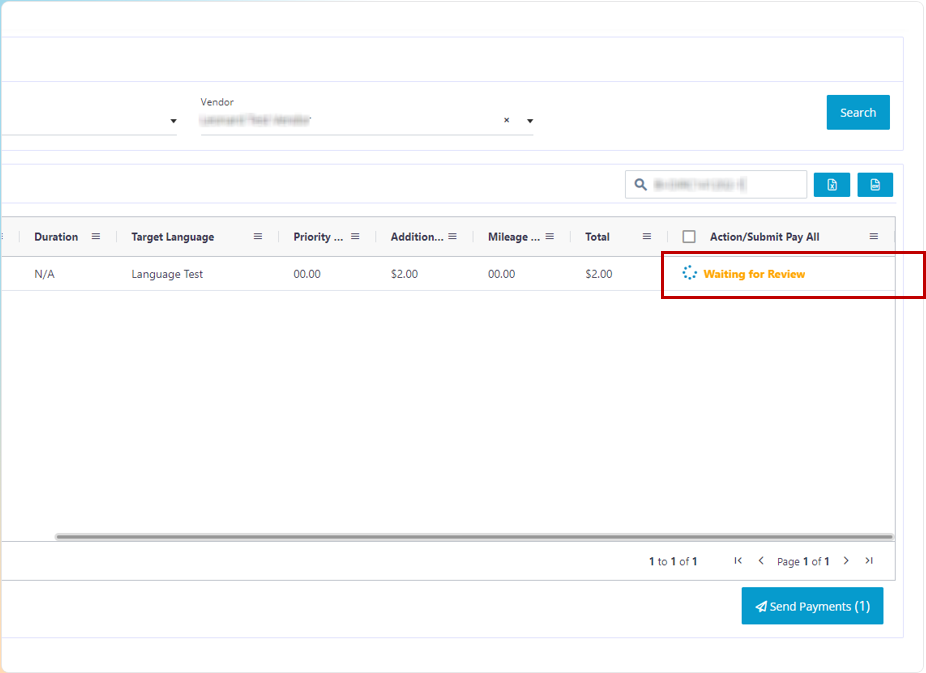
When the vendor approves the bill, the status on the company staff side would say Waiting for Review
Click on the Confirm button
Click on the OK button
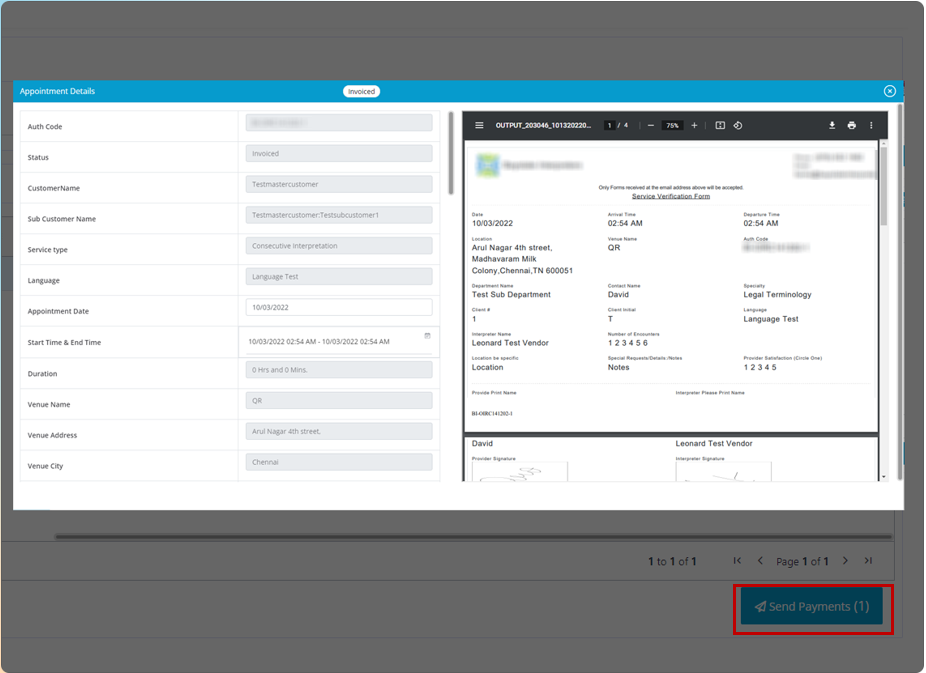
When you click on the i icon, you will receive this pop up. In this pop up, you can view the details of the appointment, the time of the appointment and any additional reimbursement if added and you can also check the calculation of the appointment
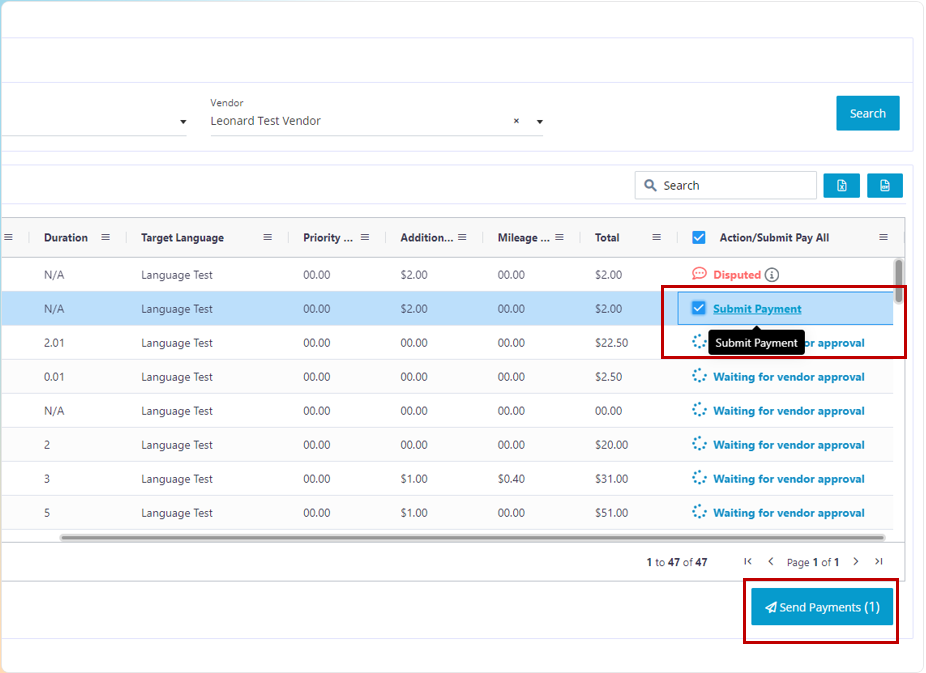
Click on the check box that says submit payment and click on the Send payment button.
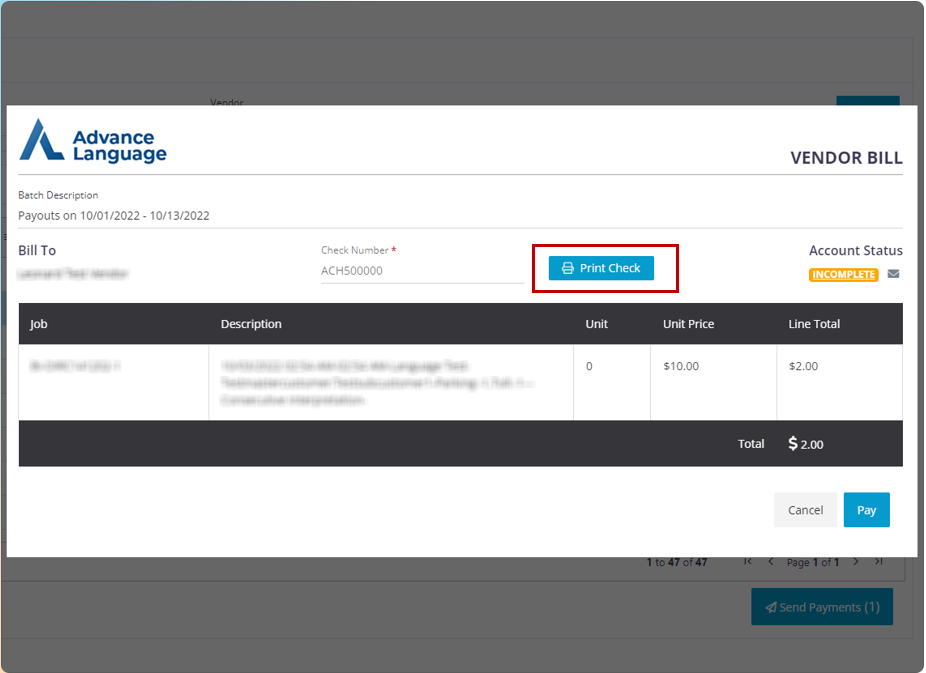
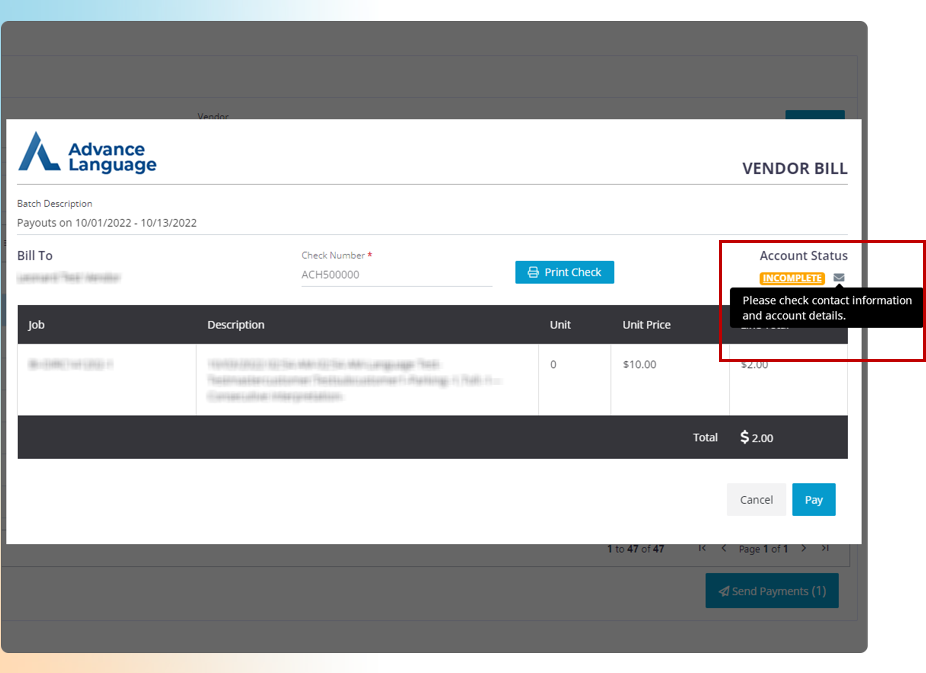
When the status of the vendor is Incomplete then the payment will not go through. Click on the email icon to send out a request to the vendor to complete their payment details, so that the status would change to Active and then the payment would go through. If the company staff has the payment details of the vendor, they can enter it by clicking on the status that says Incomplete.

This is the email that the vendor will receive. They need to click on the update payout button
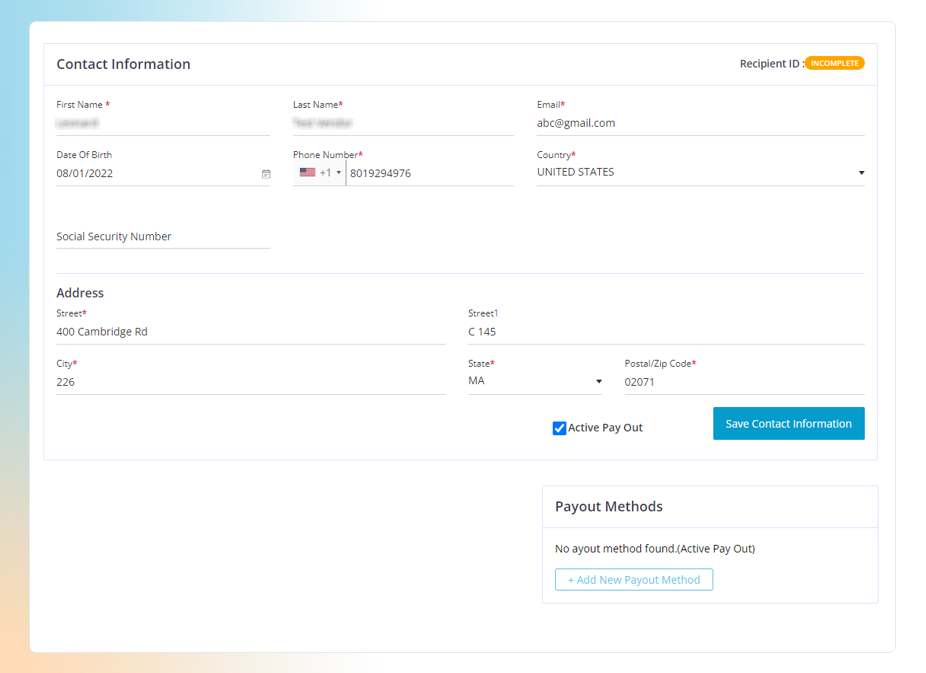
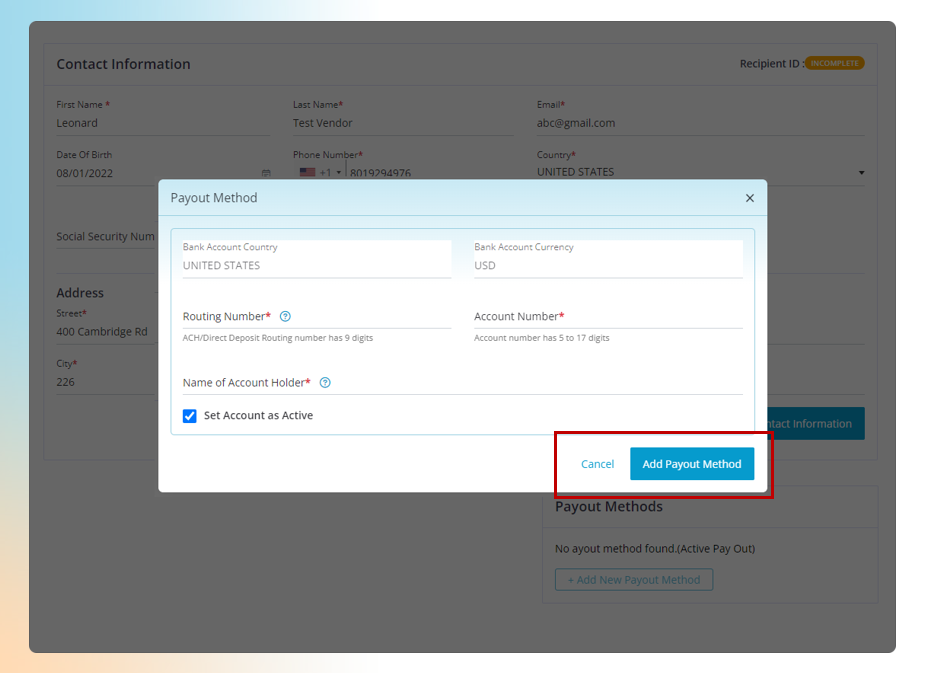
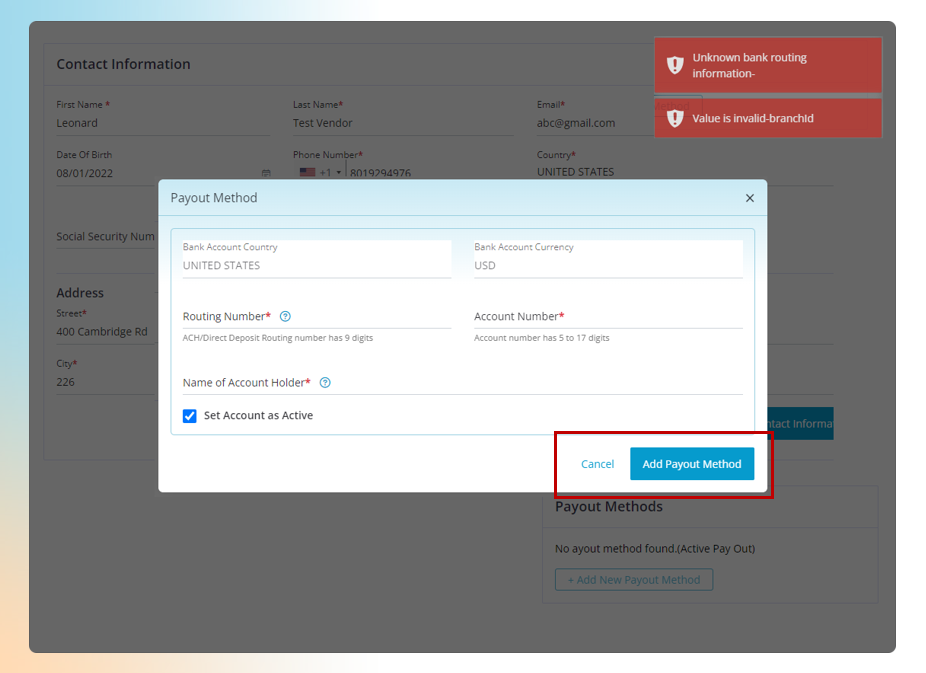
If you receive this alert, please check the information which you have entered. If the information which was entered in is not correct then you will receive this alert
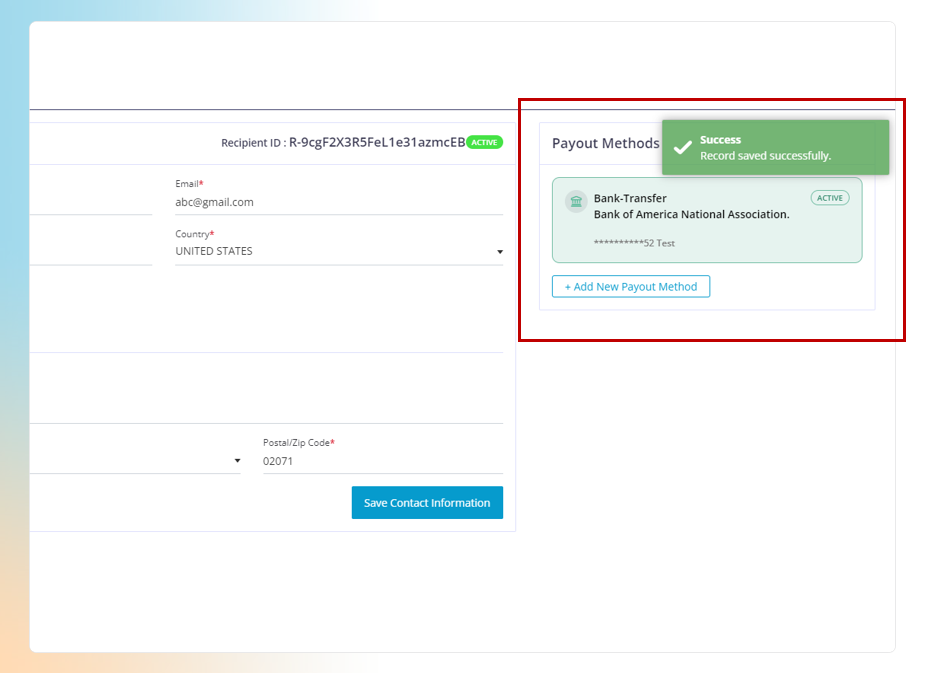
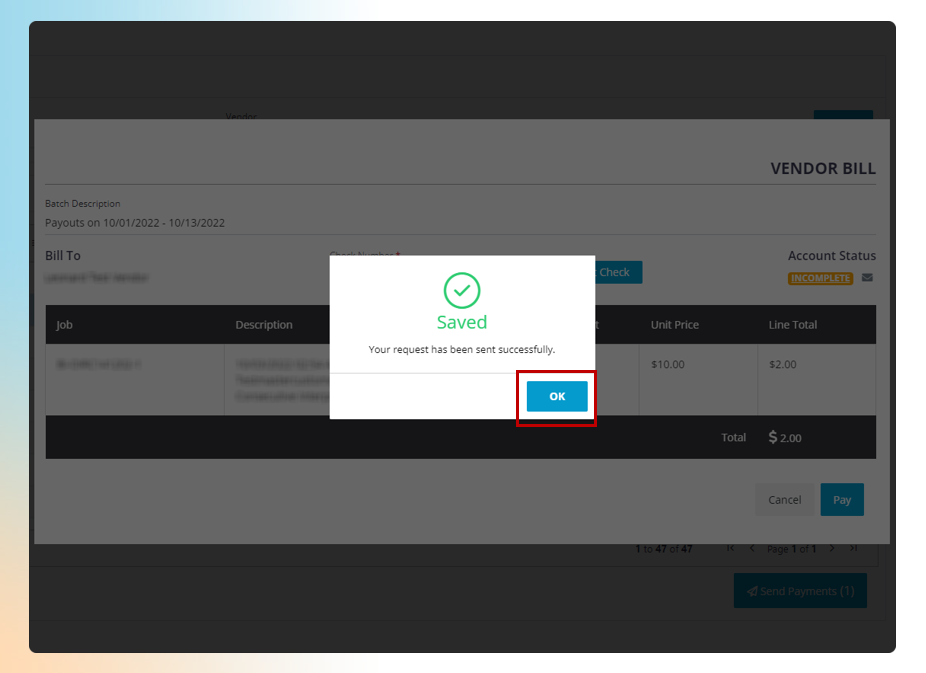
Once you have entered the correct data you receive this pop up and the status will change to Active
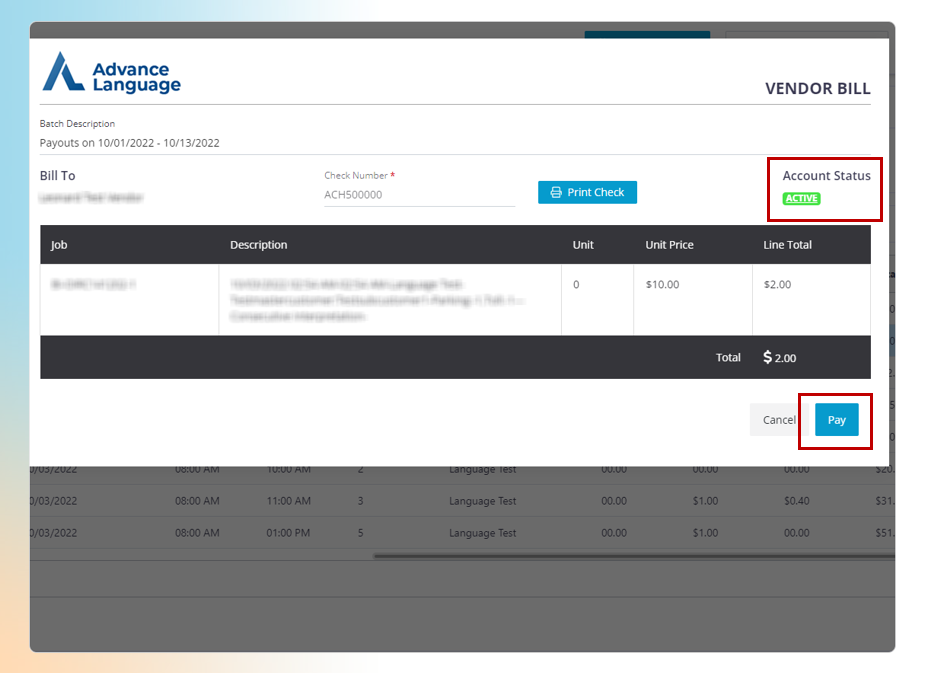
When the account status of the vendor is active click on the Pay button
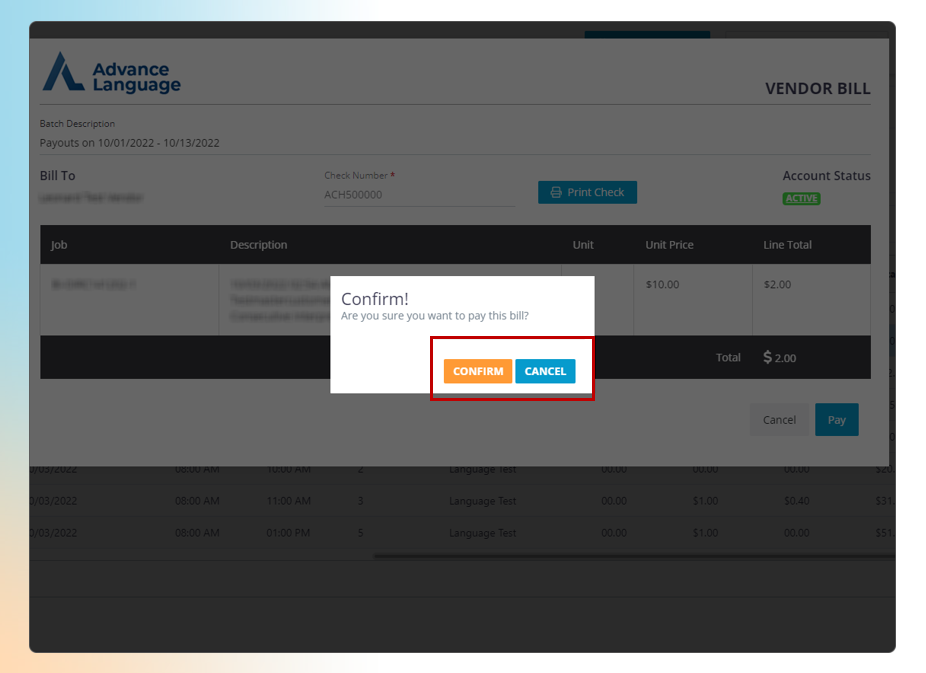
Click on the confirm button.
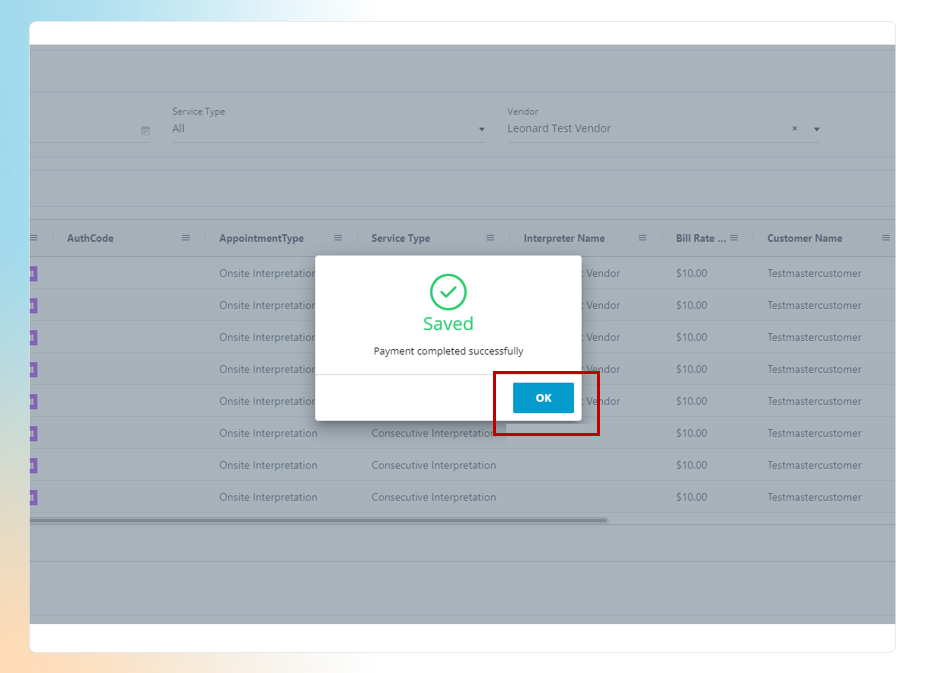
Click on the Ok button.
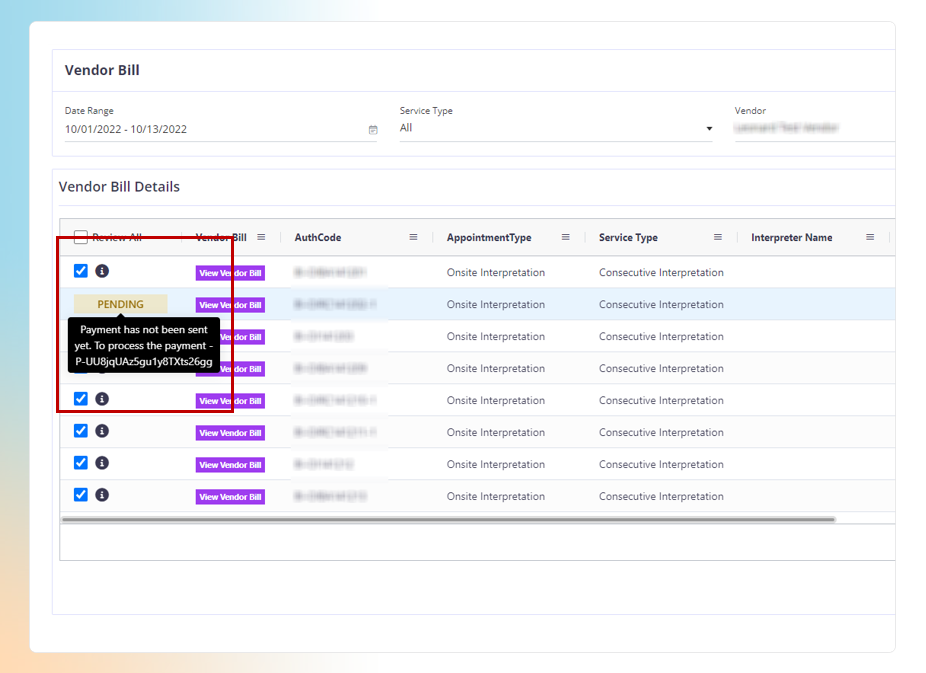
When the payment has not yet been debited from the account the status will display Pending.

Once the payment has been debited and put under process, the status will change to Processed.
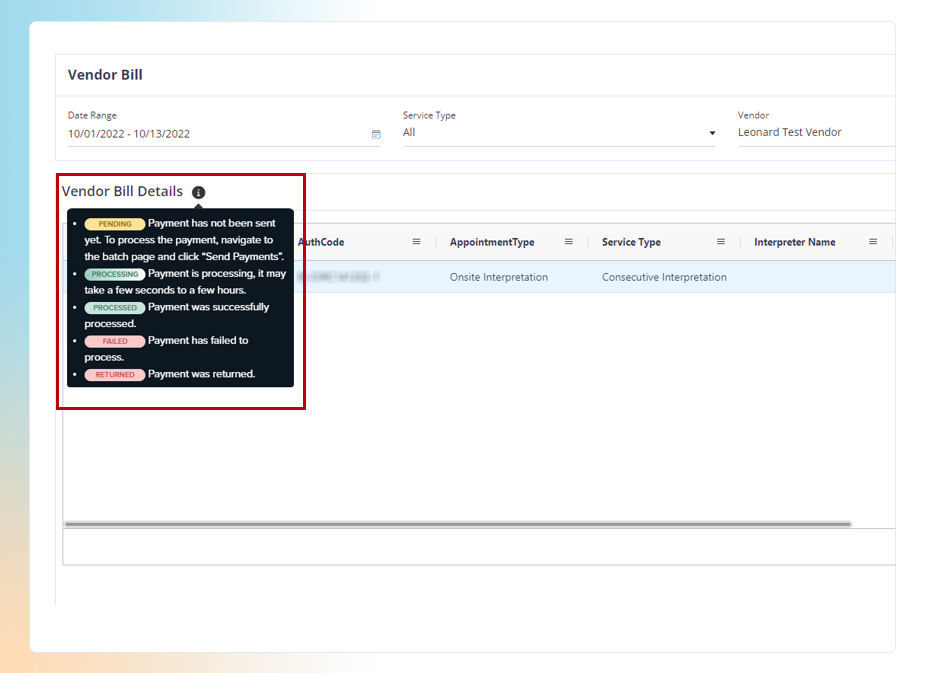
The statues in the slide helps you to keep track of the payment.
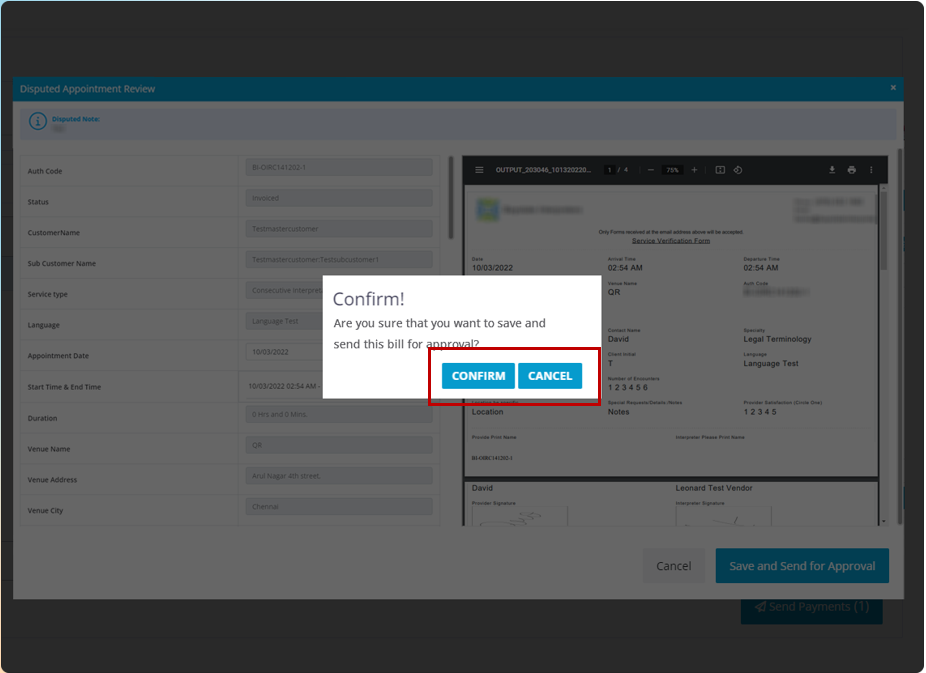
Click on the Confirm button.
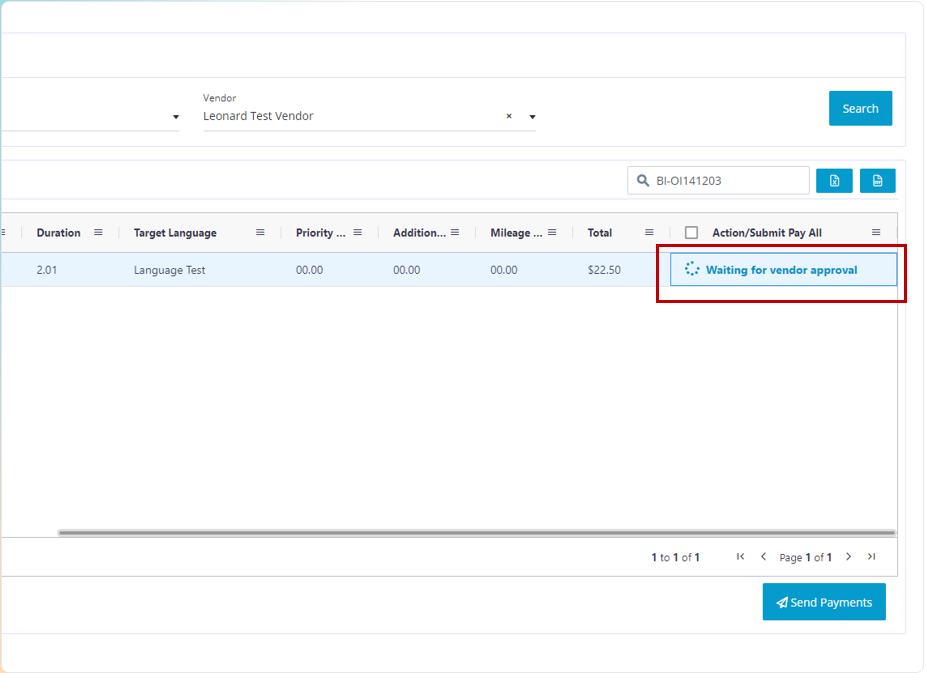
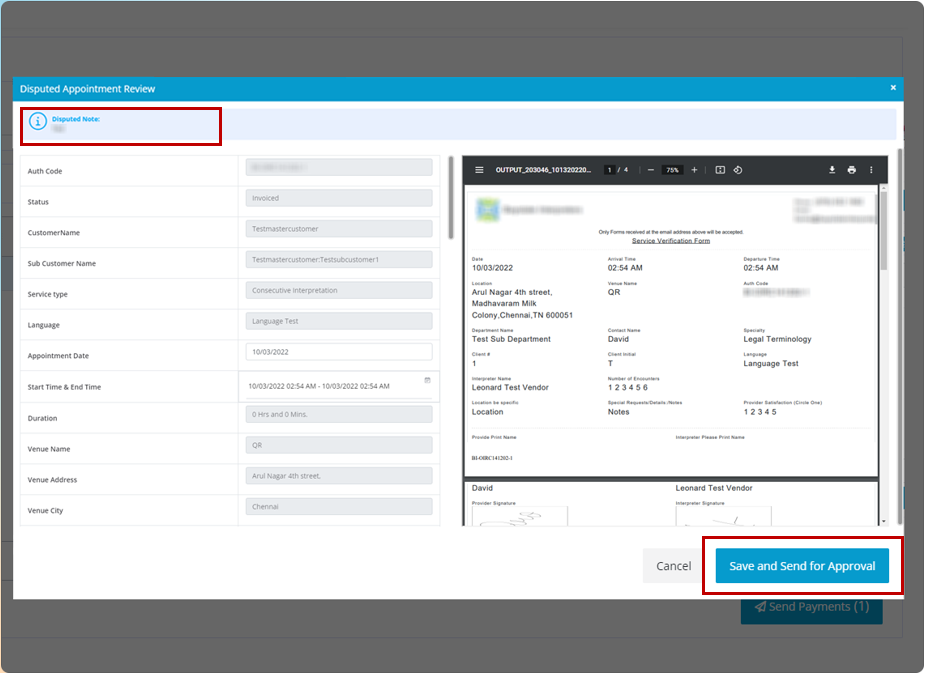
Now the status will change to waiting for the vendor’s approval. Once the vendor approves the bill you can follow the approval process, if the vendor disputes the bill then you can follow the disputed process to submit the bill for approval again.
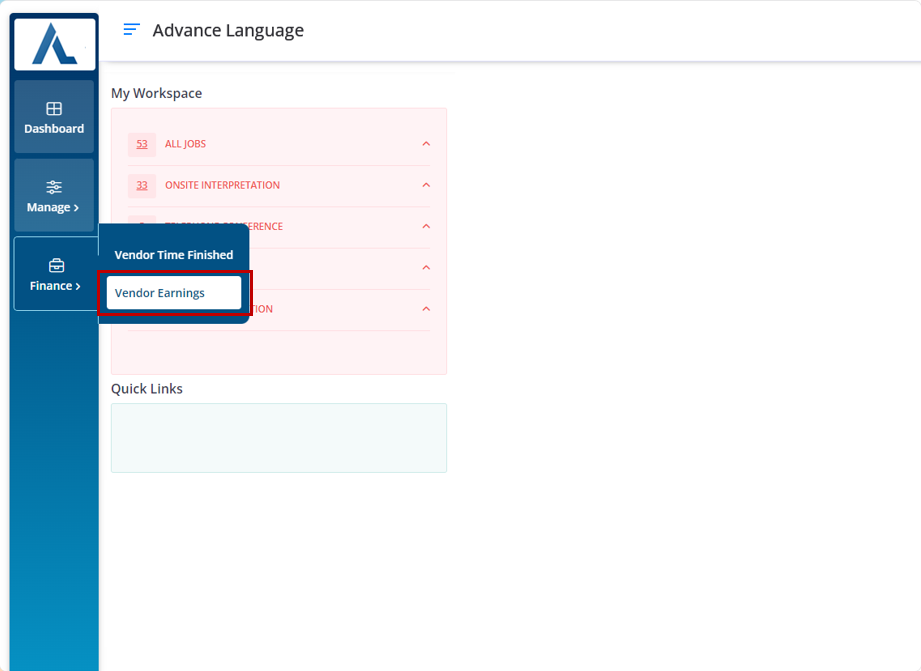
To view the earning, please follow the below path. Finance > Vendor Earnings.
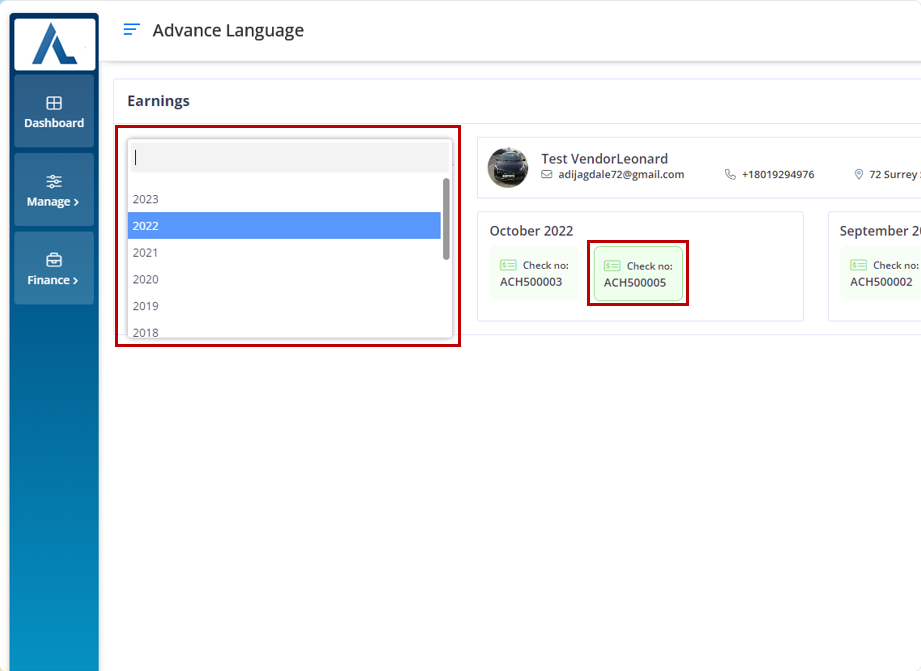
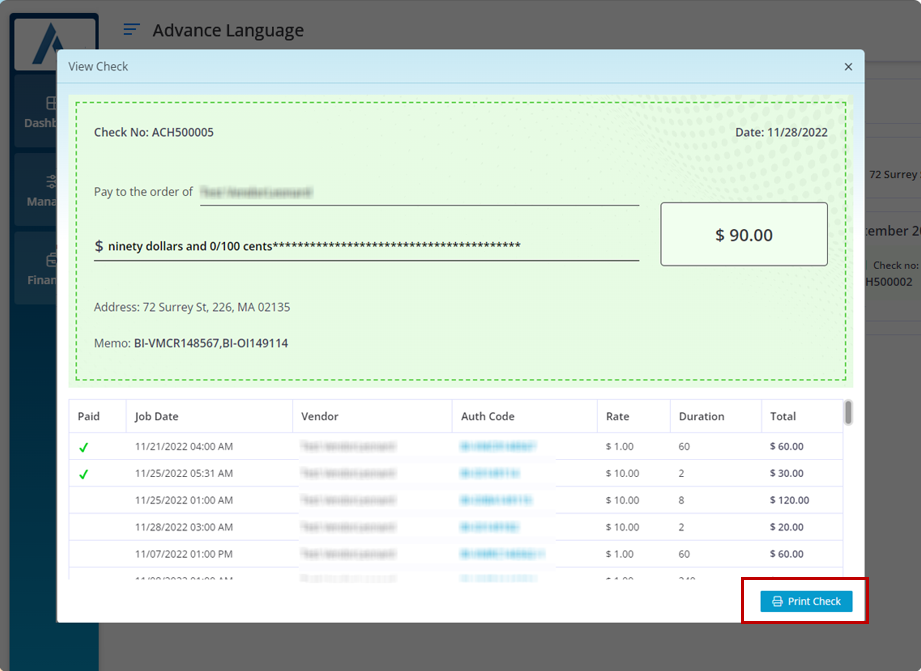
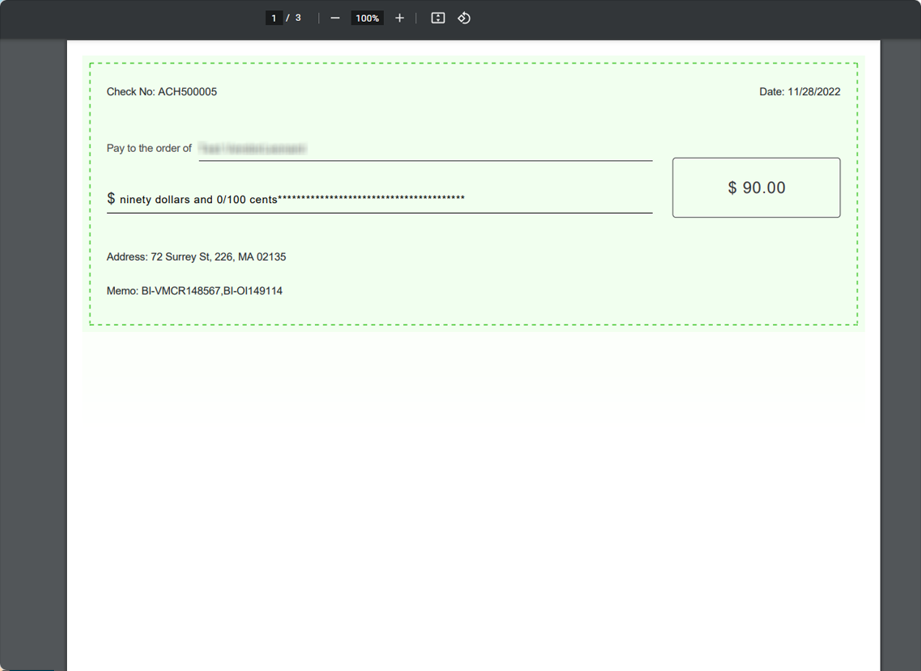
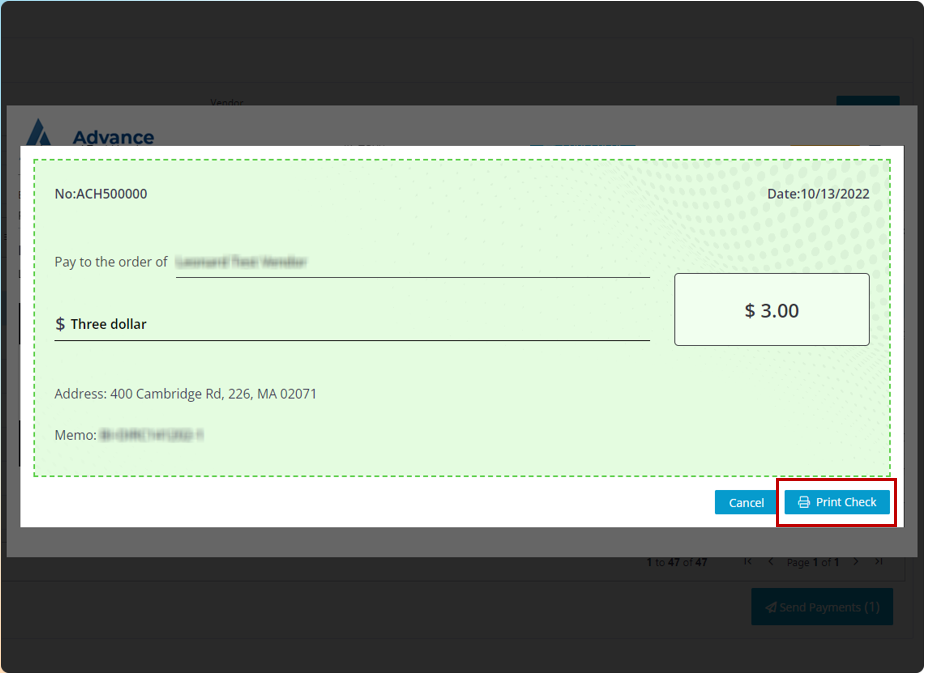
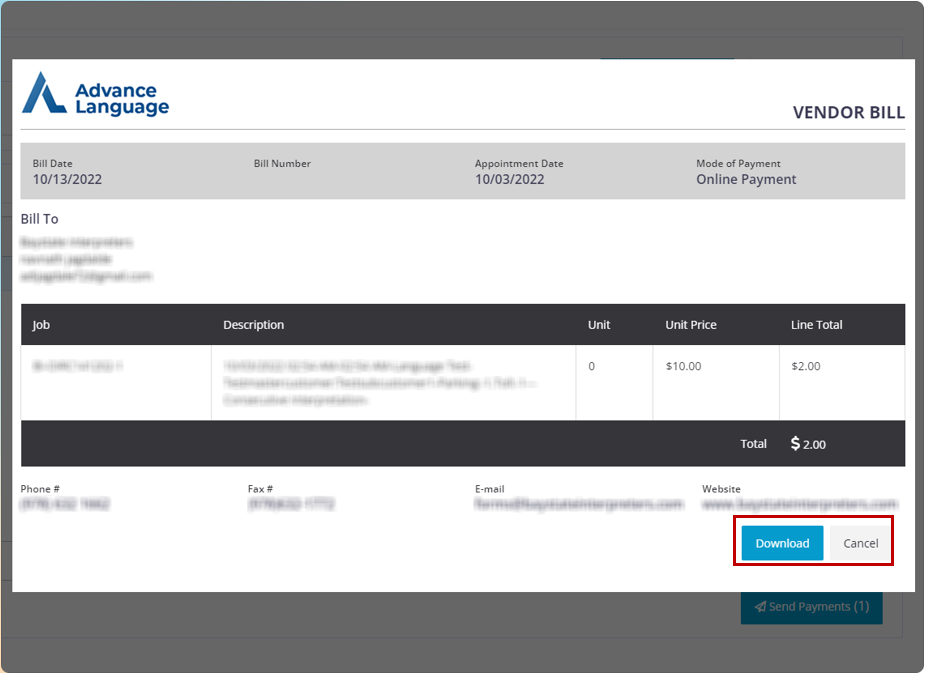
When you click on the print check button,
you will receive the pdf view of the check which you can download/print.