1.Add Customer
Move the cursor to the “Manage” icon and choose Customer Management > Customer Details.
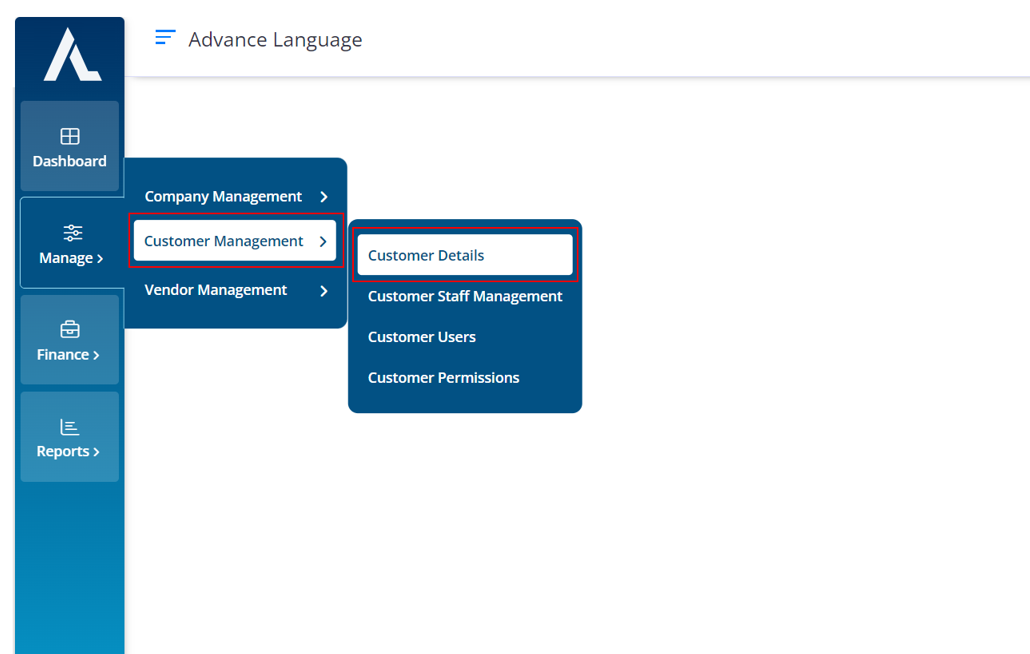
Move the cursor to the “Manage” icon and choose Customer Management > Customer Details.
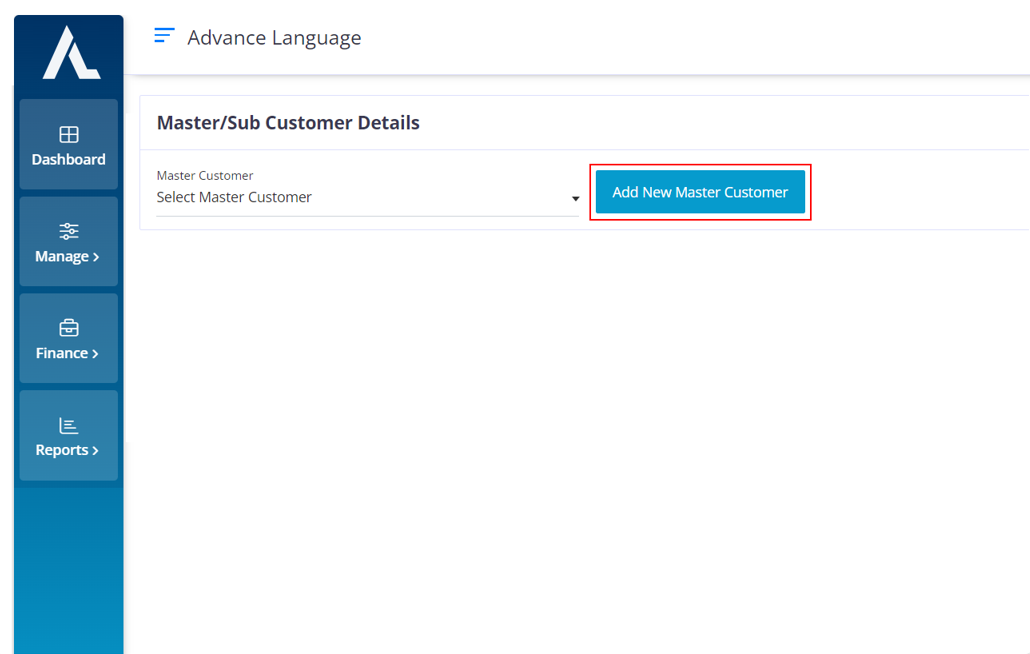
Click on the “Add New Master customer” button.
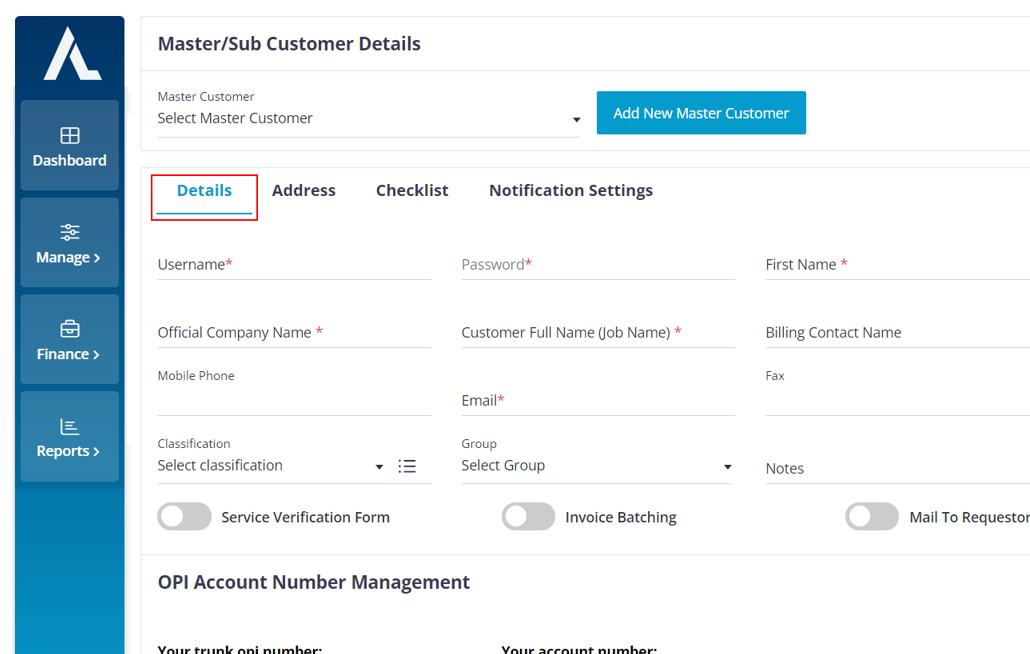
Fill in the required information in the mandatory fields.
Other fields are optional and can be filled based on your company requirements
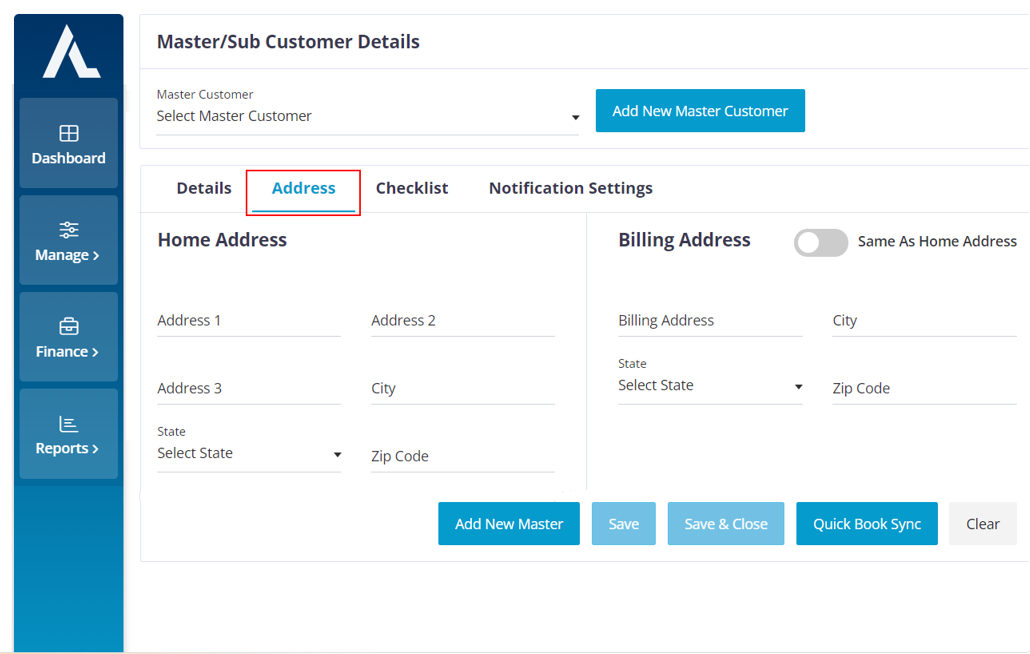
Fill in the appropriate address as this will be used to calculate the mileage for the Interpreter.

To filter out the Interpreters based on the customer’s requirements, choose the options and mention the number hours that are needed for the interpreter to populate for the particular customer
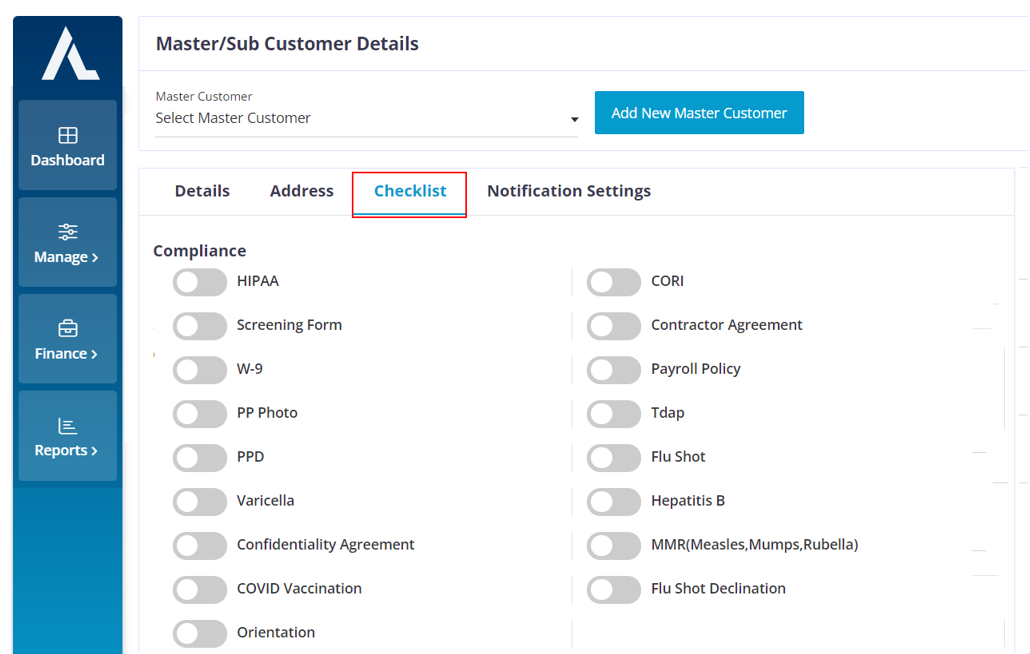
Choose the required compliances that the interpreters need to match in order to populate for the customer.
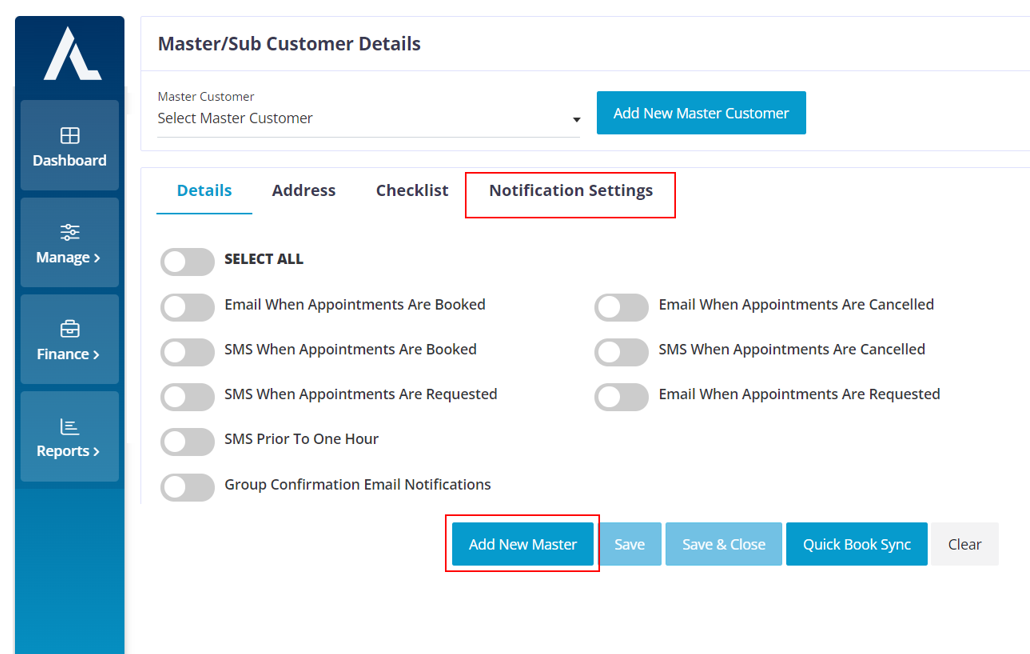
Based on the customer’s requirements you can enable the notifications.
After you are done adding all the customer’s requirements and details click on the “Add New Master” button.
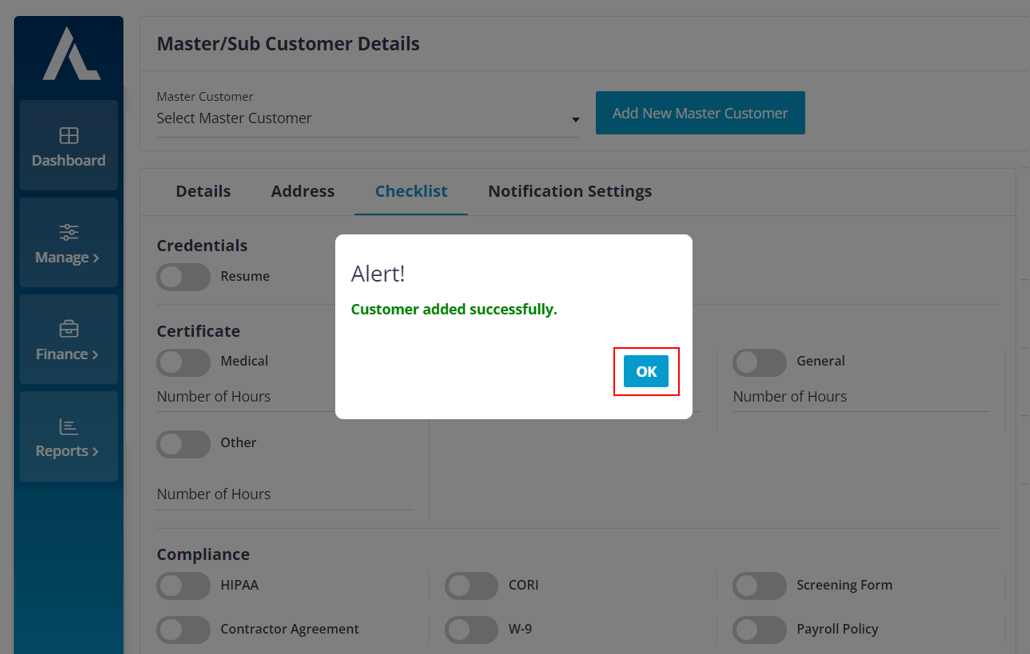
You will get this pop up click on the “OK” button.
Now you have successfully created a new master customer.
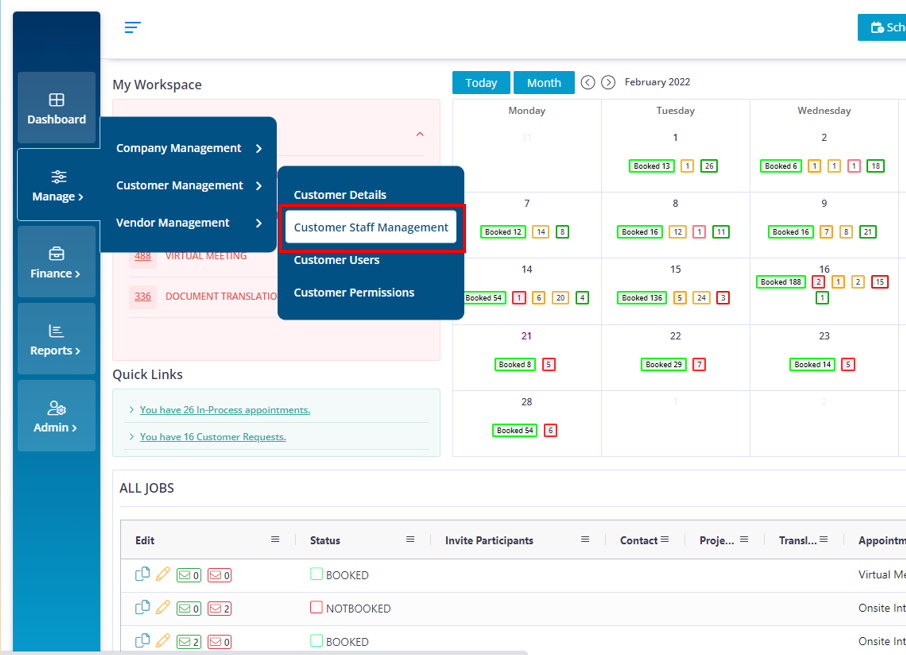
Move your cursor to the “Manage” icon and choose “Customer Management > Customer Staff Management”.
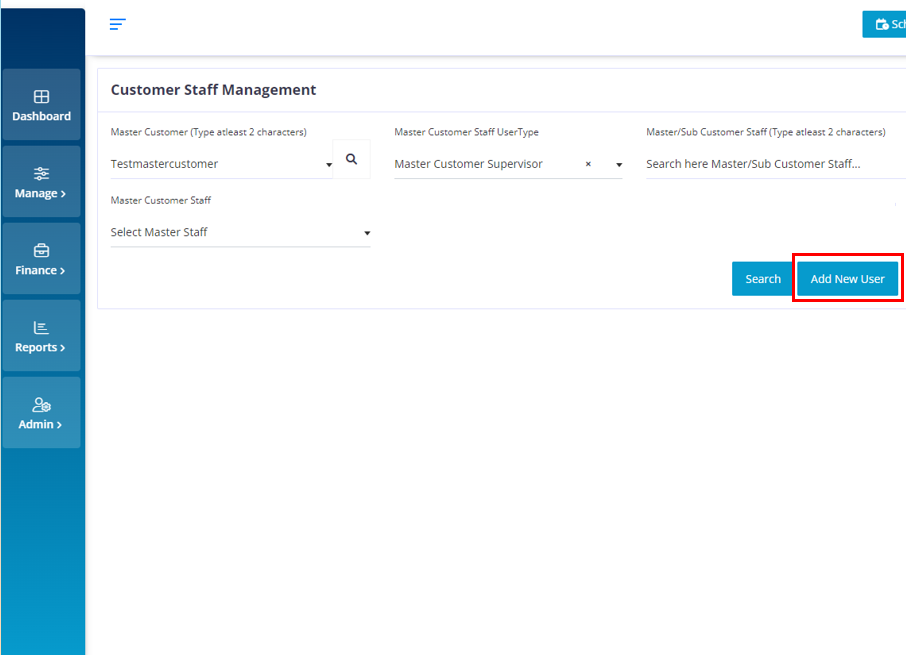
Choose the required Master customer or the Sub-Customer and choose the required user type and click on the “Add New User” button.
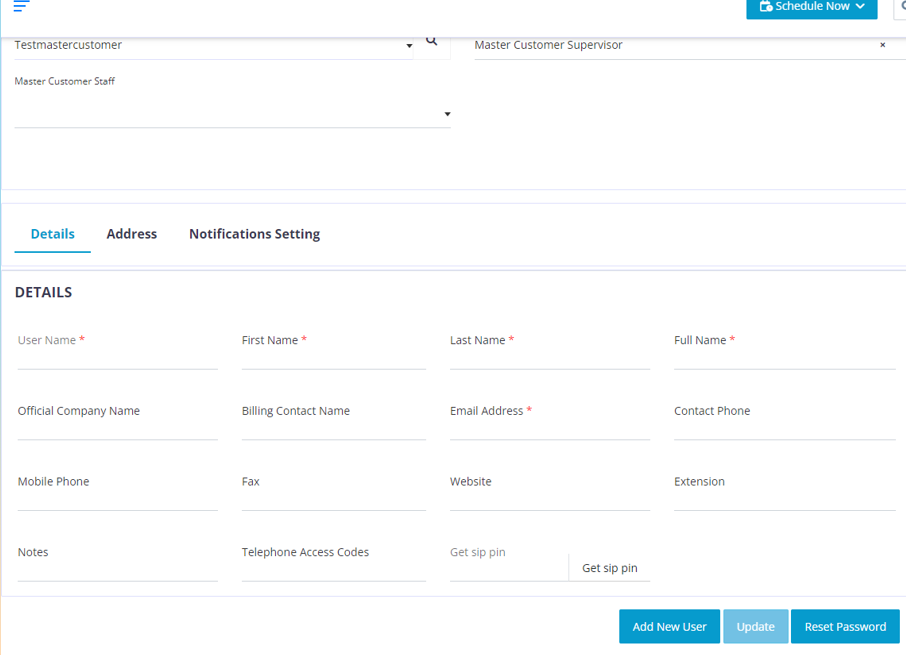
The mandatory fields need to be filled, the other fields are optional and based on company requirements.
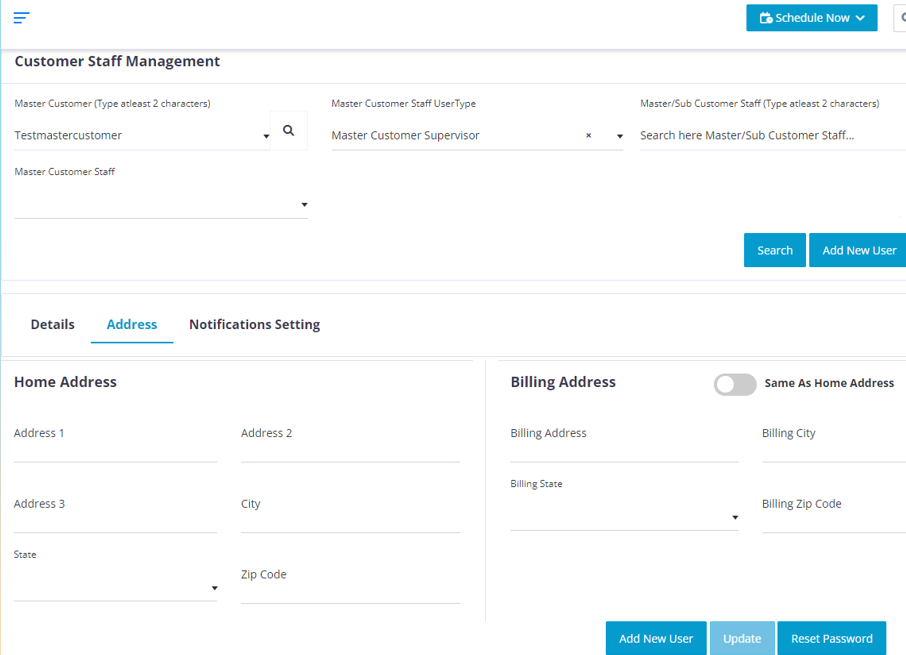
Make sure you fill in the correct address.

If your home address is the same as your billing address, then click on the “Same As Home Address” button and your address from the Home address section will be copied into the Billing address section.
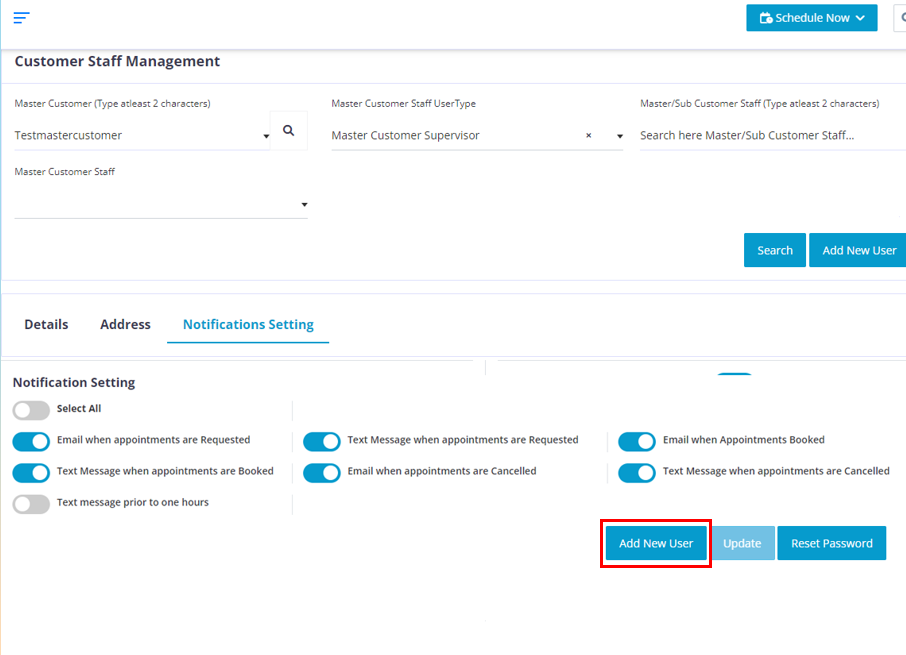
Choose the required options based on you requirements.
Click on the “Add New User” button.
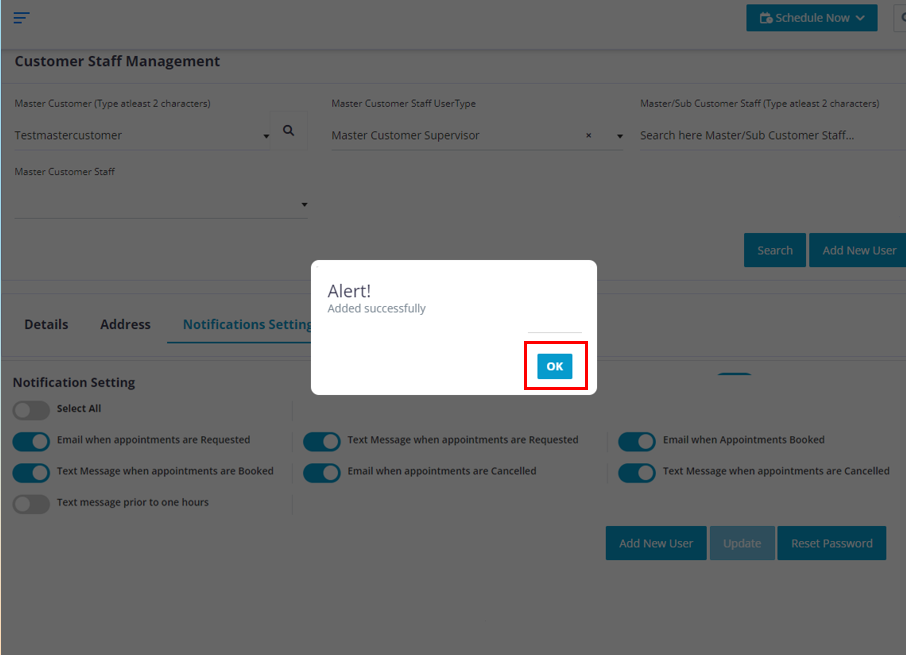
Click on the “OK” button.
(Note: Now a Welcome email containing the username and temporary password will be sent the email that you have entered in the details section).
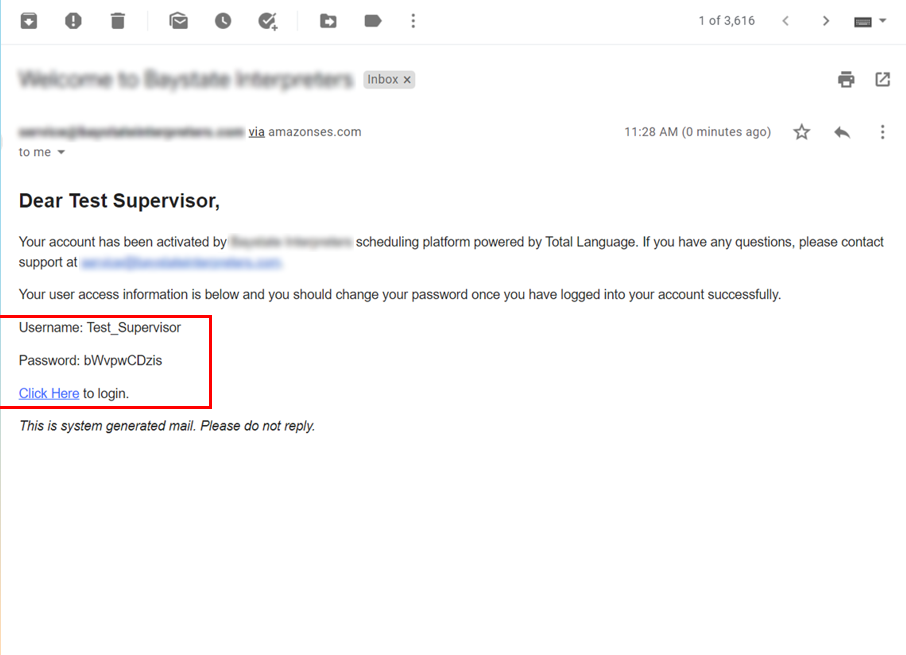
Use these credentials to log into you Total Language account.
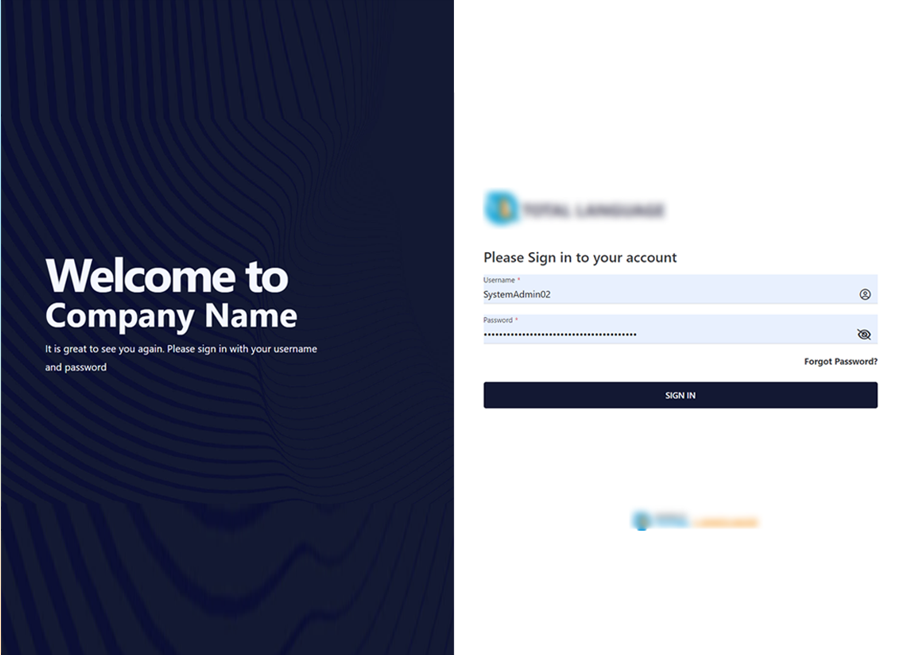
After you on the “click here” hyper link it will redirect you to this page. Use the credentials sent to you to log into you account.
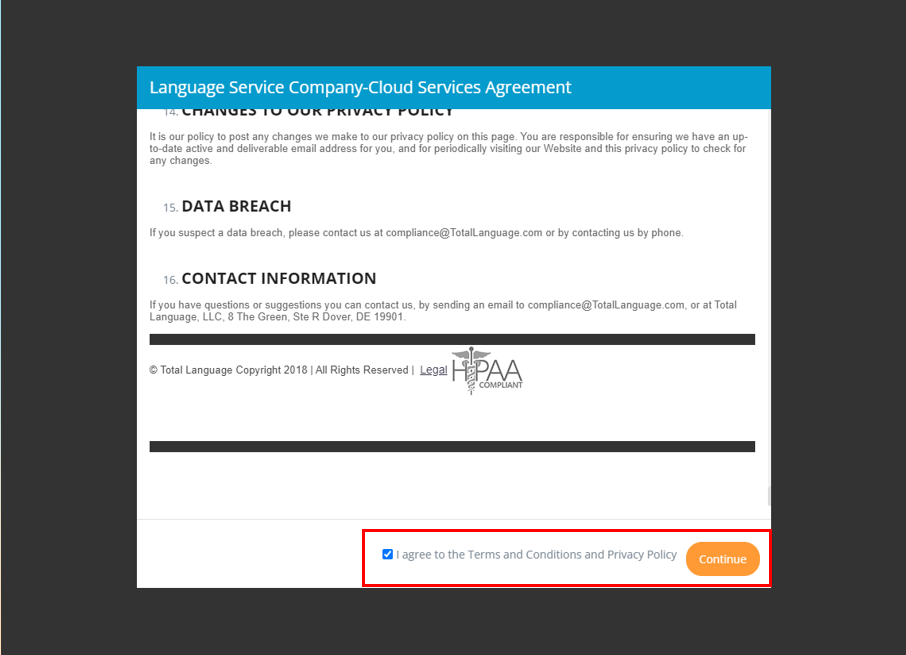
As soon as you log in, you will get the Service Agreement read it carefully. Once done click on the Check box that states that you have agreed to our Terms & conditions.
Click on the “Continue” button.
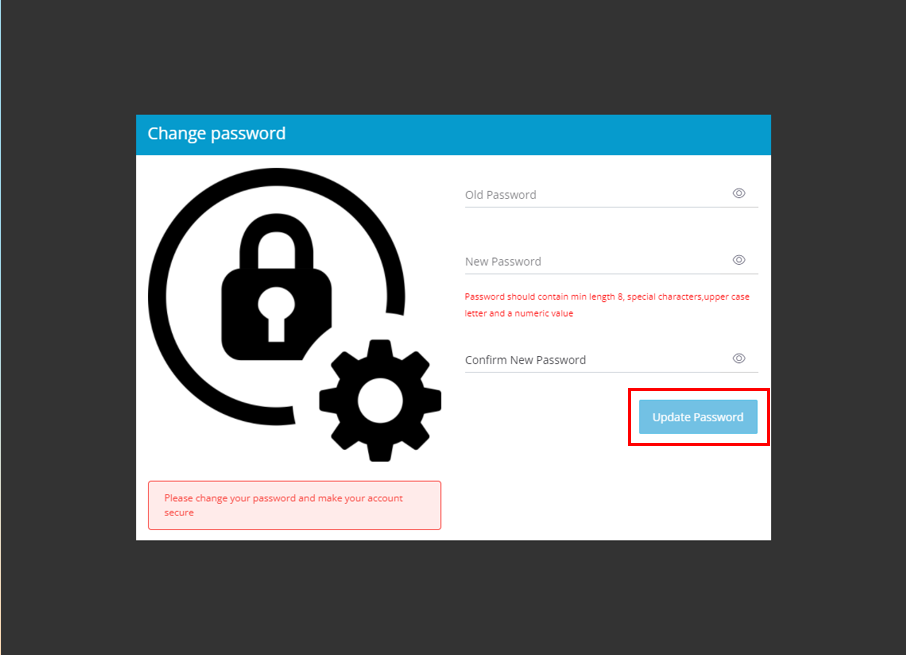
Here you can change your password.
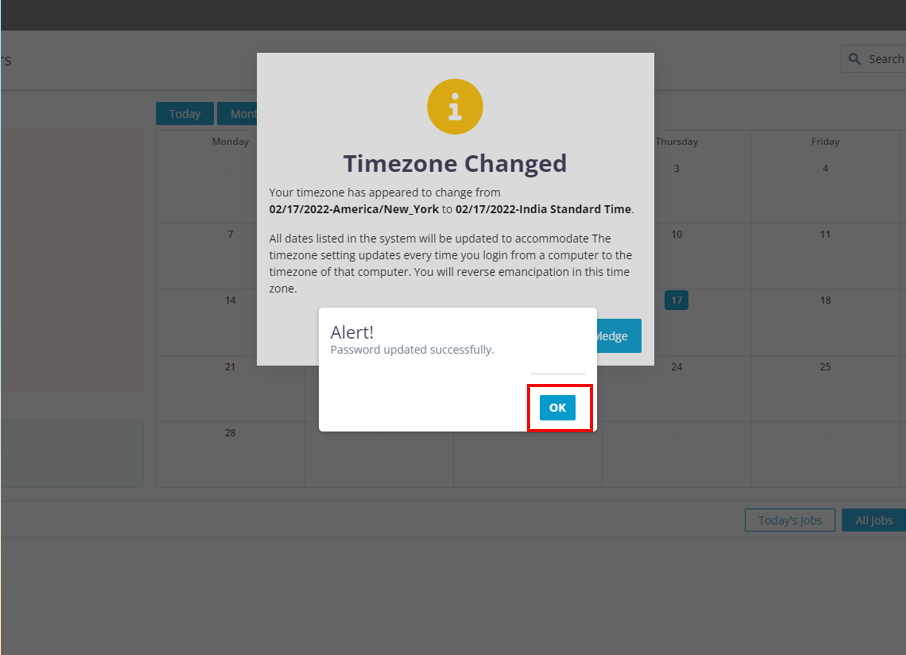
Click on the “OK” button
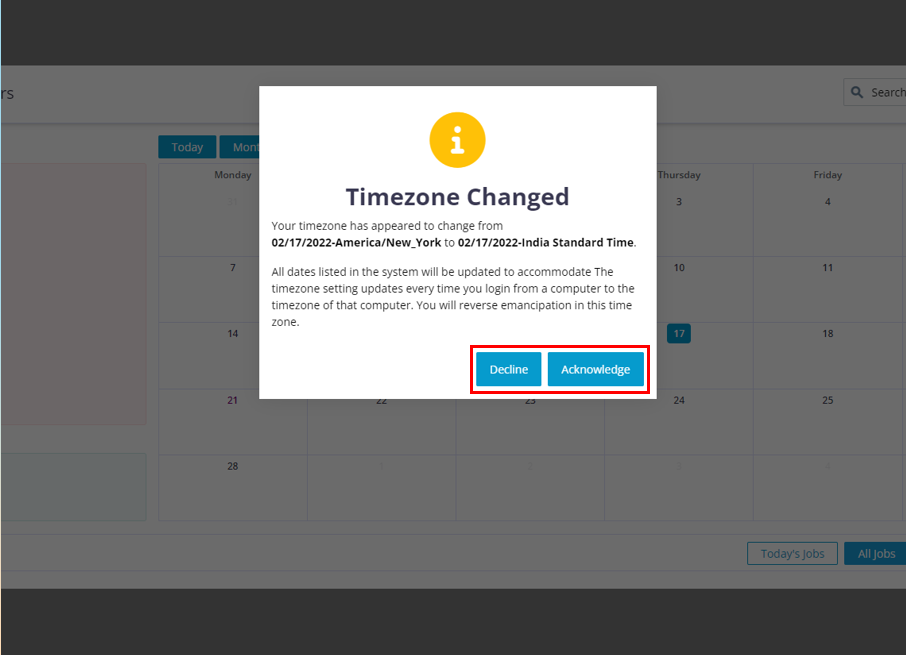
You will get the time zone pop up if you log into a different time zone, you can choose to Acknowledge it or Decline it as per your requirements.
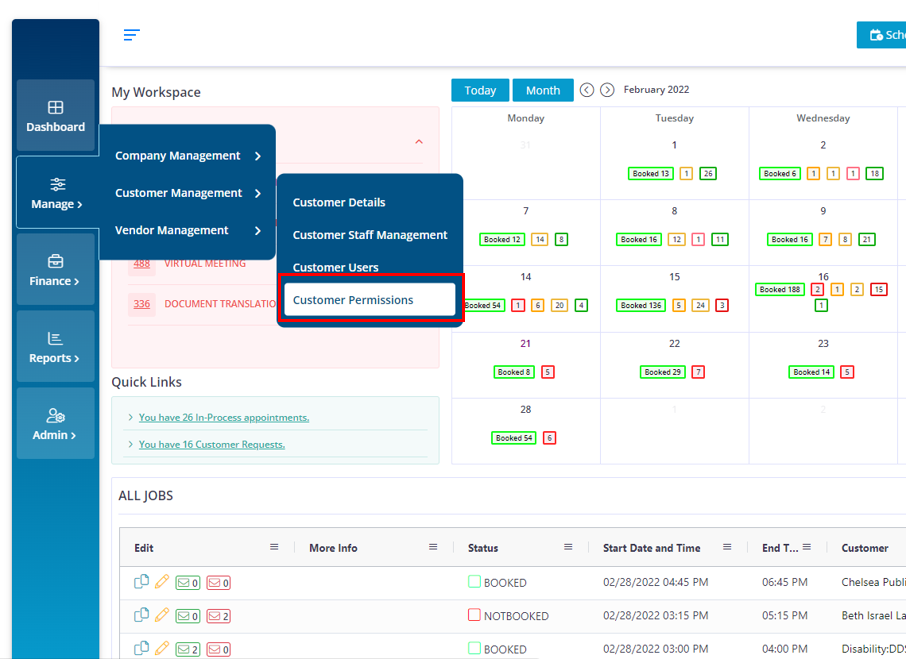
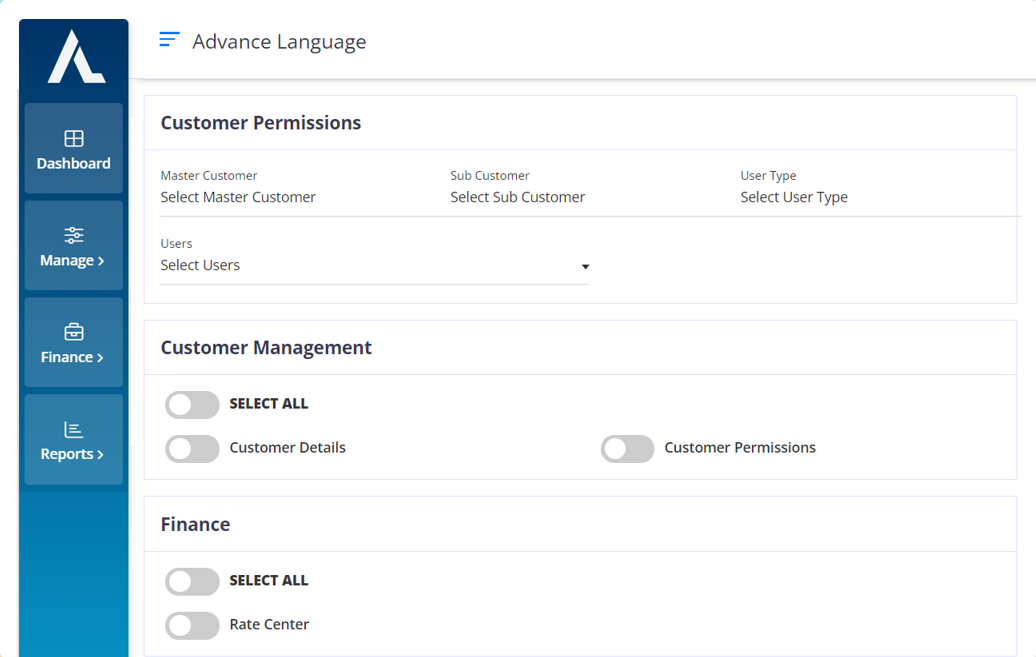
Move your cursor to the “Manage” icon and choose “Customer Management > Customer Permissions”.

Choose the required Master customer or the Sub-customer.
Choose the required user type and if you want to assign permission to a specific user, then choose a specific user from the “User” drop down.
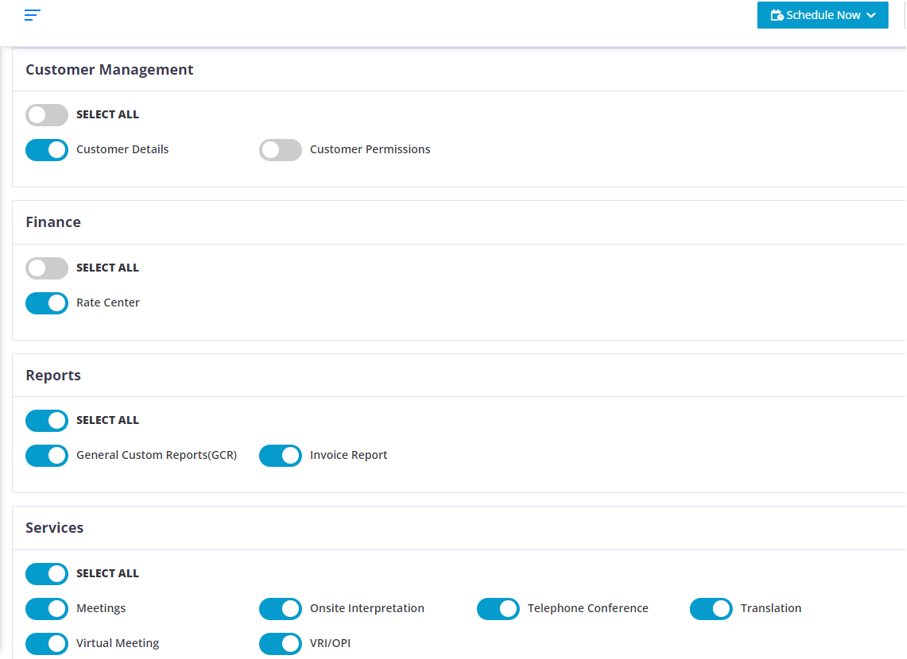
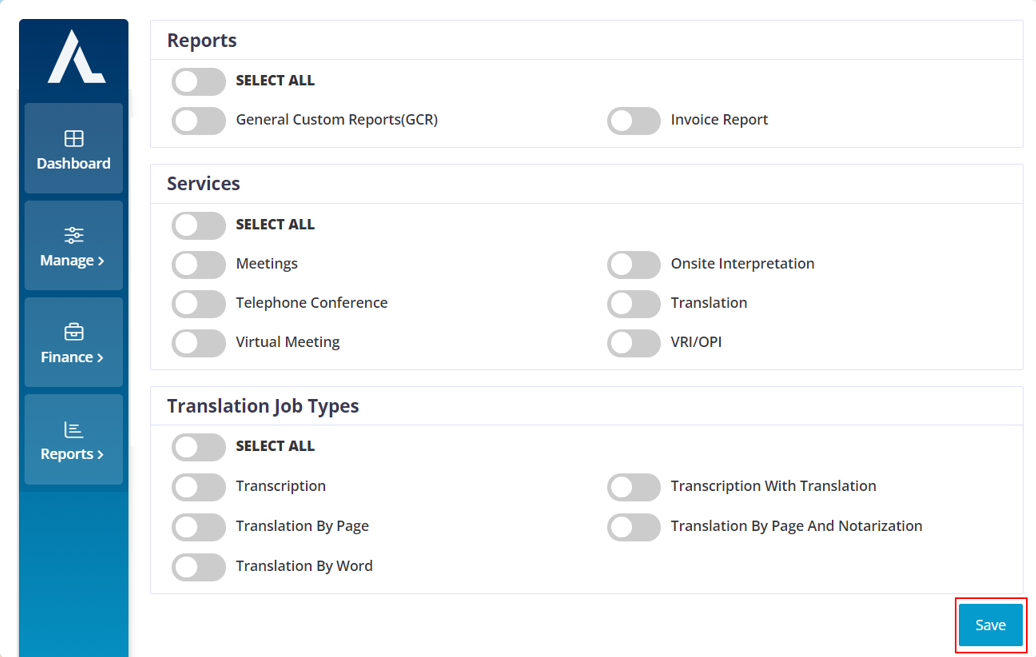
After you choose the required user, You can turn on the permissions for that particular user based on your company requirements.
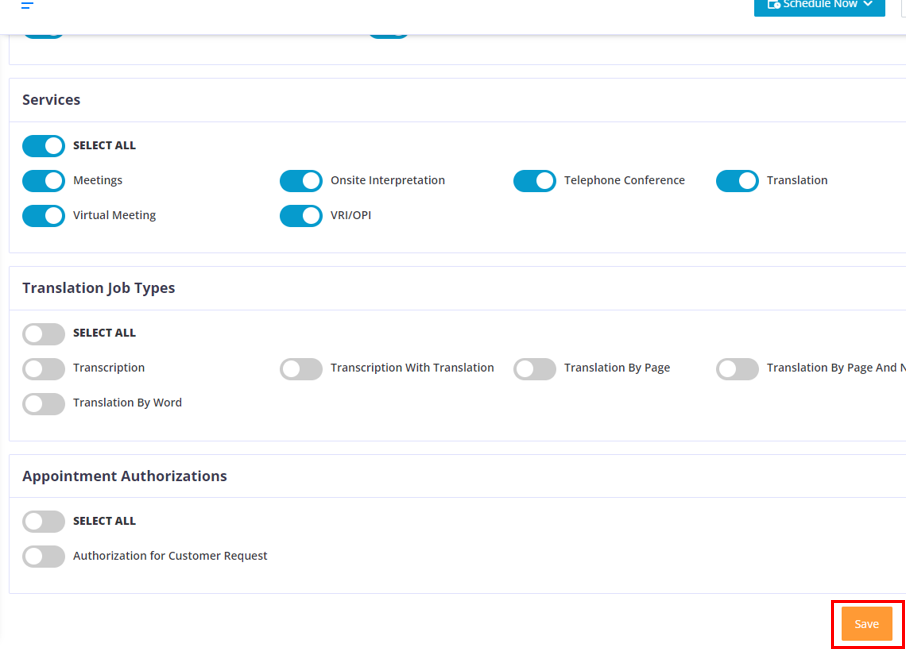
Once you have chosen the required permissions, Click on the “Save” button.
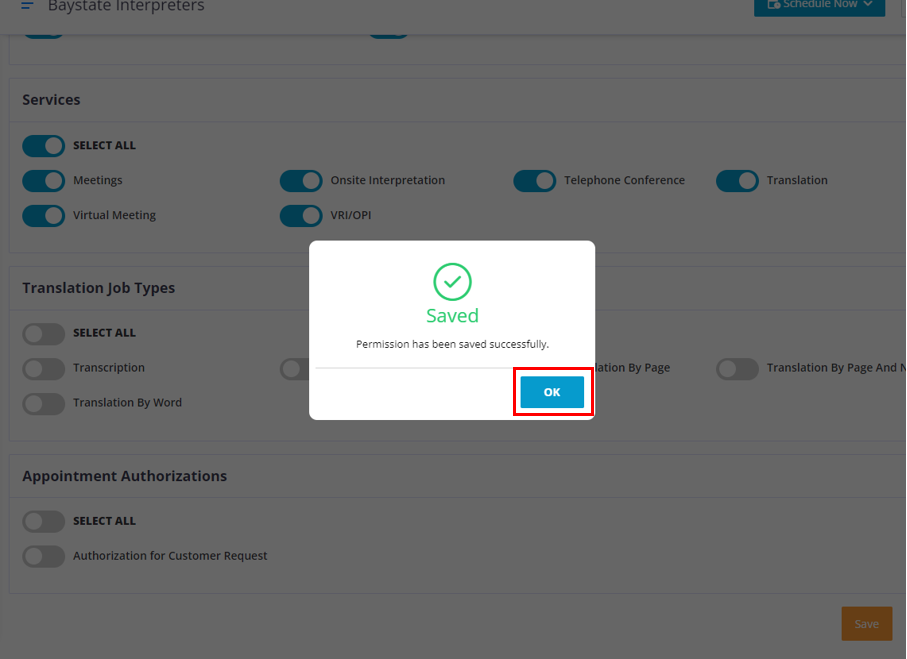
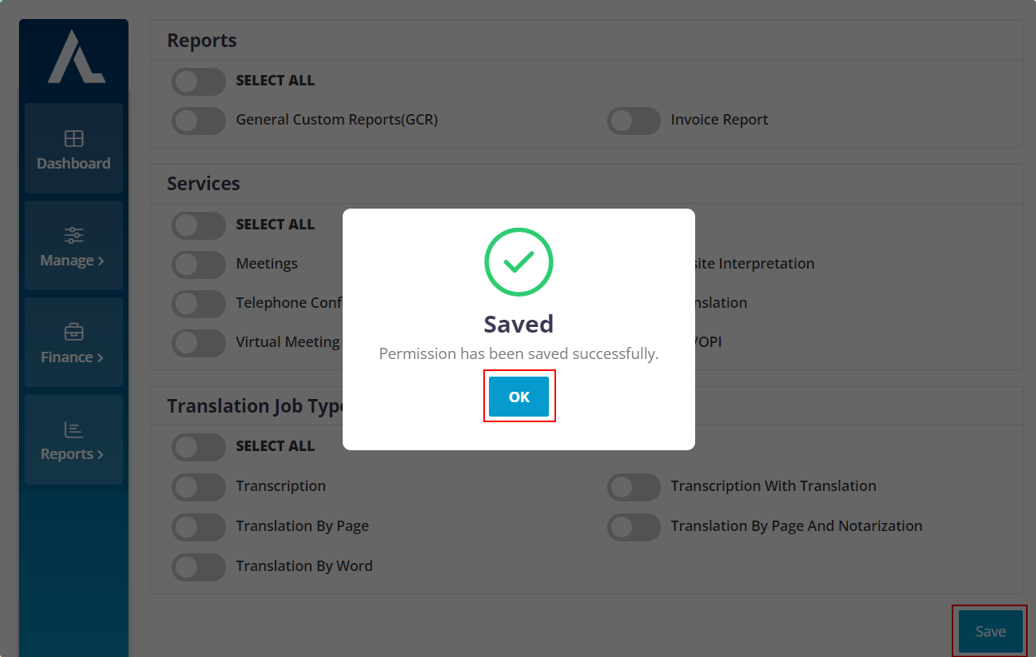
Click on the “OK” button.
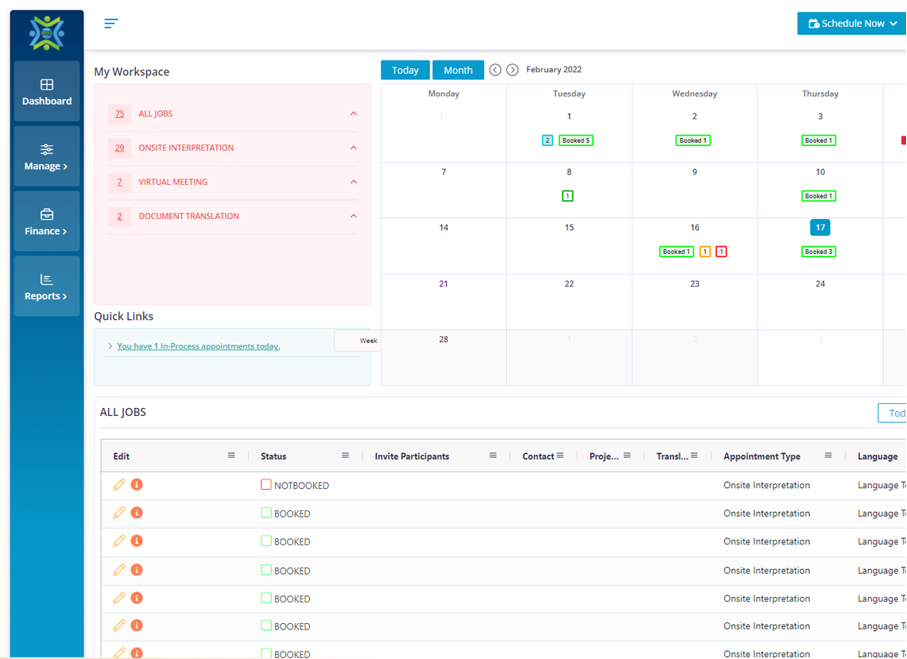
Now when that user or user type logs in or refresh their page they will find the permissions that have been assigned to them.

Move the cursor to the “Manage” Icon and choose Customer Management > Customer permissions.
To edit the permission for a Master Customer, choose only the required Master customer from the drop down and ignore the other fields.
To edit the permission for a Master Customer user type, choose the required Master Customer and choose the required user type now the users will populate in the “Users” field choose the required user and edit the permissions.
To edit the permission for a Sub Customer, choose the required Master customer and then choose the required Sub customer from the “Sub Customer” field. Ignore other fields.
To edit the permissions for the Sub customer’s user types, choose the required Master customer and the required Sub Customer now choose the required user type from the “user type” field and you will find the users populating in “users” field. Choose and edit their permissions.
After you complete editing the permissions for a particular customer or it’s user type click on the “Save” button.
Click on the “OK” button.
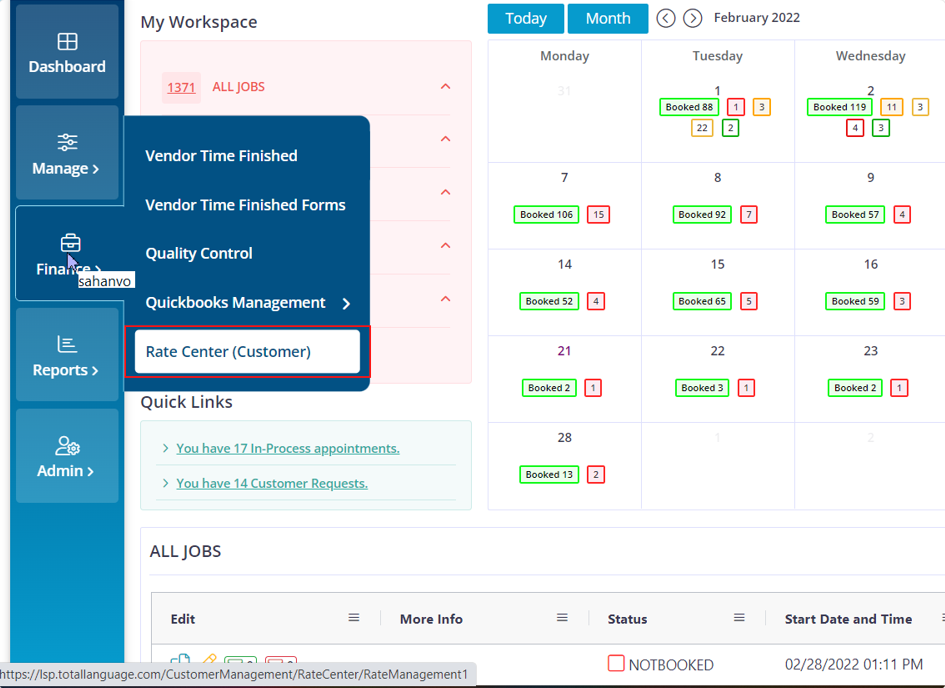
Move your cursor to the Finance icon and choose Rate Center.
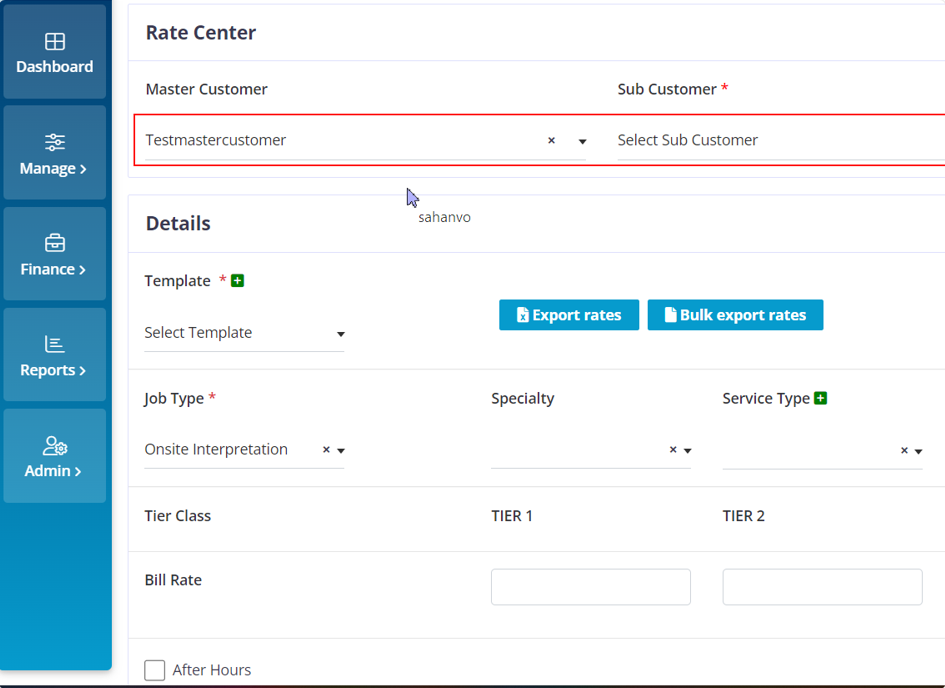
When you choose the required Master customer, the Sub-Customer field will appear. If you want to add rates only for the Master customer then do not choose any users from the Sub-Customer drop down.
If you want to add rates for the Sub-Customer then choose the required User from the drop down.
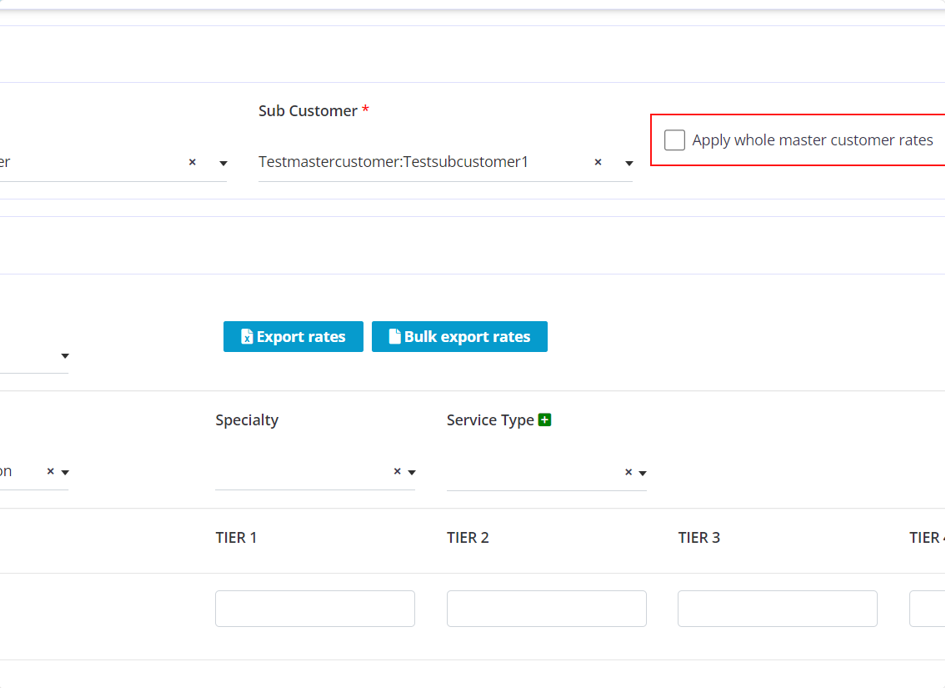
If you have added Rates for the Master customer and you want to copy all those exact rates to the chosen Sub-Customer user, then click on the “Apply whole master customer rates” check box.
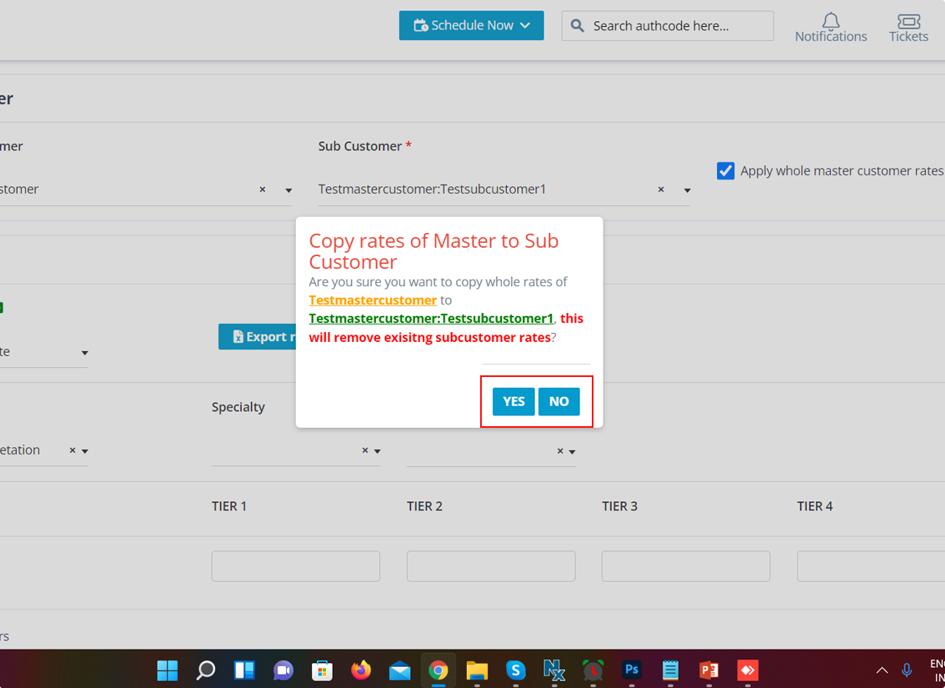
If you want to copy the rates click on the “YES” button.
If you do not want to proceed with it just click on the “NO” button
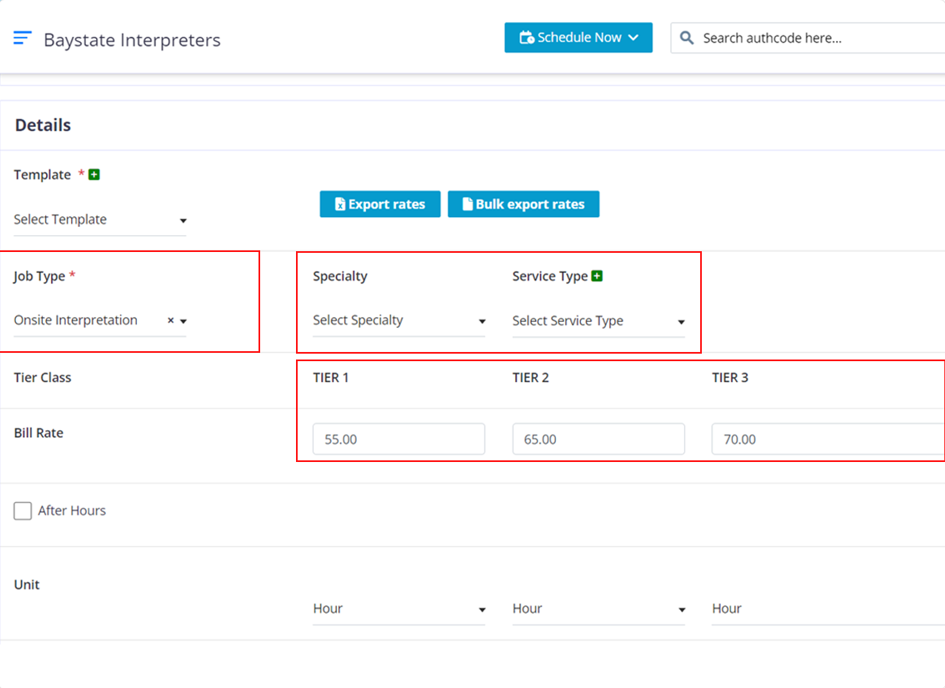
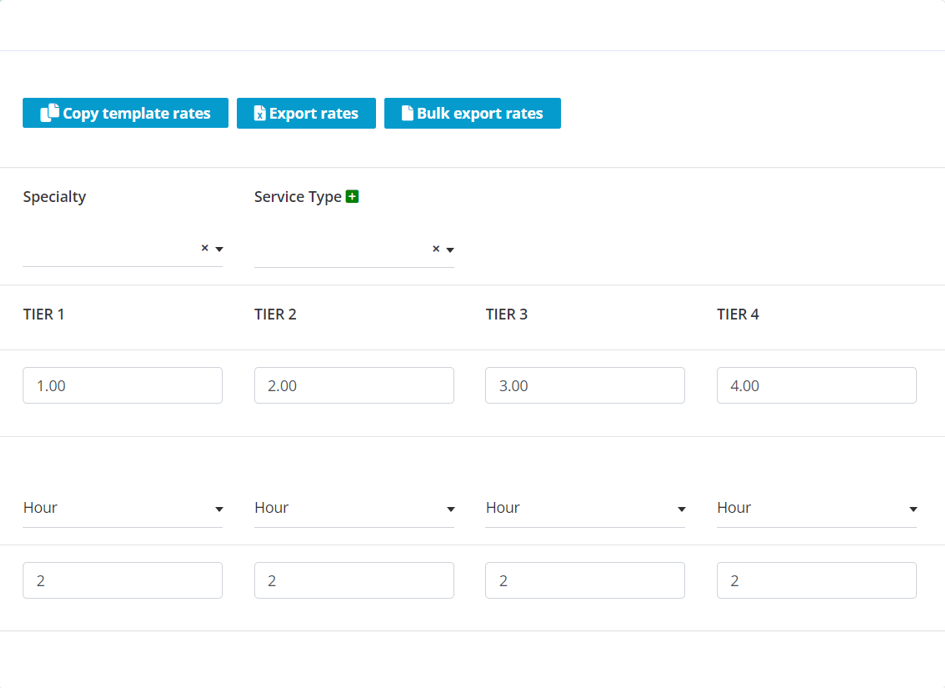
Choose the required Job Type. Choose the required specialty and Service type if needed.
If you want to add a Service Type click on the “+” icon.
Enter the price for the required TIREs as per your company requirements.
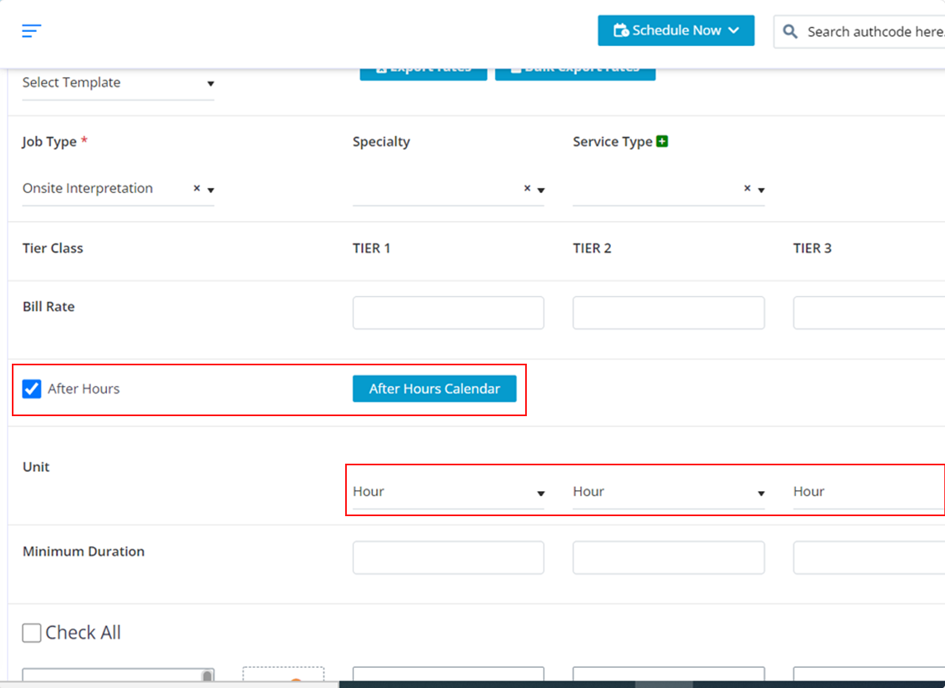
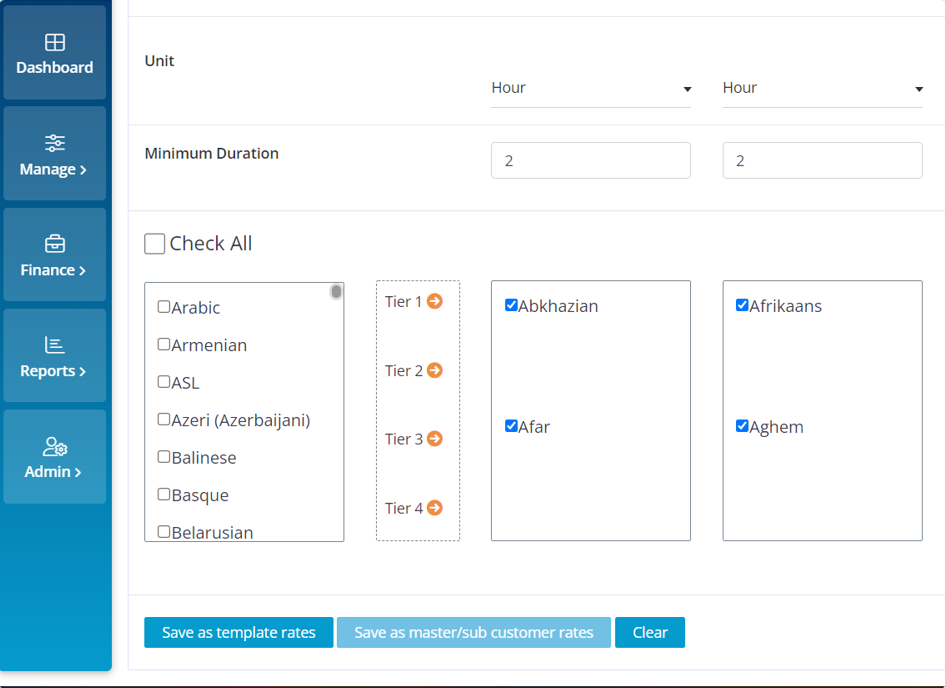
Click on the Units drop down to choose between Hour, Min, Per Page, Per Word.
Click on the check box for the language that you want to send into the required TIER.
As per your company requirements you can enter the minimum duration for the chosen Job type to be billed.
To add After Hours click on the check box and the “After Hours Calendar” button will appear, click on it.
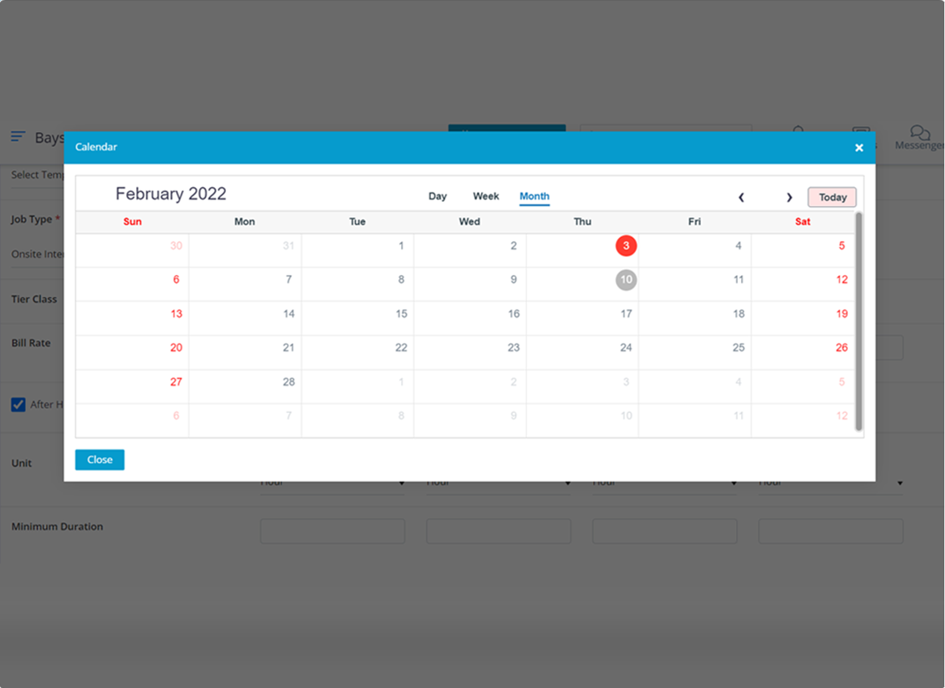
Click on the required date.
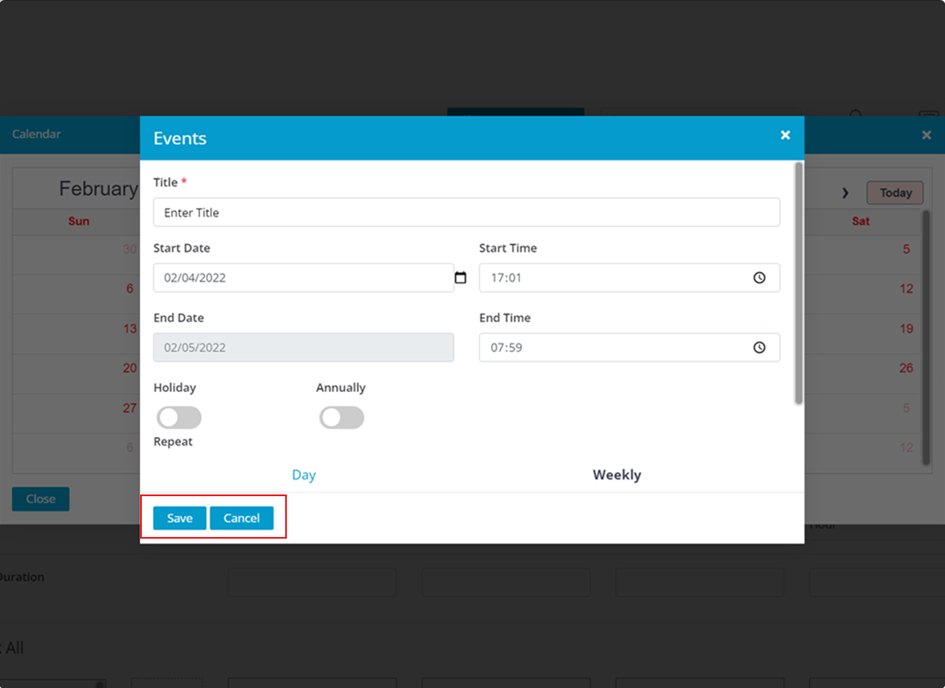
Mandatory fields are needed to be filled and the others are based on your company requirements.
Click on the “Save” button.
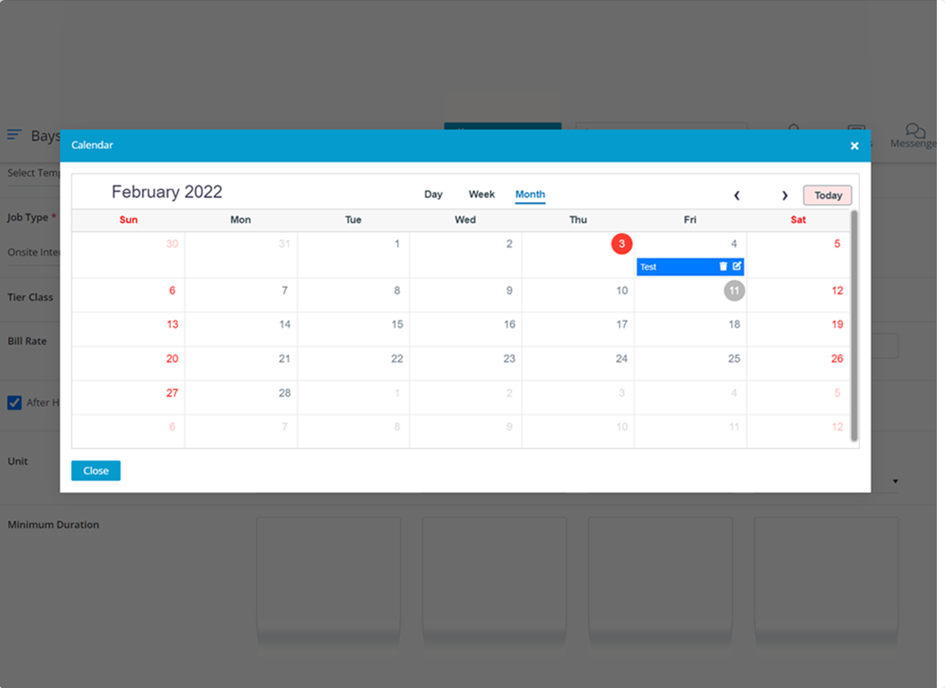
This is how it would look after you save the required data.
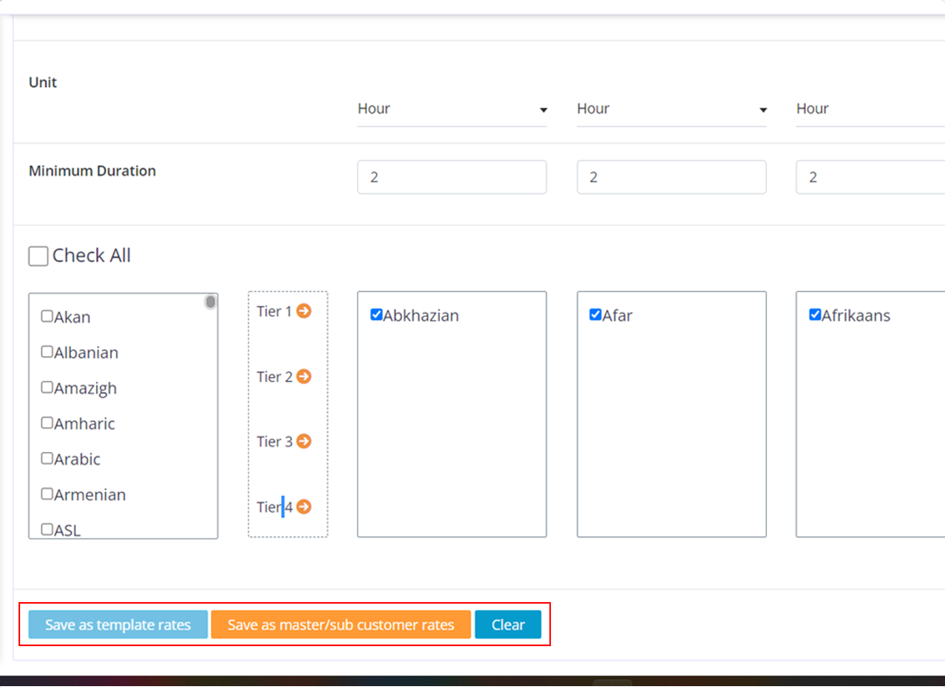
Move the chosen language to the required TIRE.
(Note: The languages under the TIRE will be billed for the price, units and minimum duration that you have entered under the TIRE),
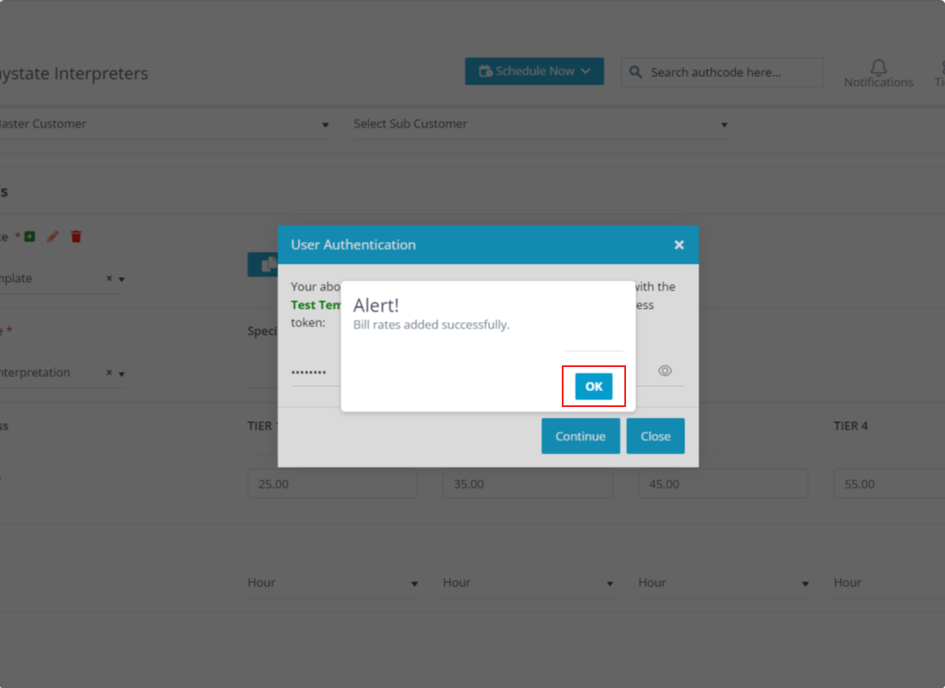
Only you have enter the required the data click on the “Save as master/sub customer rates” button.
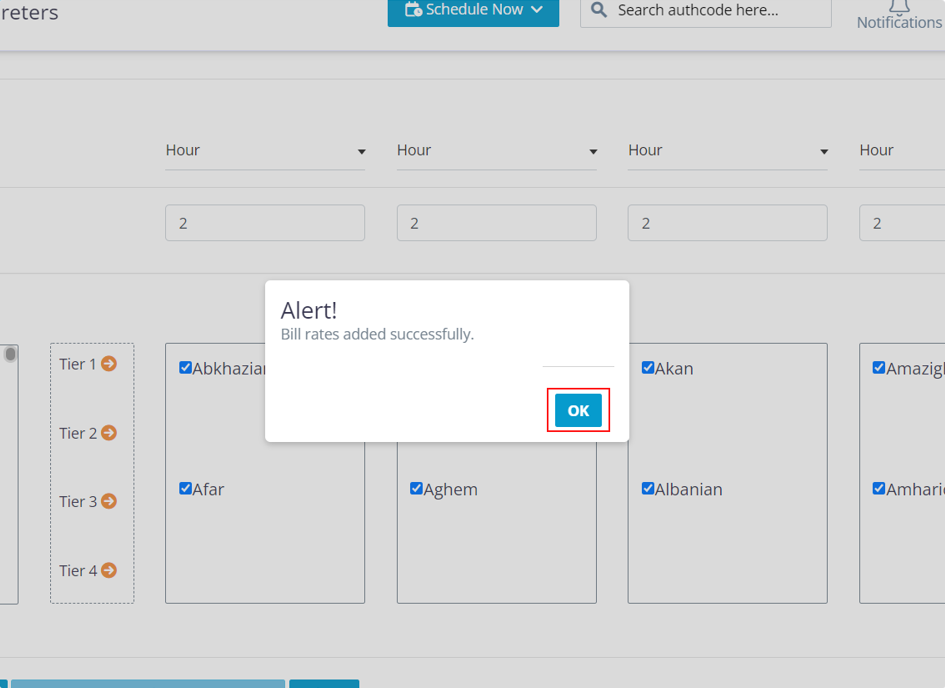
Click on the “OK” button.
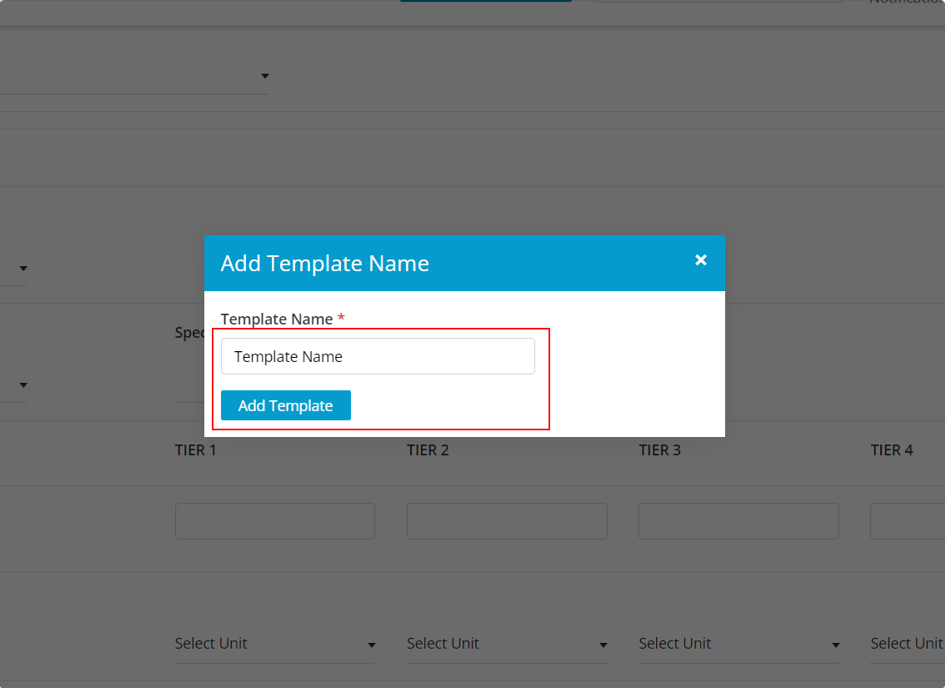
To add a new template click on the “+” icon that you will find above the template field.
Once you click on it you will get this pop up, enter the required template name and click on the “Add template” button.
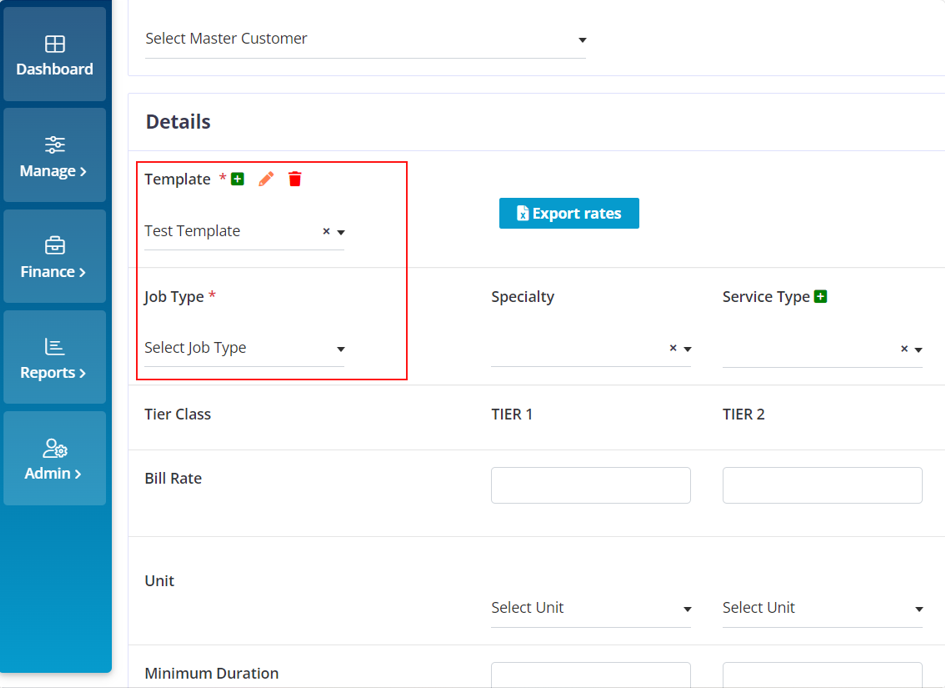
Choose the Required template. Choose the required Job Type.
Choose the required fields and fill in the data in the required fields that you want to save in your template.
As per your requirements fill in the data in the fields.
Choose the required languages and send them into the required TIREs for them to be billed for the entered Price, unit, and minimum duration.
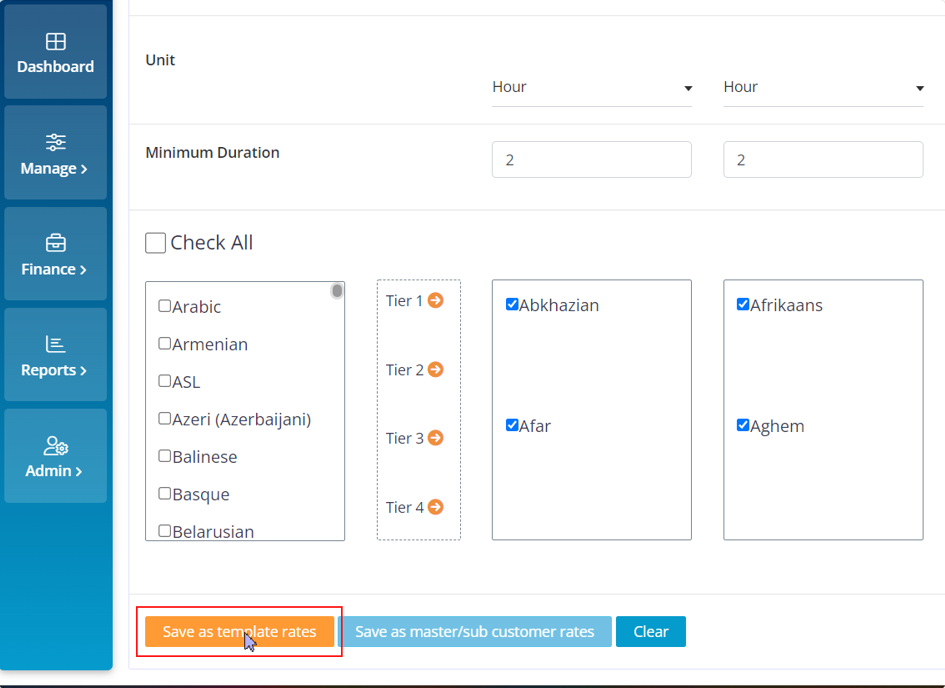
Click on the “Save” Template button.
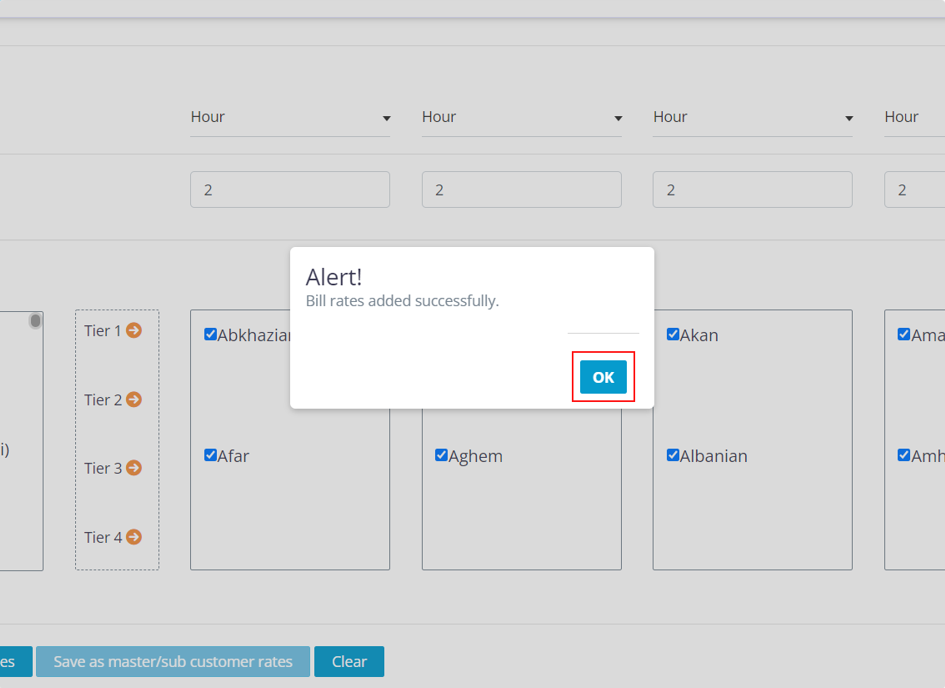
Click on the “Ok” button.
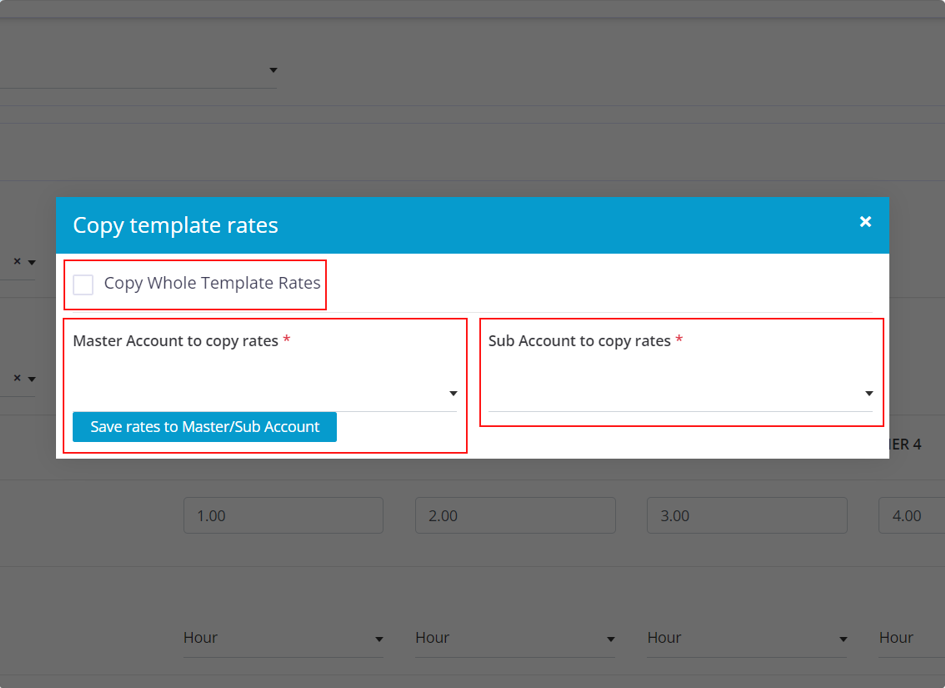
To copy the template rates to the customer/sub-customer, click on the “copy template rates”.
You will get this pop up.

If you to copy the whole template rate, click on the “Copy Whole Template Rates” check box.
Choose the Master Customer, If needed choose the required sub customer to add the templates rates to.
Click on the “Save rate to the Master/sub Account” button.
If you to copy the whole template rate, click on the “Copy Whole Template Rates” check box.
Choose the Master Customer, If needed choose the required sub customer to add the templates rates to.
Click on the “Save rate to the Master/sub Account” button.

Move your cursor to the “Admin” icon and choose Staff Access Tokens”
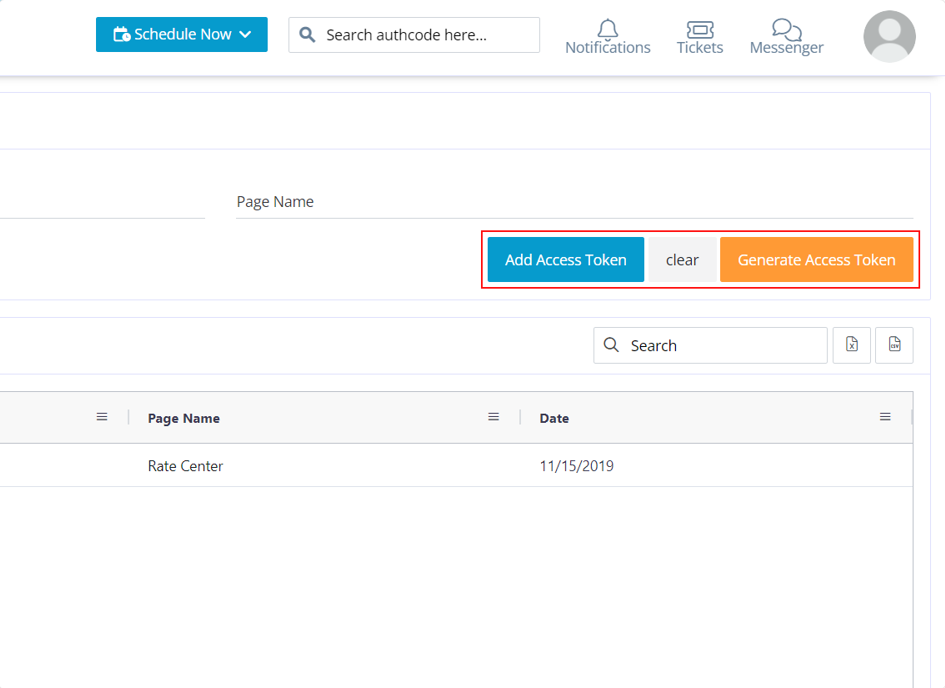
Click on the “Generate Access Token” button.
Click on the “Add Access Token” button.
Copy the Access token number and go back to the rate center page.
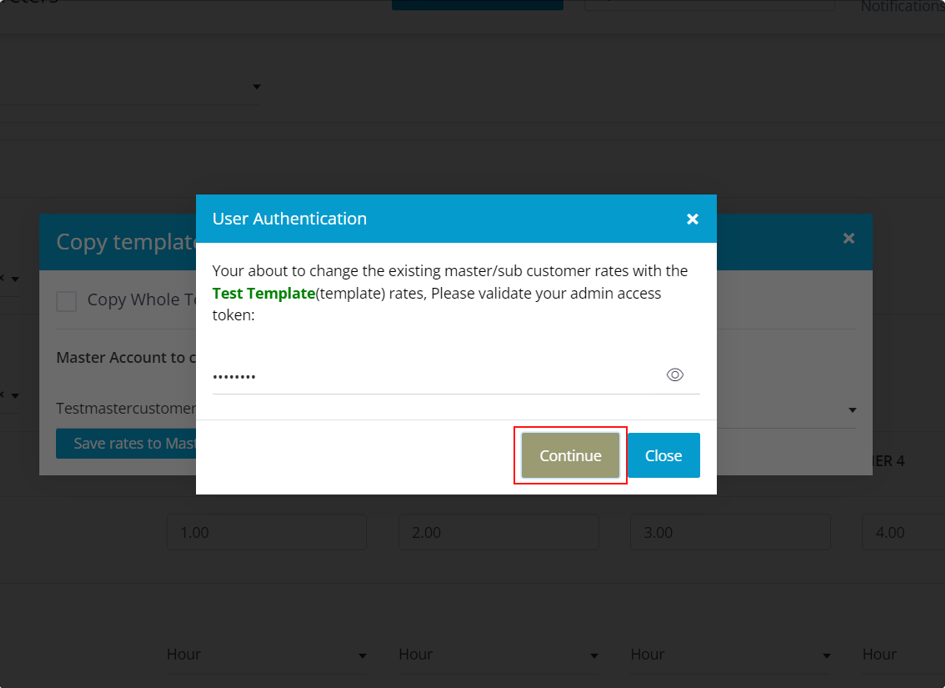
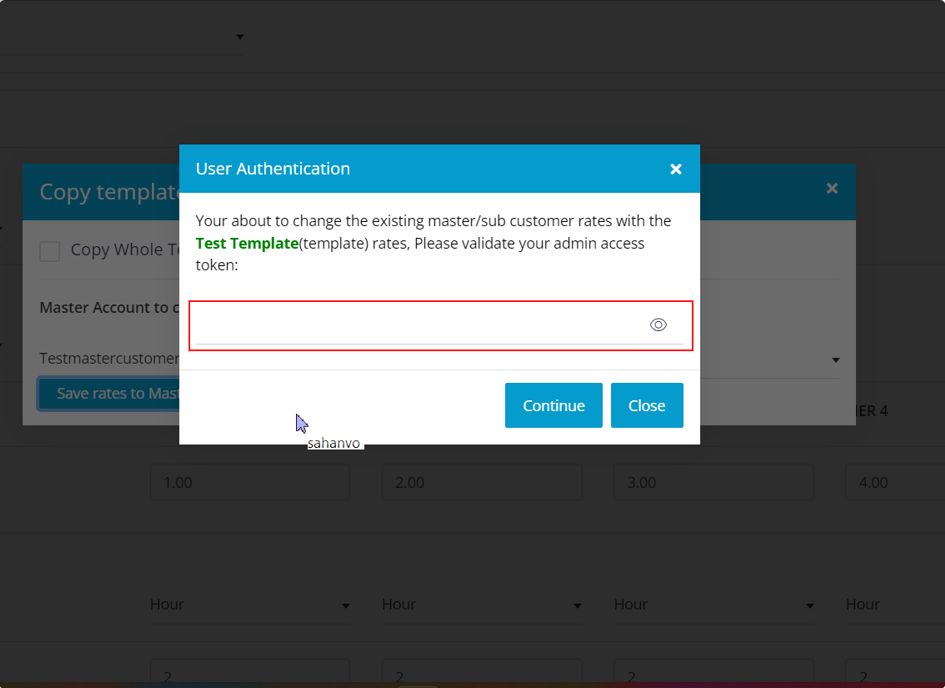
Paste the access token number that you have copied into the pop up and click on the “continue” button.
Click on the "OK" button.